How to Make the BEST Electric Smoker Ribs
This post may contain affiliate links. Please read my disclosure policy.
Is it really possible to get smoked ribs that are delicious, juicy, and fall-off-the-bone tender in an electric smoker? You betcha! Keep reading to learn how to make the BEST Electric Smoker Ribs in your own backyard.
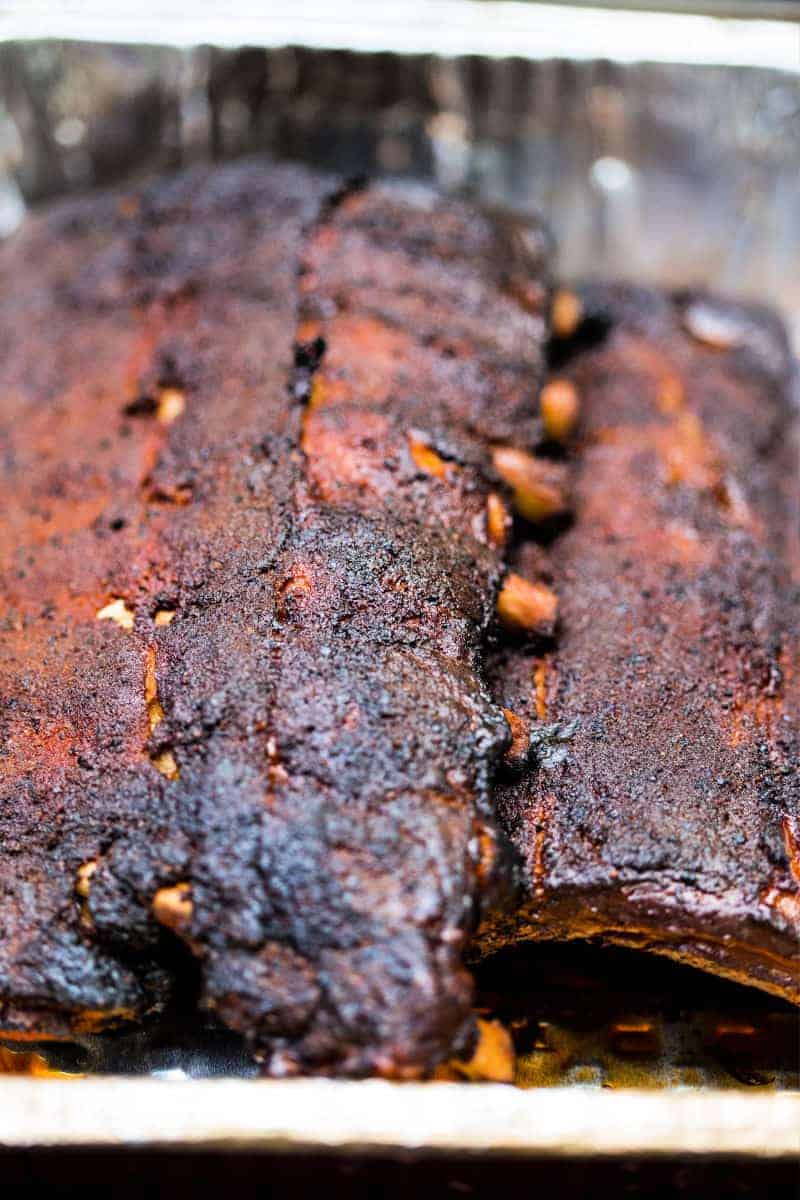
Today, we are sharing Electric Smoker 101 tips as well as our favorite sweet and smoky pork ribs recipe for dry rub, mop sauce, AND barbecue sauce. Let’s make some lip-smackin’ ribs!
How to make the BEST electric smoker ribs
A couple of years ago, I gave my husband an electric smoker for Father’s Day. I’ll admit, there may have been an ulterior motive behind this gift! We had spent a weekend visiting with family in Arkansas and my brother-in-law served us the most amazing ribs he cooked in an electric smoker. I could see the envy in John’s eyes and just knew he would love learning how to smoke all kinds of meats — and I would love helping him eat them!
Since getting the electric smoker, John has been doing his research and experimenting with several different techniques, dry rubs, and sauces and has settled on a combination for smoked pork ribs that has gotten rave reviews from our family and friends.
Not only are his smoked ribs amazingly delicious, he’s having fun spending time outdoors and learning all the smoking tricks. I have to say, he’s a little proud of the recipe we’re sharing today!
Getting started
Obviously, the first thing you need is an electric smoker. I can’t speak for other brands, but I can tell you that we are very happy with our Masterbilt model. Regardless of the brand or model you choose, before you smoke the first rack of ribs the smoker should be cleaned and pre-seasoned.
Good-to-have accessories
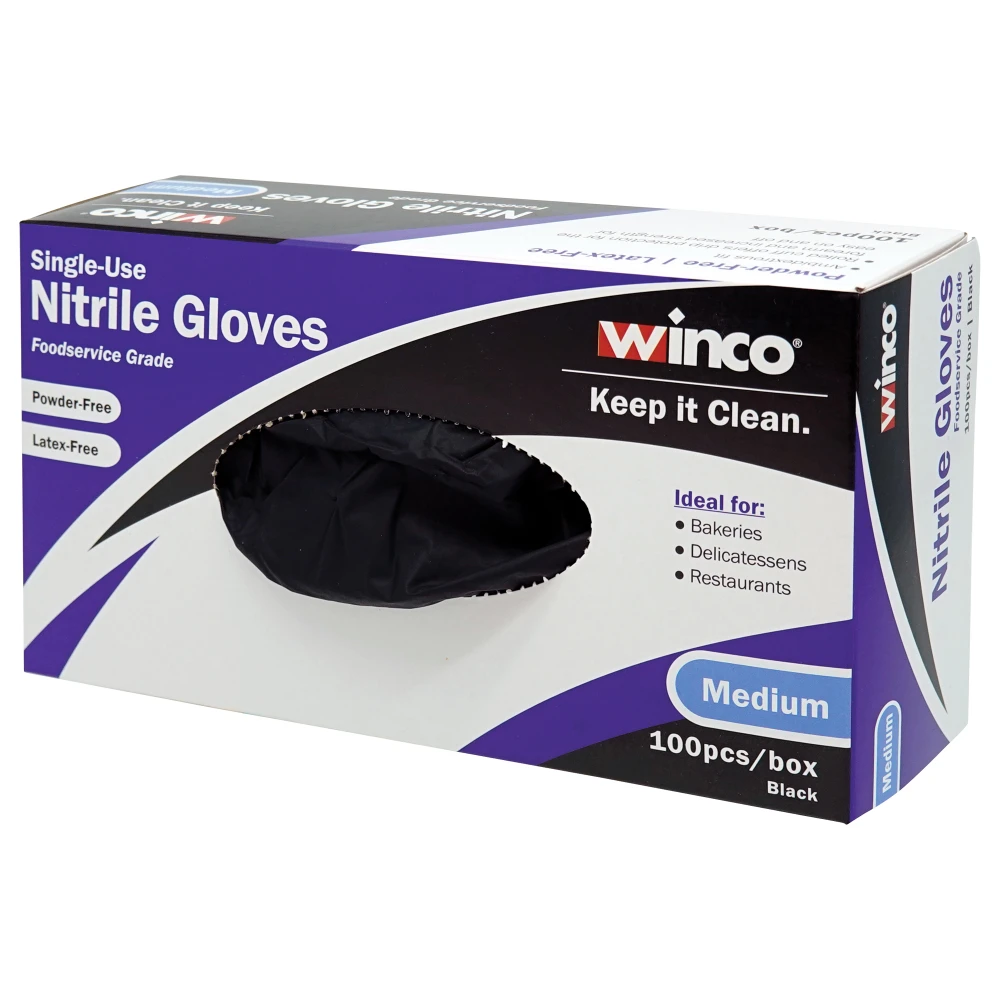
- Plastic or rubber gloves — for handling the meat
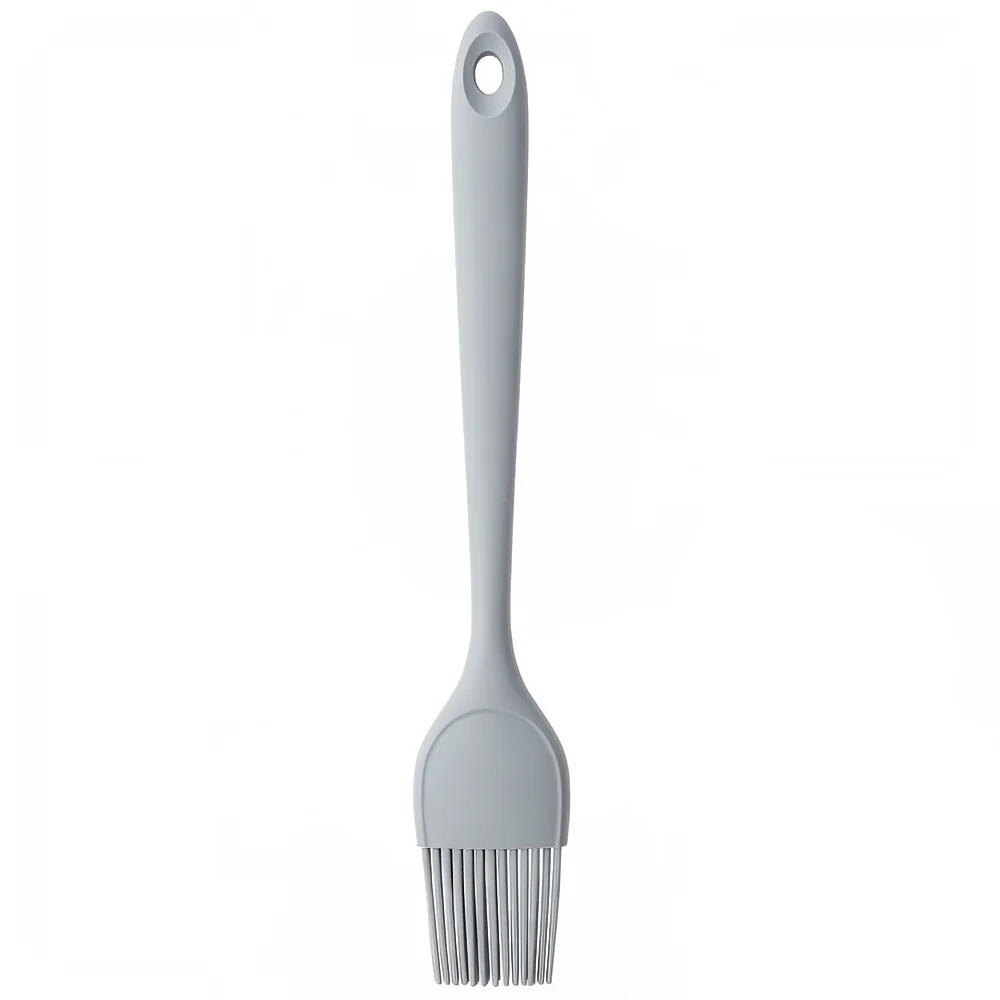
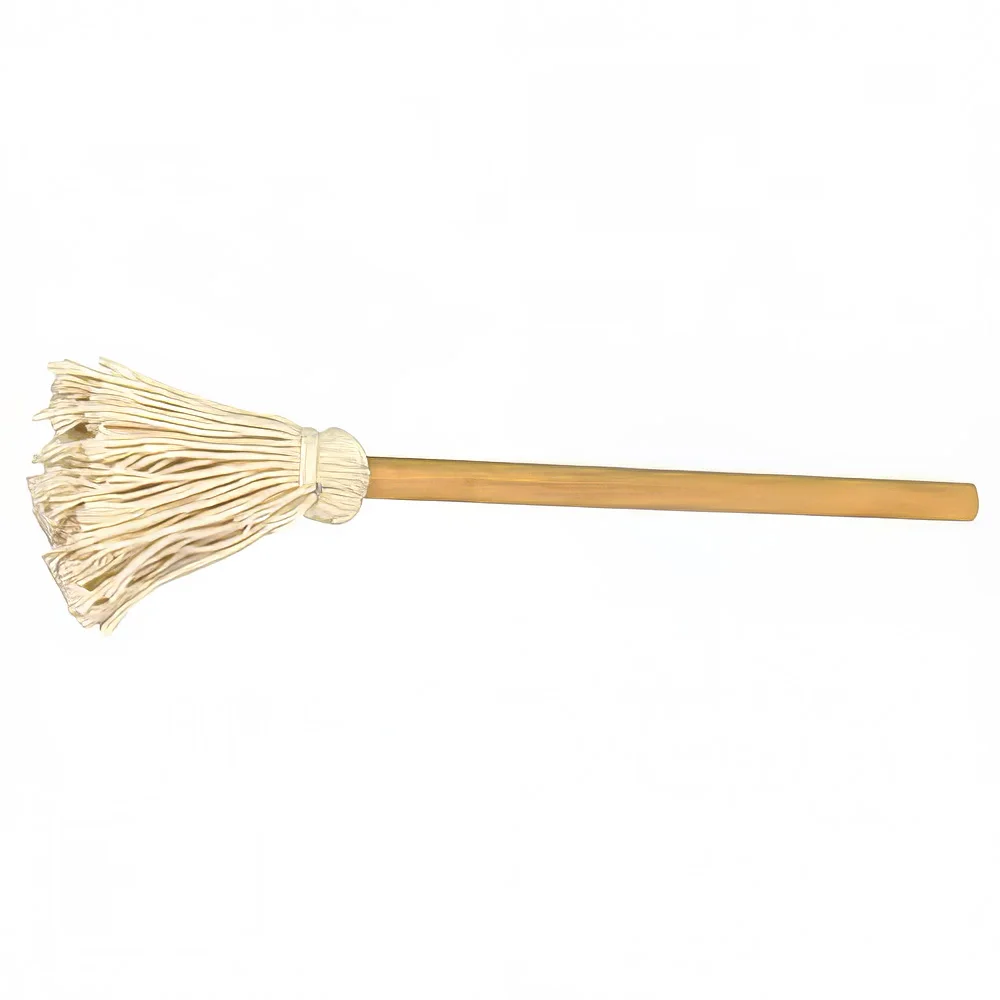
- Mop — for basting the ribs during cooking
- Grill Tongs — with long handles for removing ribs from the smoker
- Digital probe meat thermometer — a digital thermometer will take the guess work out of whether the ribs are done. According to the USDA, the minimum safe temperature for pork ribs is 145 degrees, but I like to cook them until they reach 165 degrees.
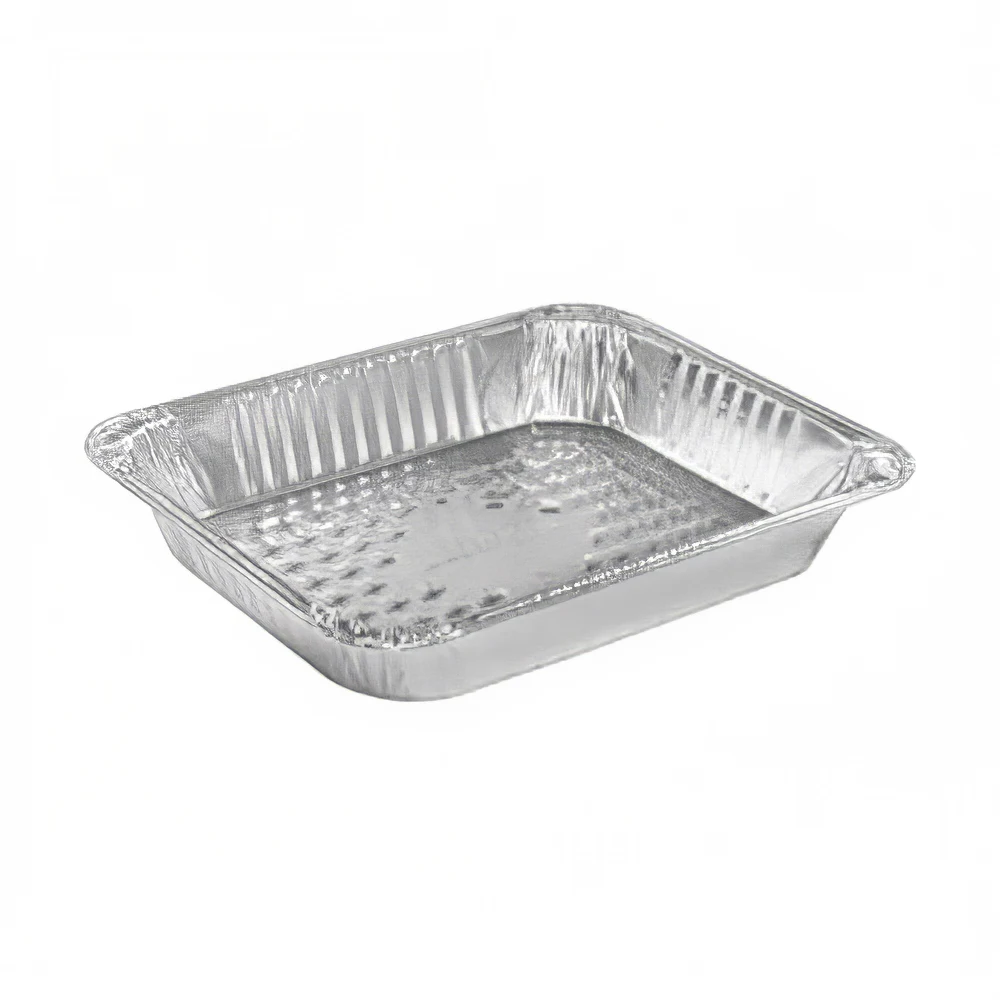
- Disposable aluminum pans — deep pans are best
- Squeeze bottles — work really well for serving BBQ sauce
Cleaning the electric smoker the first time
It’s important to clean the inside of the smoker before cooking to remove any leftover paint, oil, or dust leftover from manufacturing, Wash the interior walls, racks, and water pan with warm, soapy water and rinse well. Let the interior of the smoker air dry, then proceed with pre-seasoning (also known as curing) the smoker.
Pre-season the electric smoker
Pre-seasoning the smoker will help extend the life of the smoker. Follow these steps and you’ll be ready to get to the fun stuff and smoke some meat!
- After the electric smoker has been cleaned, coat the interior with oil.
- Set the smoker to 275 degrees and heat the unit for three hours. Some manufacturers may recommend a different temperature and time, as well as venting, so it’s a good idea to confirm with the manufacturer’s instructions.
- During the last 45 minutes, add a few wood chips to the tray to help displace the metallic smell.
- After this cycle is complete, allow the smoker to cool completely before opening the door.
- Over time, grease may collect inside the smoker and you will want to repeat this process to keep the smoker in good working order and to prevent any type of rust forming.
You’re ready to start smokin’ ribs like a pro!
Selecting the meat
Finding the perfect rack of ribs for smoking takes time. No matter if you prefer spare ribs or baby backs, there are a few things to remember in order to start with the best meat for smoking:
- Talk to the butcher — any experienced butcher can maximize the rib meat in his preparation process by trimming away fat and leaving meatier ribs
- Avoid vacuum-sealed ribs — only because you can’t see how much meat is actually on the bones.
- Meat, meat, meat — look for the meatiest ribs possible
- No shiners — avoid racks where you can see the rib bone
- Good marbling — fat will help keep the ribs moist, help hold the smoke, and give them a wonderful flavor
- Avoid excess fluid — If you do purchase pre-packaged ribs, avoid any that have liquid in the package.
Types of pork ribs
- Spare ribs come from the underside or belly of the pig, which is the fatty area where we get bacon. Spare ribs have a fair amount of meat.
- St. Louis ribs are more uniform in shape and are thinner and flatter. The meat tends to be fattier than baby back ribs.
- Baby back ribs are my usual preferred cut of meat. The baby back ribs come from the pig’s back on either side of the spine and are shorter than spare ribs. Baby back ribs have more lean meat.
Prep the ribs
Smoking ribs is a process and takes some planning. The night before you plan to cook, you’ll need to rinse the ribs under cool water, pat them completely dry with paper towels, remove the membrane, and apply the dry rub.
The membrane is the skin on the backside (bone side) of the ribs. This process can be a bit tedious, but don’t skip it — removing the membrane allows for more uniform smoking and optimal tenderness.
How to remove the membrane
- Wear rubber gloves to allow you to get a better grip on the rack.
- Identify the middle of the rack and make a cut between the rib bones just deep enough to split the membrane.
- Use the dull side of a small paring knife to pry the membrane from the meat and ribs.
- Loosen enough membrane to grip with a paper towel (it will be very slippery) and start pulling it away from the bones until completely removed.
- Don’t get frustrated — this process takes practice and will help you up your smoking reputation!
Apply the dry rub
Apply a thin layer of the dry rub on all sides of the rack, rubbing in gently. Place the racks of ribs on a baking sheet or aluminum pan and cover with plastic wrap. Refrigerate for a minimum of 4 hours or overnight.
Before smoking, set the ribs out of the refrigerator for 30 minutes which will allow for more consistent cooking and penetration of the smoke.
The cooking process for electric smoker ribs
Smoking these ribs is an 8-hour process, but with an electric smoker you won’t need to tend to them all that time. Once the smoker is preheated, the ribs will cook for 4 hours without being interrupted. This gives you plenty of time to go do something else as well as make the mop sauce and barbecue sauce you’ll use in the next phase of smoking.
Pre-heat the smoker
Just like you’d preheat a grill or oven, before you start smoking ribs, you should set your electric smoker to the desired temperature. Some units may be set to a default temperature, so always refer to your recipe or a meat cooking guide for the proper temperature setting.
I cook my Electric Smoked Ribs at 225 degrees, however I initially preheat the smoker to 250 degrees to help boost the initial cooking process. That’s because some heat is lost when opening the door to load the ribs. Always remember to adjust the temperature back to 225 degrees after the ribs are loaded and the door is closed.
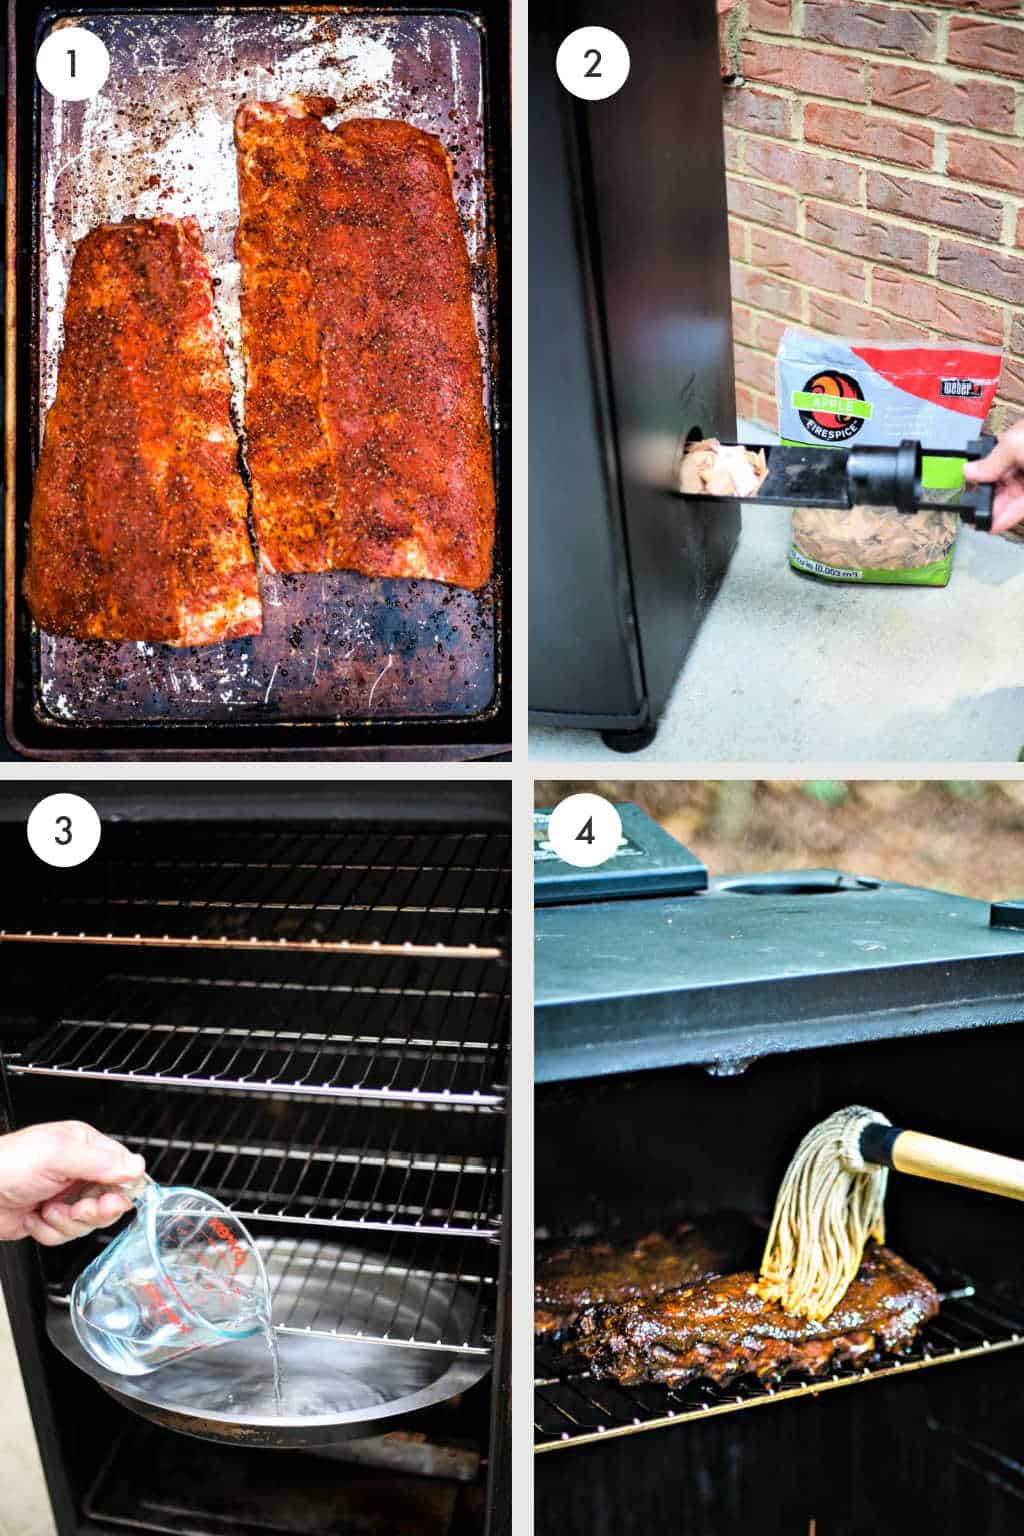
Add wood chips to the chamber and liquid to the drip pan
Add wood chips to the wood chip chamber to create the smoky flavor. Also, add water to the drip pan to keep moisture in the ribs. I normally add half water and half apple juice.
To soak or not to soak?
I had always soaked my wood chips because the instructions said to do so. One day, my friends was smoking wings and did not soak his wood chips. When I asked why, he just gave me a blank stare. Then he asked, “Why do you want steam on your food instead of wood smoke?” From that point on, I stopped soaking wood chips and the results have been great.
Check the smoke
If the smoker has been cleaned properly, the smoke coming out of it the first time you fire it up should be a thin, blue smoke. This blue smoke is what helps flavor the meat. We will discuss it more later, but the smoke should be coming from dry wood chips. There is no need to soak before smoking.
Also, a cloud of white smoke could indicate potentially harmful chemicals are present or that wet wood chips are building steam instead of smoke.
Smoke the ribs
- Place the racks of ribs in the smoker, close the door, and remember to adjust the temperature to 225 degrees. Don’t open the door or check the ribs again for 4 hours. This initial cooking time — and the brown sugar in the rub — will create good bark on the ribs.
- After four hours of smoking, mop or baste the ribs every 30 minutes for the next 2 hours. This keeps the ribs moist and enhances the bark.
- After 6 hours of smoking, remove the ribs and place in a deep aluminum pan and cover tightly with aluminum foil. Place the pan of ribs in the smoker for two additional hours.
- The ribs are done when they pull away easily from the bone. To be extra safe, use an instant digital read thermometer to be sure that the meat’s internal temperature is above 145 degrees (preferably 165 degrees).
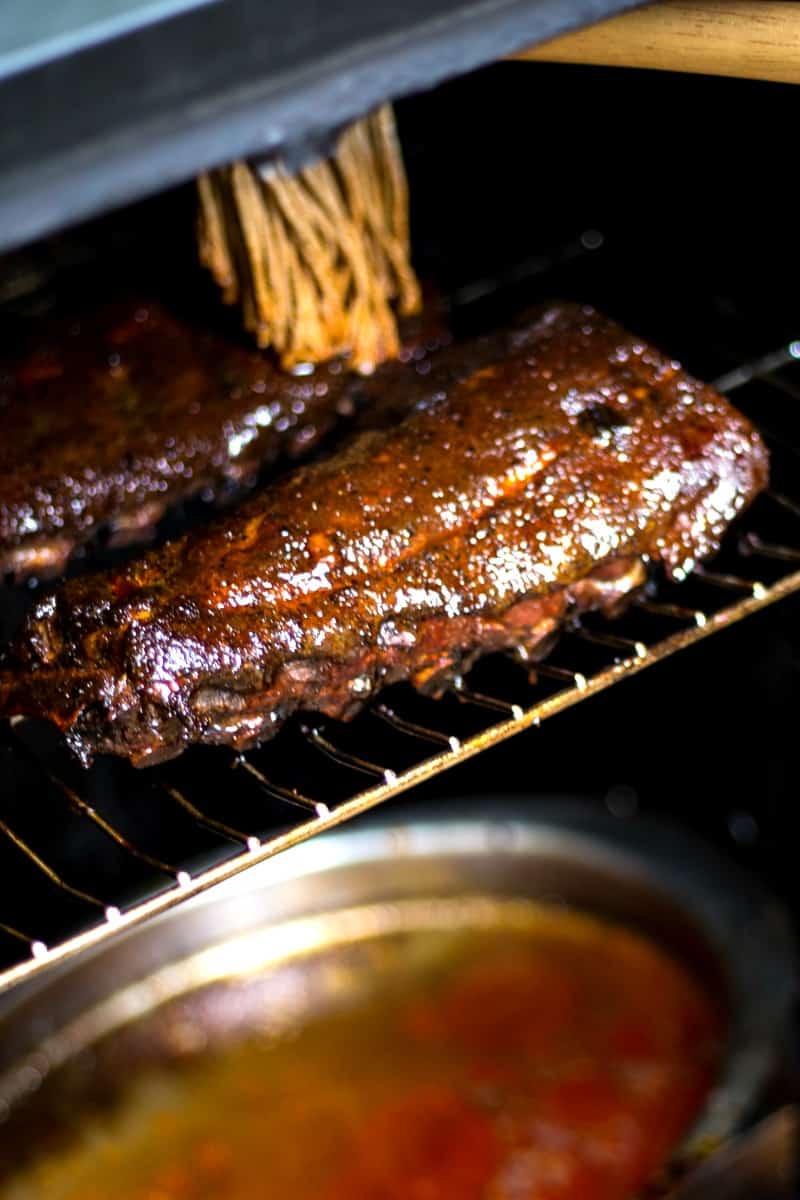
Don’t skip the mop sauce
After a good bark has formed, mopping the ribs will ensure the ribs stay moist and tender during the remaining cooking time. Don’t skip this step — you’ll love the results!
Electric smoker ribs FAQs
What does bark mean when you are smoking ribs?
Bark is that dark chewy, sometimes crunchy, outside layer of smoked crust that provides the perfect balance to the moist meat inside.
How do you know when the ribs are done?
With tongs, gently twist or lift the rack from the end. If completely cooked, the meat should cleanly pull away from the bone.
Do you flip ribs over when you are smoking?
With an electric smoker you have consistent heat and smoke coverage within this chamber eliminating the need for flipping the ribs.
What makes smoked ribs tender?
Removing the membrane is one key to enjoying tender ribs. The next is allowing enough time for the ribs to completely cook. Smoking is not a sprint — it takes time.
How long should dry rub be on ribs before smoking?
For a rub to fully permeate your ribs, you should allow a minimum of 3-4 hours. Ideally, you will let it rest on your ribs overnight.
Must-Have Smoking Accessories
Perfect your smoked ribs with these must-have tools for a mess-free, flavorful experience. (P.S. These are affiliate links, so I earn a small commission at no extra cost to you!)
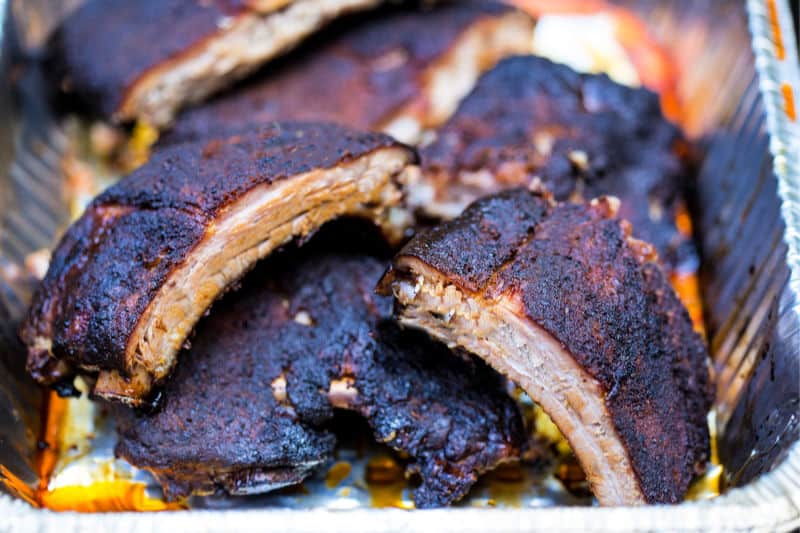
The BEST Electric Smoker Pork Ribs Recipe
Rub ingredients, smoke, and time work together to create an amazing finish to your ribs. Enjoy the process and get ready for some good eating!

Love this recipe? Bookmark it for the future!
Simply tap the heart symbol located in the lower right corner of your screen, and the recipe will be securely stored in your own recipe box.
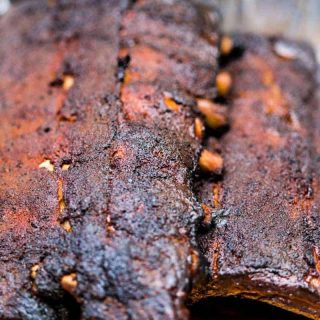
The BEST Electric Smoker Ribs
Equipment
Ingredients
- 2 – 3 racks Baby Back Pork Ribs
BBQ Rub
- 2 tablespoons salt
- 2 tablespoons dark brown sugar
- 2 tablespoons black pepper
- 2 tablespoons smoked paprika
- 2 teaspoons onion powder
- 2 teaspoons garlic powder
- 2 teaspoons dry mustard
Mop Sauce
- 3 tablespoons unsalted butter
- 1 cup apple cider
- 3 tablespoons soy sauce
- 2 teaspoons Cholula Sauce
BBQ Sauce
- ½ cup apple cider vinegar
- 1 cup ketchup
- 4 tablespoons mustard
- 4 tablespoons dark brown sugar
- 1 teaspoon sea salt
- ½ teaspoon course ground pepper
- 3 tablespoons honey
- 1 teaspoon Worcestershire
- 2 tablespoons bourbon
Instructions
Prepare the Ribs
- Rinse, dry, and remove the membrane from the ribs.
- Combine all the rub ingredients and apply a thin layer on both sides each rack. Rub gently into the meat. Cover and refrigerate for 4 hours or overnight.
- Remove the ribs from the refrigerator and allow to set at room temperature for 30 minutes.
- Preheat the smoker to 250 degrees. Add water to the drip pan until it is half full. Fill the wood chip chamber with wood chips (hickory or apple).
- Place the racks of ribs in the smoker, close the door, and adjust the temperature to 225 degrees. Cook for 4 hours. Don’t open the door or check the ribs again for 4 hours.
- In the meantime, prepare the mop sauce and barbecue sauce.
- After four hours, begin mopping the ribs every 30 minutes for the next 2 hours.
- Remove the ribs from the smoker and place in a deep aluminum pan. Cover tightly with aluminum foil and return to the smoker for 2 more hours.
Mop Sauce
- Melt butter in a small saucepan over medium heat. Add apple cider, soy sauce, and hot sauce and bring to a simmer. Keep warm nd use to baste/mop the ribs at the appropriate times.
BBQ Sauce
- Add all ingredients in to a medium saucepan and bring to a boil over medium high heat.
- Reduce heat to medium low and simmer for 45 minutes or until desired consistency.
Notes
- Before smoking, set the ribs out of the refrigerator for 30 minutes which will allow for more consistent cooking and penetration of the smoke.
- After a good bark has formed, mopping the ribs will ensure the ribs stay moist and tender during the remaining cooking time. Don’t skip this step — you’ll love the results!
Nutrition
Life Love and Good Food does not claim to be a registered dietician or nutritionist. Nutritional information shared on this site is only an estimate. We recommend running the ingredients through an online nutritional calculator if you need to verify any information.

I have not tried this recipe as I have my own. I like the suggestion to pre-heat higher than cooking temp. I wanted to mention that I always soak mine overnight in a 50/50 mixture of Ginger Ale and Orange juice. You can use anything really. I’ve used straight Coca Cola too and that works as well.
The flavours were great will keep those but the cook time was way too long.
Not fall off the bone ribs. Good flavors but used my own barbecue sauce. Ours turned out tougher than was expected..
have not tried this recipe – yet. question — what is the BBQ sauce used for. I didn’t see where it is used in the instructions?
thanks, AL C.
Hi, Al. We like to make the BBQ sauce to serve with the ribs after they have smoked — either slather it on or use as a dipping sauce at the table.
Very very good. I’m a complete novice with the smoker. I followed the recipe and my ribs came out great! I opted to use our favorite premade bbq sauce. Next time I won’t lay the rub on quite as thick. I got a little carried away with it so in spots it was a little much. I’ll definitely make this my go to recipe for the future.
I love using the rub and smoking directions. I do use Sonny’s BBQ sauce. This is the best recipe for beginners. I get perfect results all the time. I do cook between 180°and 190° for 5 to 6 hours
Great ribs. First time smoker. Followed to a T but left hot sauce out of mop.
I made this rib recipe Saturday for my family and friends. I was told they were the best ribs they had ever had — even better than a restaurant! The BBQ sauce was amazing and so easy! Tip if you don’t have Bourbon, I purchased the little sample from the local liquor store.
After 8 hours in the smoker, the rib meat temp will be about 210, not 165.
My husband made these for July 4th,2022. They were good but way too salty. We will make again but definitely reduce the salt.
If you are using bbq sauce and not mopping sauce do you just leave the ribs as is during that cooking time? Can you wrap ribs in foil instead of using deep aluminum pan?
Holly, the mop sauce is what creates the nice bark on the ribs at the end of cooking. If you opt not to do this step, I’d suggest at least one application of barbecue sauce instead. Also, you most definitely can just wrap the ribs in aluminum foil (or use a cake pan) if you don’t have a deep aluminum pan.
Fantastic! Best ribs I’ve ever made, and the sauce is superior. Thank you!
Just ate these ribs after 8 hours of patiently waiting and they were worth every second. Thank you so much for this recipe. I couldn’t be happier. My wife loved them too
I wanted to up my game in the ‘bark’ category. I have used the 3-2-1 method and that while tasting good, it didn’t produce much bark. Your guidance has provided what I was looking for. I do use a Masterbuilt electric smoker with a pellet tube (ditched the tray). Thank you for sharing your experience. I will post pics on FB.
Chris, thanks so much for the feedback! Looks like your ribs turned out with a delicious crunchy bark — enjoy smoking season!
1. When ribs are placed in the smoker, which side is placed down?
2. When basting with mop sauce do you flip the ribs over every 30 minutes when you mop them?
Hi Don — see below for my answers:
1. My preference is to smoke ribs bone side down. When mopping the ribs, this creates a better bark on the meat.
2. Also, when basting with the mop sauce I do not flip the ribs.
Smoking a baby back rib and am at the 4 hour stage am at 3hrs and see no smoke what should I do?
Can you confirm you added wood chips to the wood chip chamber? That should be creating smoke.
Silly question; after 6 hours at 225°F, why the additional 2 hours at 225 sealed up?
And, would it be wise to dump some of the mop juice into the aluminum pan before sealing with foil?
Smells awesome; Looks great; can’t wait to eat it!
Rich
The last 2 hours in the pan is for steaming so the ribs are nice and tender. I dump some of the mop sauce in there for flavor while they’re steaming! DELICIOUS!!!
Sounds like an awesome recipe. But how long do you actually supply smoke to the ribs for
I followed all the steps, but they seemed to cook faster then the recipe….they were pulling apart after the 6 hours, after the mopping stage I ran the smoker 225 or a little less.
Can I use broken up grill pellets in place of wood chips
Hi, John. I don’t have any experience with using grill pellets for smoking, but this article may be helpful. Good Luck!
@John Bolinger, no use wood chips in your smoker
I use pellets all the time! Tastes great!
I am using a Masterbuilt Smoker, as well. How often are you adding wood chips and is there a point in the process where you don’t and them anyone? I don’t want to over or under smoke…
Tracee – Great question. This really has to do with taste preference and the type of chips you are using – there is not a single answer here. For instance, hickory chips are going to produce a bolder smoke that apple or cherry chips. Typically, I add chips when I start smoking the meat and keep adding them through half the cooking time of my recipe as the smoke dies down. Hope this information is helpful. If you have any pictures of your finished product, please send them over. I’d love to see how your project turns out.
The time at the top says cook time 6 hours but the directions say 8 hours… Is it 8 or is something duplicated and its actually 6?
Hi, Tiffany! Sorry for the confusion. The total cook time should be 8 hours. I’ve corrected the cook time at the top of the recipe card. Thanks for pointing that out for me 🙂
When do you put the BBQ sauce on the ribs during cooking?
Hi, Trevor! The BBQ sauce is actually used for serving and is not applied to the ribs during smoking like the mop sauce. Sorry for any confusion about that!
Fantastic recipe. I tweaked the mop sauce and rub to ingredients I had on hand, but followed the cooking instructions to a tee and the ribs were great.
I got a smoker for my birthday from my kids…this was the 1st thing we tried!! Ribs were fabulous!!
Great start for a novice smoker. My execution will be tweaked in the future, but a foundation of great technique and recipes to get started smoking BBQ Ribs!