Old Fashioned Peanut Butter Pie
This post may contain affiliate links. Please read my disclosure policy.
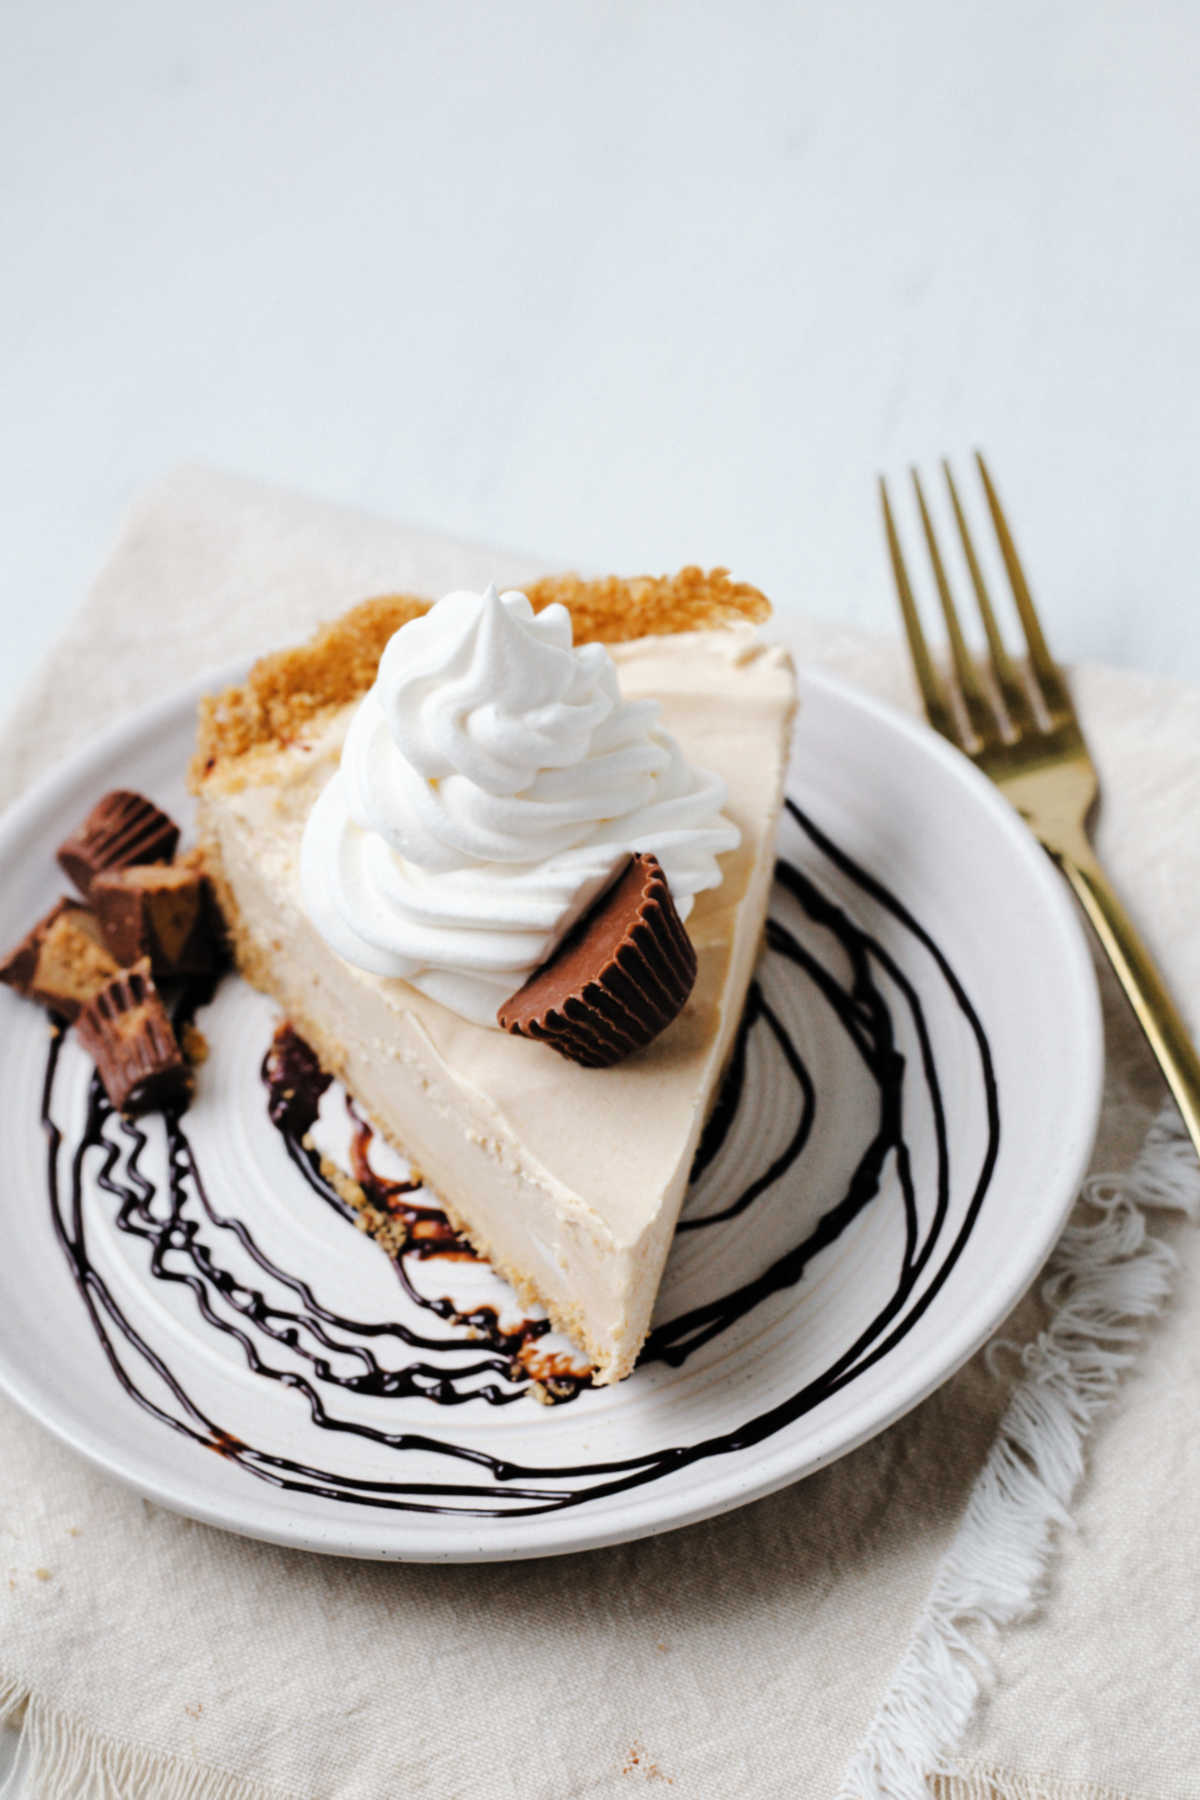
Top with Cool Whip, chocolate drizzle, or chopped candies! This old fashioned peanut butter pie is a no bake dessert that’s sure to become a family favorite. Put it together in 15 minutes, then freeze!
Deliciously smooth and creamy, this is the perfect make-ahead treat! Simply whip up the filling in less than 10 minutes, pour it into a ready-made crust, and freeze overnight.
To fully make this peanut butter pie from scratch, use the graham cracker crust from my no bake blueberry cheesecake. Be sure to follow the chilling instructions so it’s properly set before adding the filling.
I’ve also got an easy banana pudding recipe that’s ready in a snap. You can prepare it in a large pan, individual glass jars, or a trifle dish for a stunning display. Or, you may enjoy this silky no-bake chocolate cream pie — dessert doesn’t get any easier than this!
Key ingredients & substitutions for Old Fashioned Peanut Butter Pie
- Peanut Butter — I tend to use creamy so the filling is nice and smooth, but you can use crunchy instead if you like the texture. Avoid natural varieties which have a higher oil content and tend to be a bit gritty.
- Graham cracker crust — What makes this peanut butter pie a no bake recipe is the storebought crust! Feel free to use a homemade one if you prefer, or try an Oreo cookie crust to add a little chocolate flavor to your dessert. Whatever you choose, be sure that it’s deep enough to hold all of the filling.
- Powdered Sugar — If you don’t have any on hand, you can make your own! Combine 1 cup granulated sugar with 1 tablespoon cornstarch in a high-speed blender. Let it run until the texture is fluffy, about 30 to 45 seconds. Measure out what you need for this recipe, then store the rest in a sealed container.
How to make peanut butter pie from scratch?
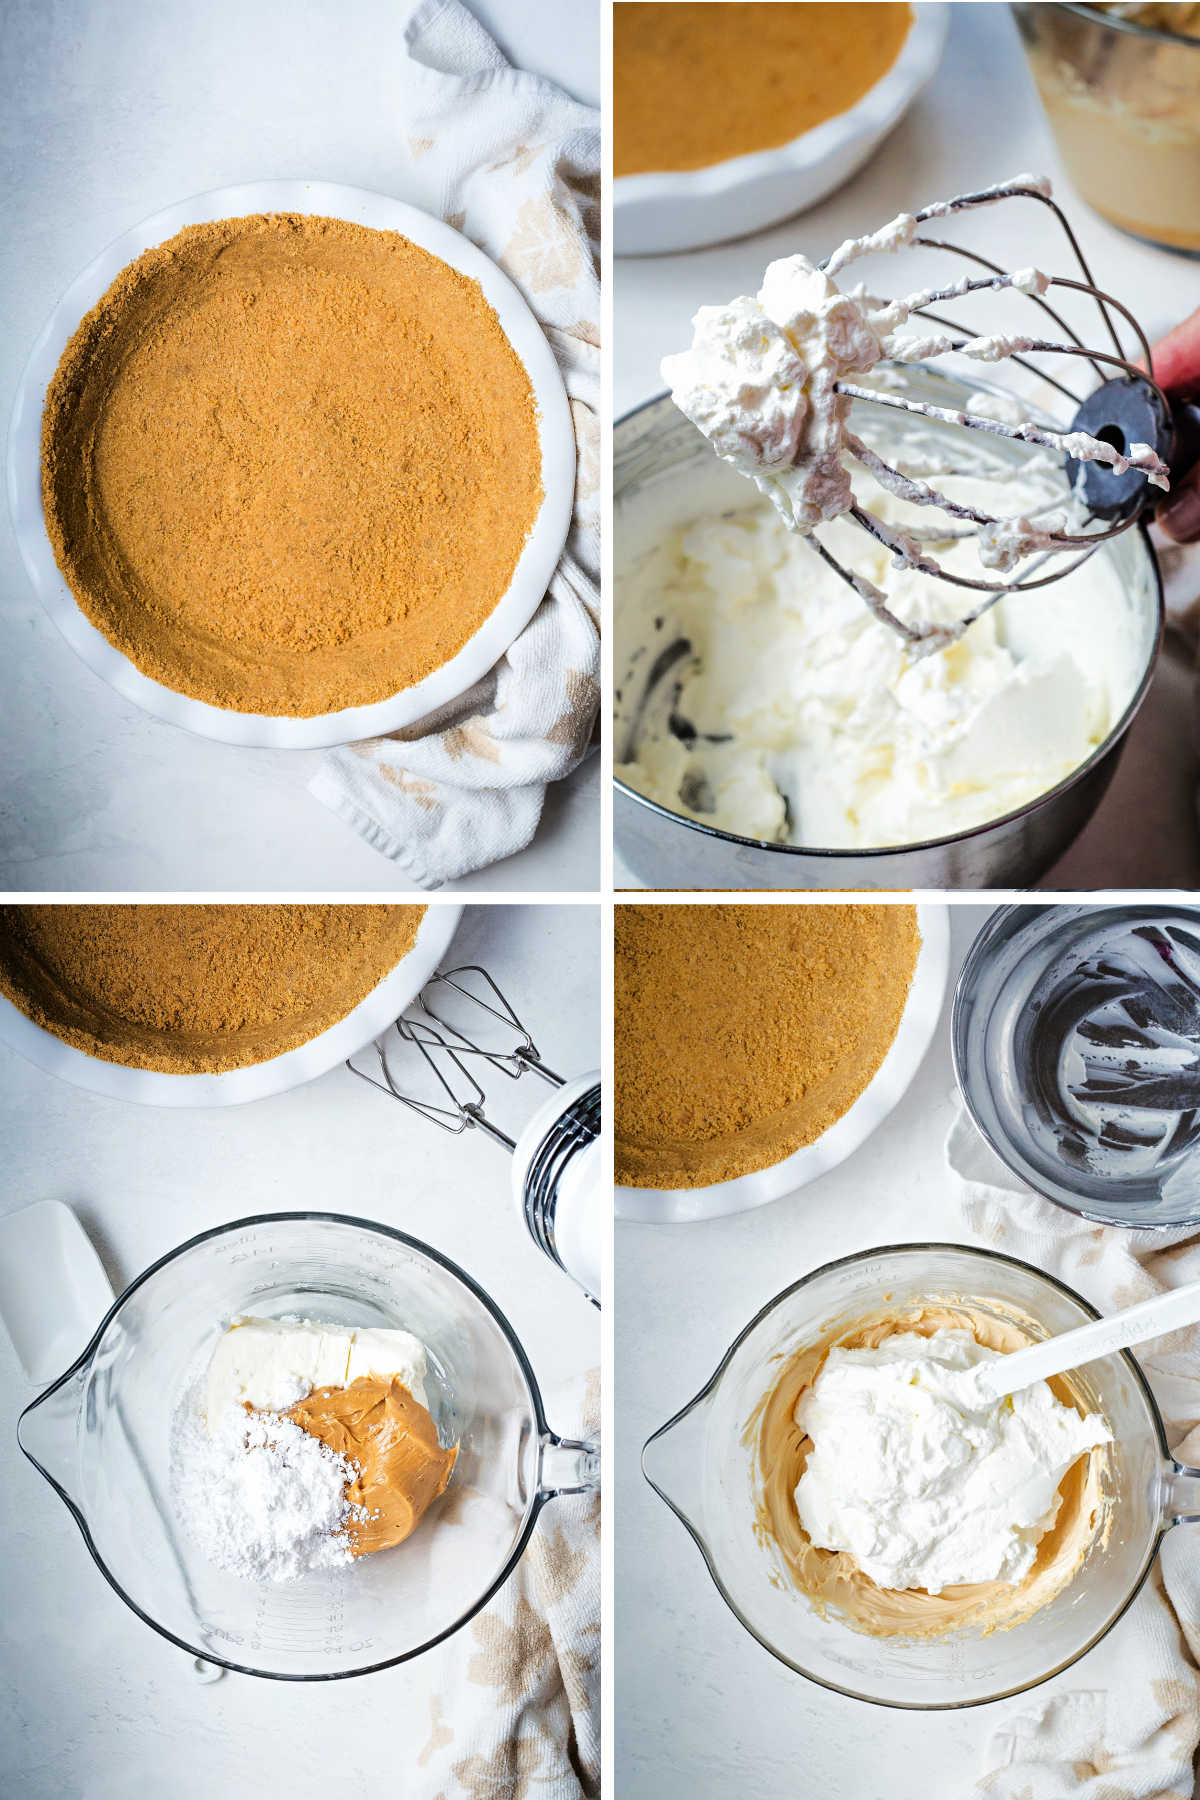
STEP 1 | Prepare the filling
Whip the heavy cream until stiff — when you lift the mixer out of the bowl, it should leave behind a pointed peak. If it droops or curls, continue beating for another minute and check again.
In a separate bowl, cream together the remaining ingredients until smooth. Fold the whipped cream into the cream cheese mixture with a spatula until there are no more streaks of white.
STEP 2 | Add to crust
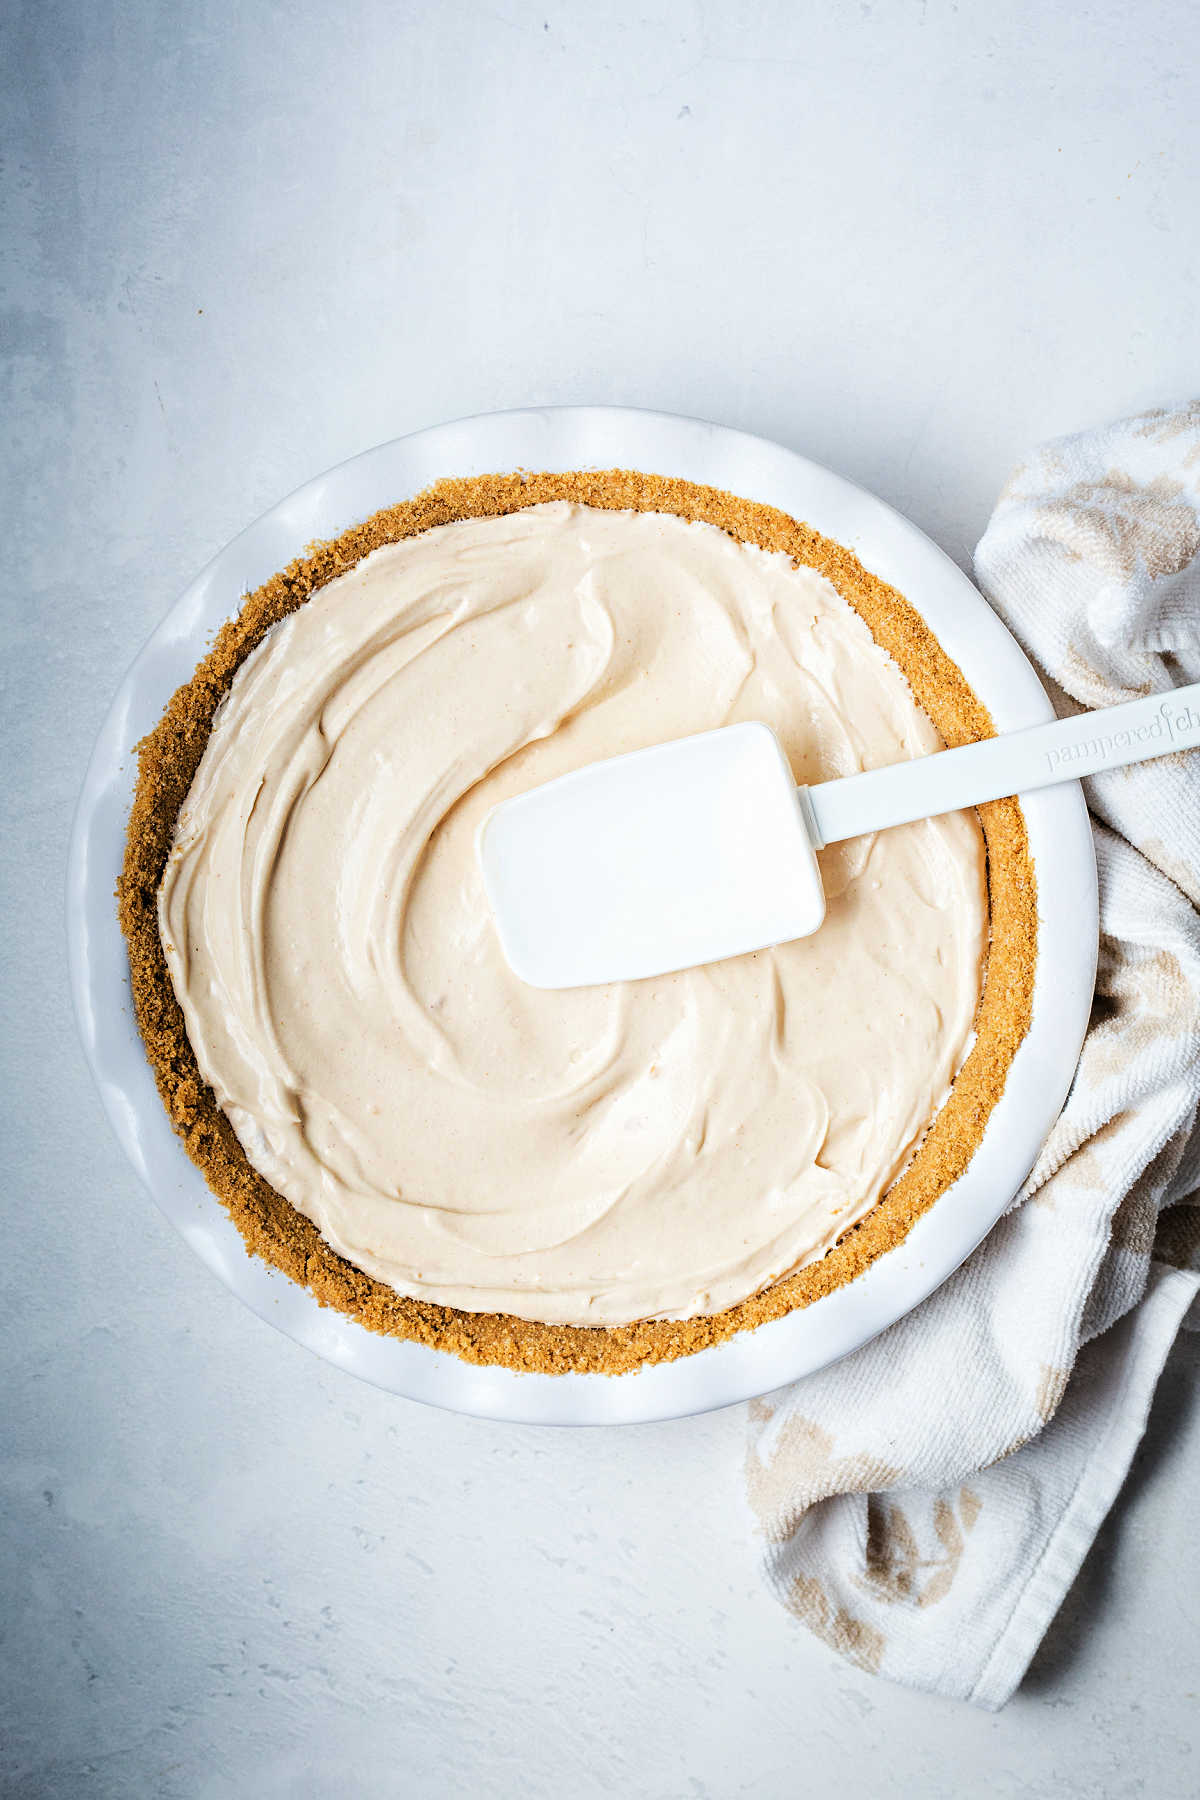
Pour the filling into the ready-made crust, smoothing it out all the way to the edges. Then, wrap tightly with a layer of plastic wrap and foil.
STEP 3 | Freeze
Pop it in the freezer overnight, and you’re done! Let it warm on the counter for 10-15 minutes before serving so it has time to soften.
tips
- There’s an easy way to tell when whipped cream is done — detach the whisk attachment (or beaters) and hold it upside down. If the whipped cream stays in place, it’s ready!
- Before slicing, run your knife under hot water and dry completely. The metal will retain the heat from the water, allowing the knife to glide smoothly through the solid filling.
Frequently asked questions
Yes! It should be good for several weeks, though it’s never lasted that long in our house!
Since this keeps well in the freezer, you can put one together whenever you have the time and store until you need it! You will need to prepare the dessert at least the day before so it has time to set up properly.
Heavy cream typically doubles in volume, so this recipe uses 2 cups of whipped cream in the filling. Since a small container of Cool Whip contains about 3 cups total, you’ll need to divide it out and save the rest as a topping.
Cool Whip also comes frozen and will need to be thawed in the refrigerator before use. If you’re short on time, you can float it in a bowl of cold water for 30-45 minutes instead.
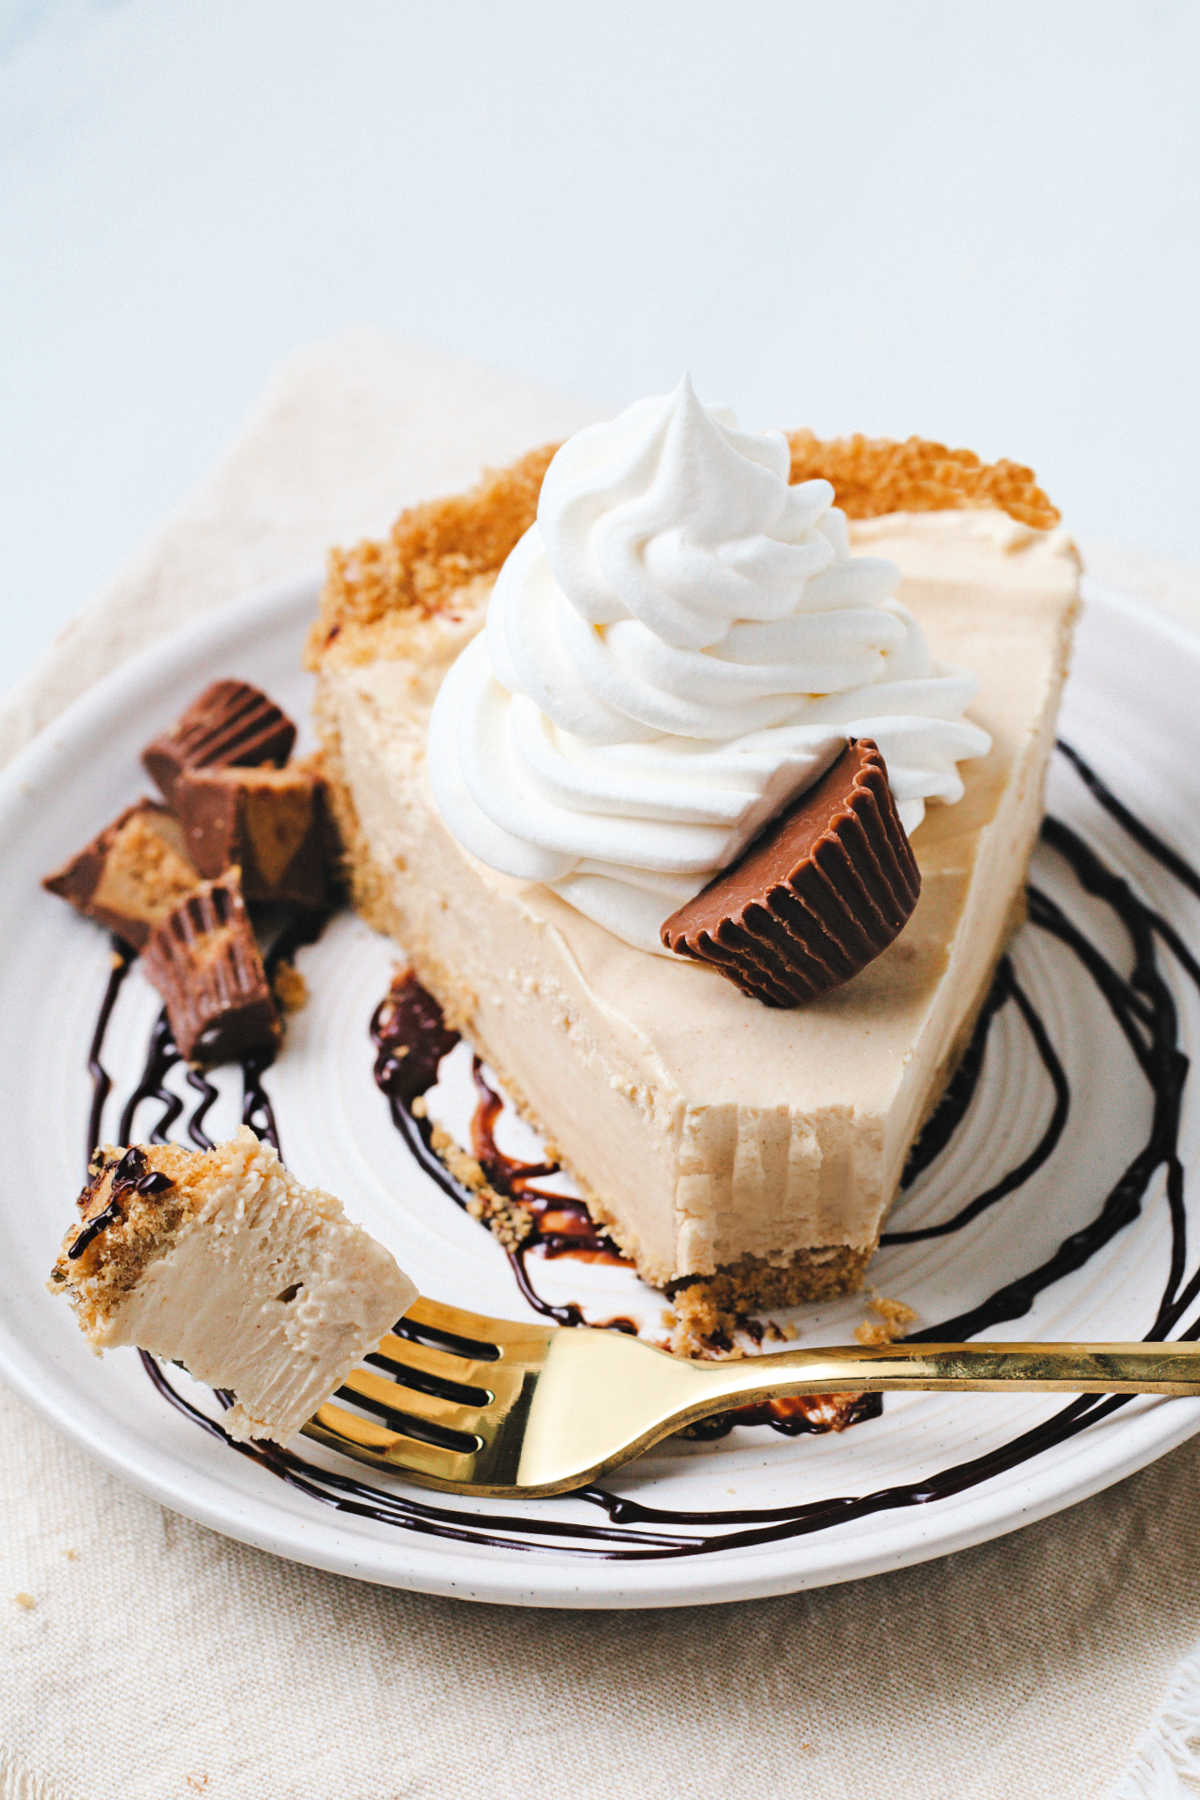
Serving suggestions
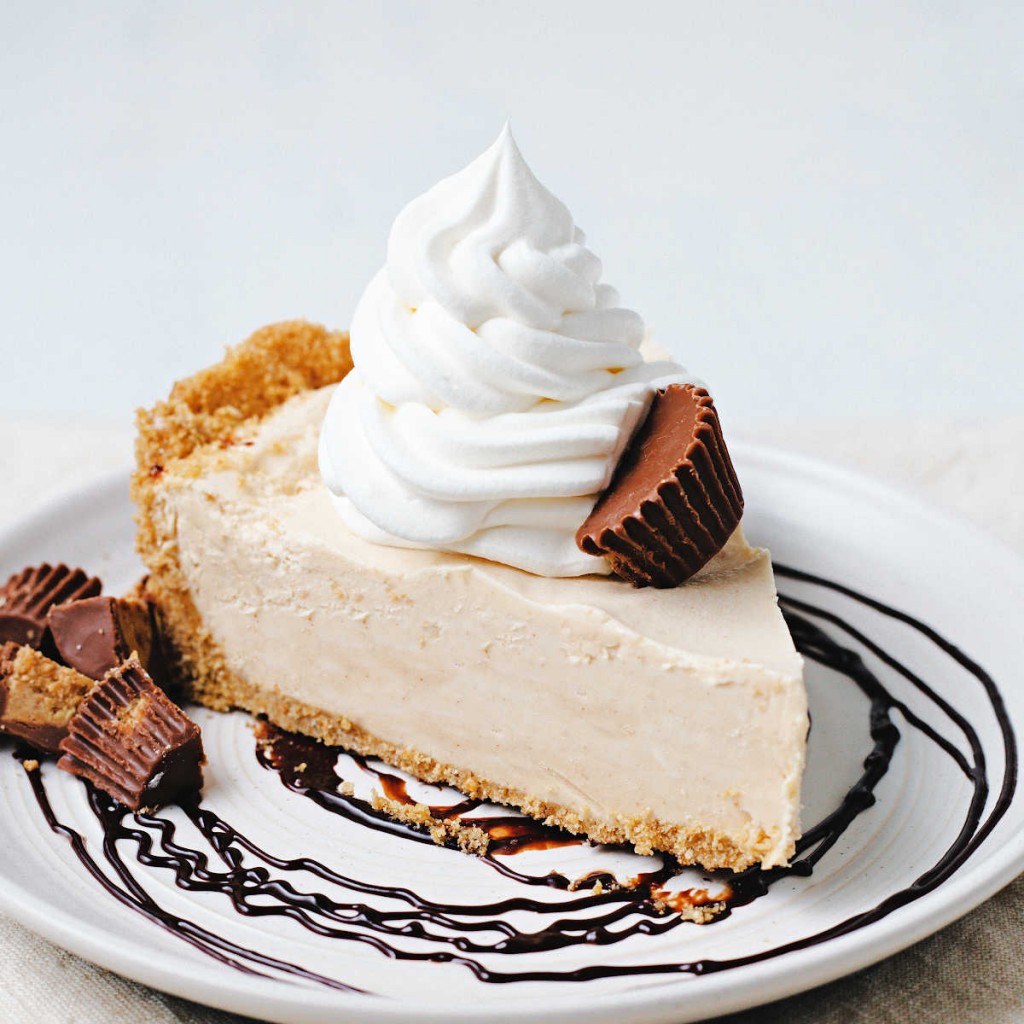
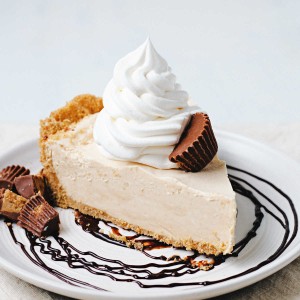
The creator of this dessert always served this with a dollop of Cool Whip. I like to top it with crushed Heath bars or Reese’s cups and a drizzle of chocolate syrup. Either way, this recipe is a keeper!
Recipe inspiration
This recipe was shared with me several years ago by my sweet neighbor, Joann. She was always the epitome of the Southern hostess — welcoming and ready to offer her guests a cup of coffee and dessert, which she always just happened to have on hand.
I will always remember the way that Joann and her husband Clint welcomed us to the neighborhood with open arms and immediately endeared themselves to our children. While we haven’t been neighbors for some time now, I’ve kept her old fashioned peanut butter pie recipe and have fond memories whenever I make it.
Old-Fashioned Peanut Butter Pie
Ingredients
- 8 ounces heavy whipping cream
- 8 ounces cream cheese softened
- ½ cup peanut butter
- 1 cup powdered sugar
- ¼ cup milk
- 1 9-inch deep dish graham cracker crust
- Cool Whip for garnish
Instructions
- Place heavy whipping cream in a small bowl and beat until stiff peaks form. Set aside.
- Cream together cream cheese, peanut butter, and powdered sugar until smooth. Add milk and mix again until smooth. Fold in the whipped cream.
- Pour into the graham cracker crust and cover. Freeze overnight.
- To serve, allow to sit at room temperature for 10-15 minutes. Slice and top with Cool Whip.
Notes
- If desired, drizzle each slice of pie with chocolate sauce and sprinkle with crushed candy bars (Reese’s Cups or Heath Bars).
- Store leftovers in the refrigerator for up to 4 days.
Nutrition
Life Love and Good Food does not claim to be a registered dietician or nutritionist. Nutritional information shared on this site is only an estimate. We recommend running the ingredients through an online nutritional calculator if you need to verify any information.




My son in law is a peanut butter fanatic, and I couldn’t wait to make this for him – it did not disappoint! 😉 He LOVED it!!
This pie is so simple and yet, packs such a delicious, creamy and cool punch! Fabulous recipe!
Best pie ever! This is so creamy and peanut buttery and delicious! Perfect with homemade whipped cream!
Peanut butter has always been a favorite flavor of mine, and this was so easy to make. I served it with more whipped cream rather than cool whip. I’m savoring every piece.