Air Fried Onion Rings
This post may contain affiliate links. Please read my disclosure policy.
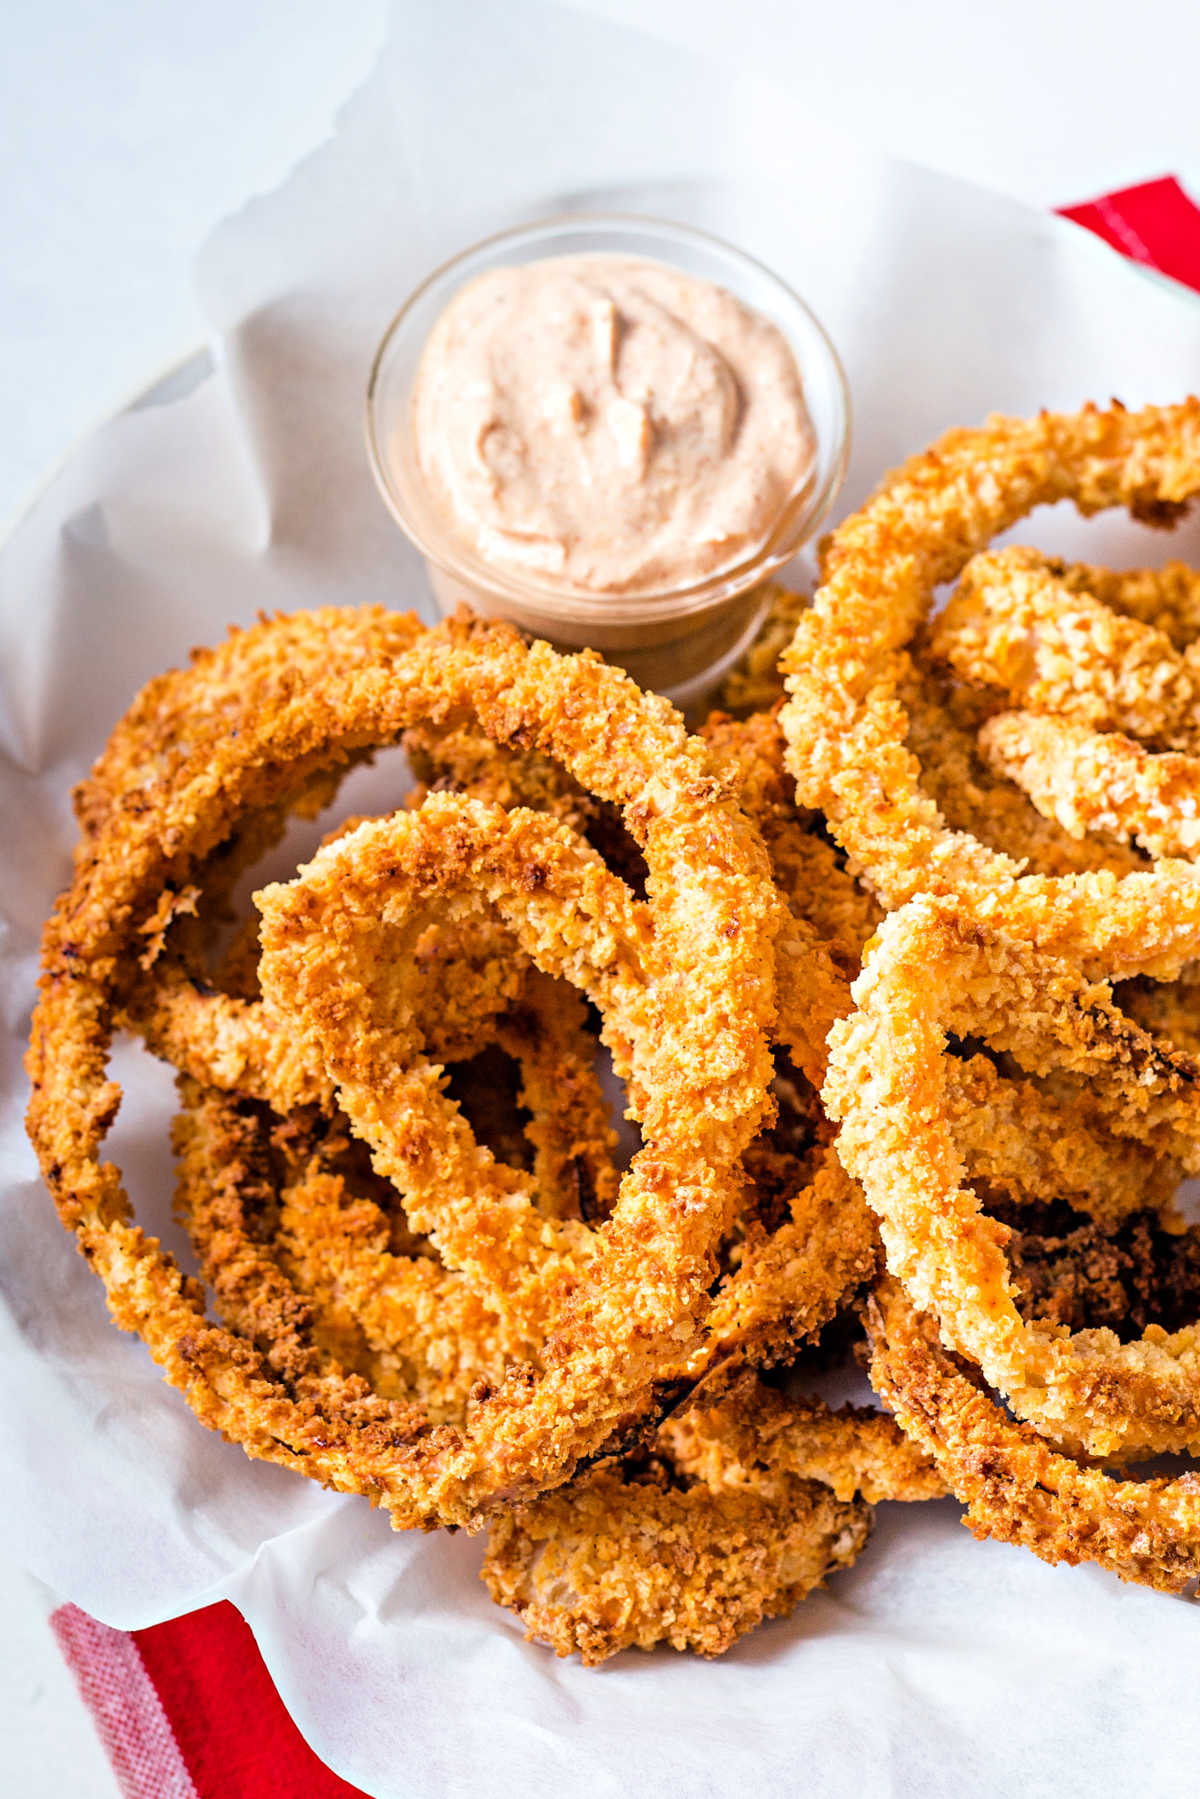
Skip the frozen bags and make some from scratch! These Air Fried Onion Rings are light and crispy with very little oil. Make a batch with fresh onions and pantry staples in just 30 minutes!
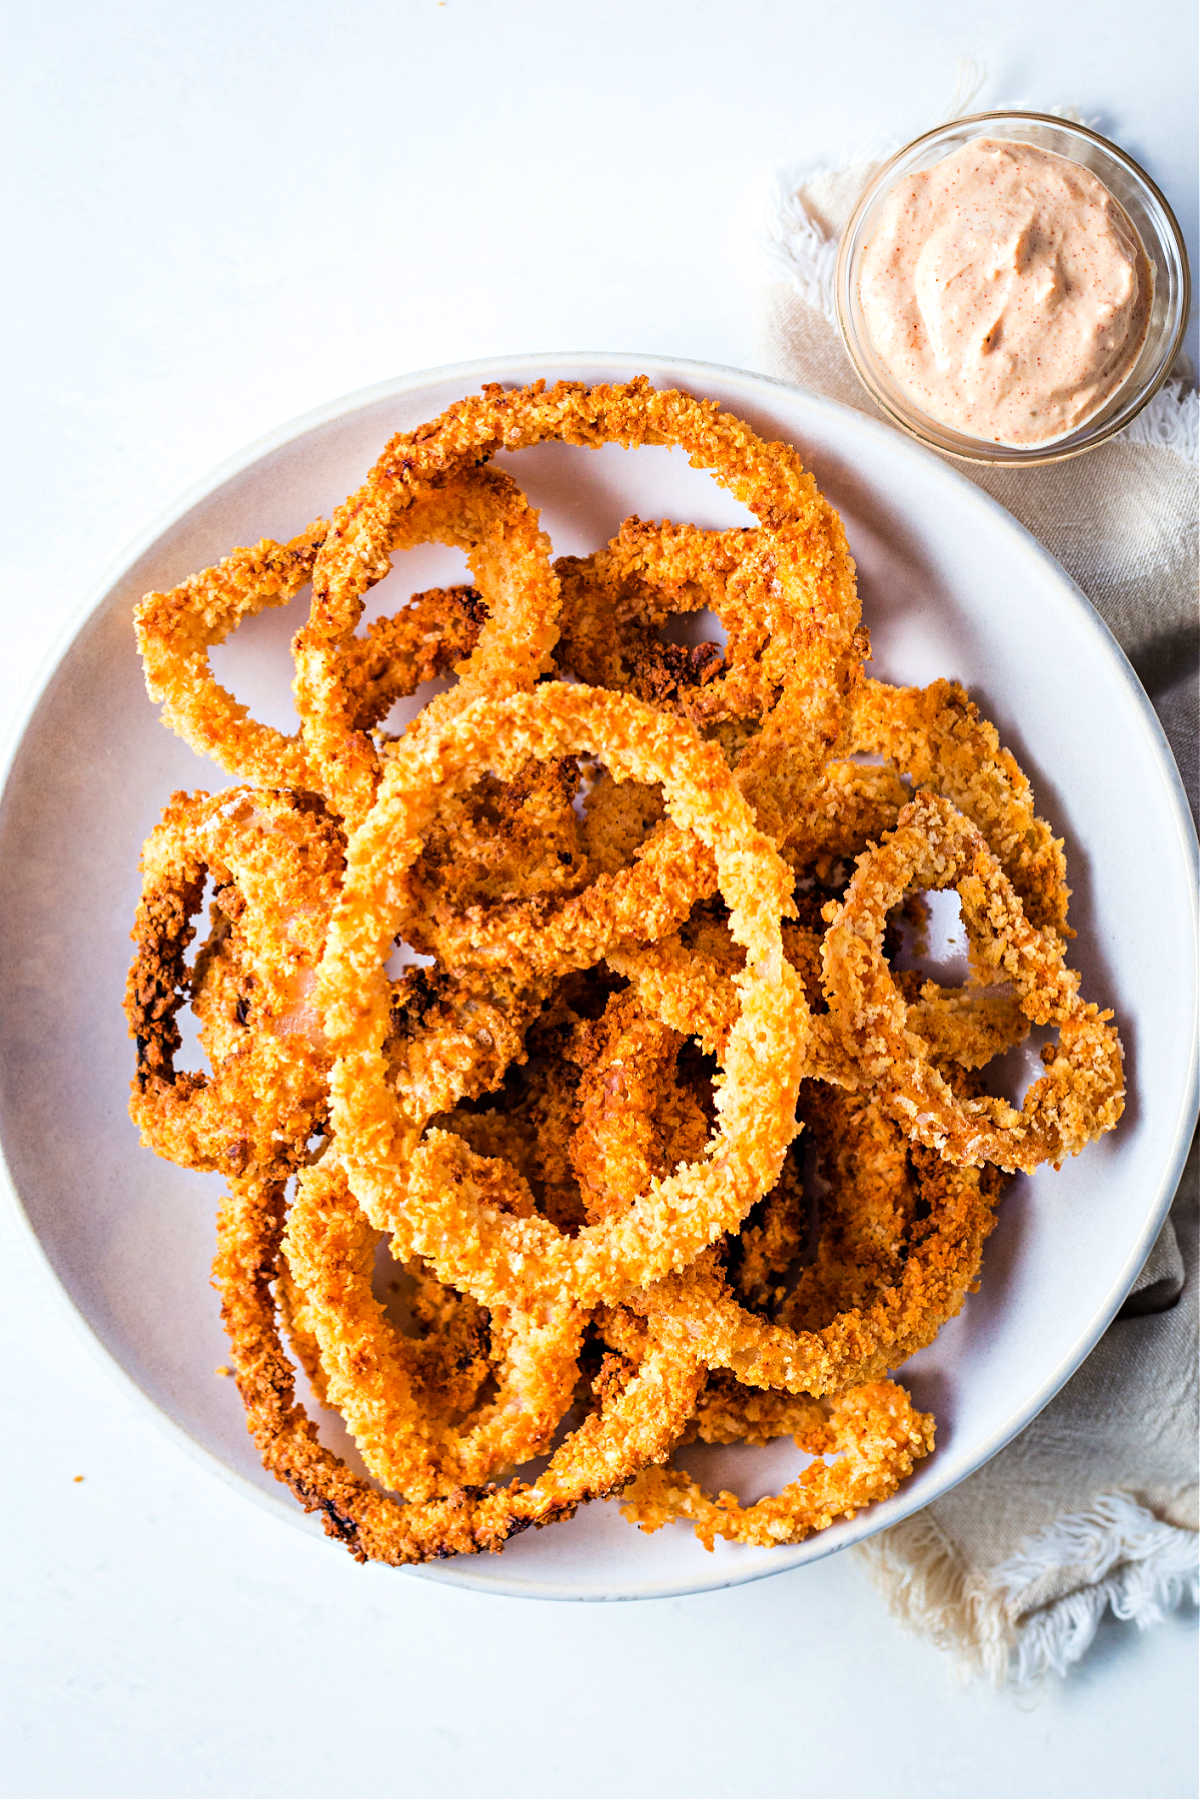
Coated in seasoned flour, half and half egg wash, and flaky Panko breadcrumbs — this simple appetizer tastes just as incredible as any restaurant order. Plus, it’s far less greasy!
Enjoy air fried onion rings as a crunchy snack or serve them alongside dinner favorites like burgers or Sloppy Joes. You can even prep a big batch and keep them on hand in the freezer.
For more homemade versions of appetizer favorites, try my Bacon Cheddar Jalapeño Poppers or crispy Smoked Chicken Wings. Either one will have your guests begging for more!
Key ingredients & substitutions for Air Fried Onion Rings
- Onions — Use a sweet variety (Vidalia) for the best flavor. Yellow or white varieties will work in a pinch, but avoid red onions entirely!
- Flour — Regular AP flour is perfect, or use a 1:1 gluten free blend.
- Smoked paprika — This has a bolder flavor than regular paprika, since the peppers are smoke-dried before they are crushed. If you are sensitive to heat, use regular paprika or omit this entirely.
- Half and half — You can make your own by whisking together equal parts milk and heavy cream.
- Panko breadcrumbs — This is a Japanese style of breadcrumbs that cooks up crispier than regular varieties. The tiny airy flakes provide a nice coating without absorbing the liquid underneath. Some brands are gluten free, but be sure to check the label carefully if that’s a concern.
tip
- Have your breading station ready to go before getting started on this air fryer onion rings recipe! Separate the veggie slices onto a plate, then prepare the spiced flour, egg wash, and breading in separate shallow bowls
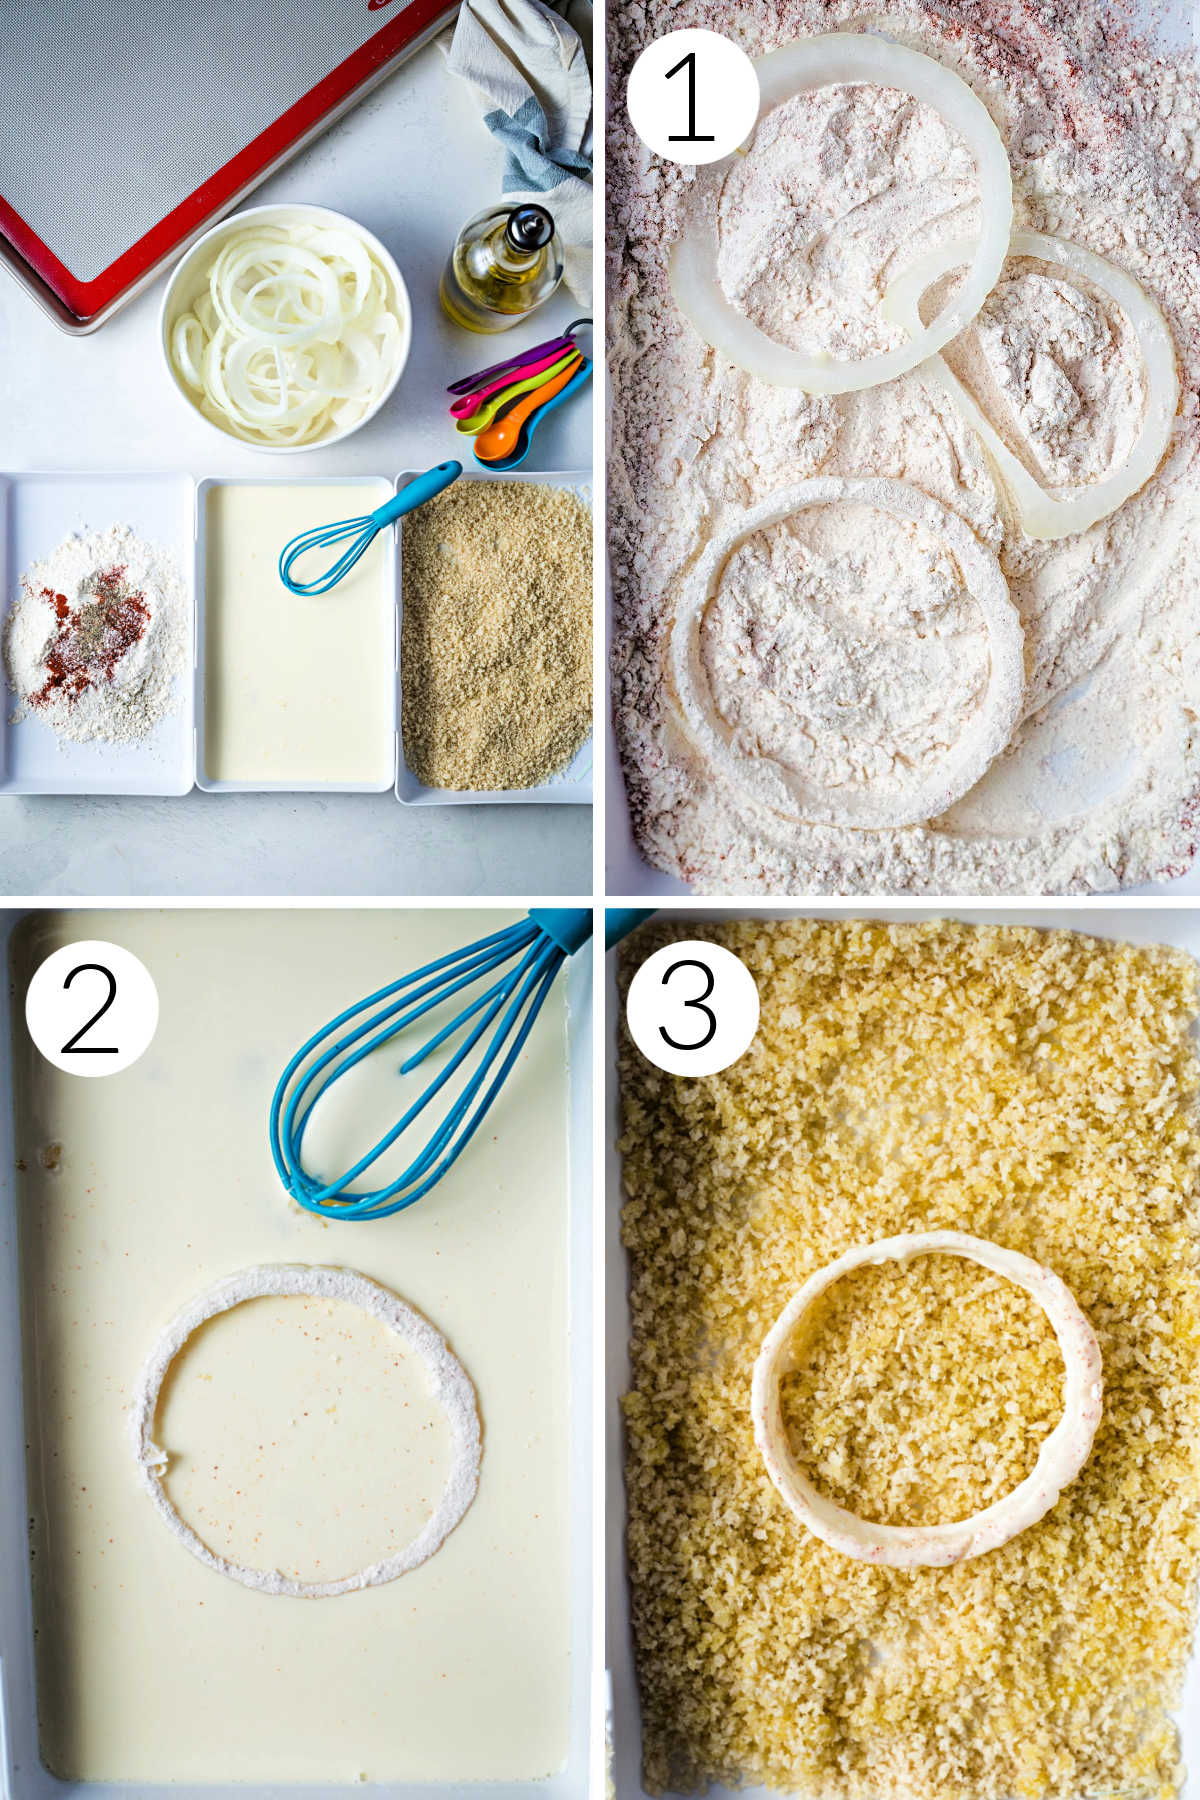
How to make onion rings in the air fryer?
STEP 1 | Dredge the onions
Nestle a veggie ring into the flour mixture, flipping to get it coated on both sides.
STEP 2 | Dip in egg mixture
Once the entire slice is wet, dredge it again in the flour and back in the egg. Be sure to shake off any excess between each step.
STEP 3 | Coat with breading
Lay the ring in the breadcrumbs and use your fingers to coat the entire surface. Repeat with each slice, layering them on a baking sheet until all of them are done.
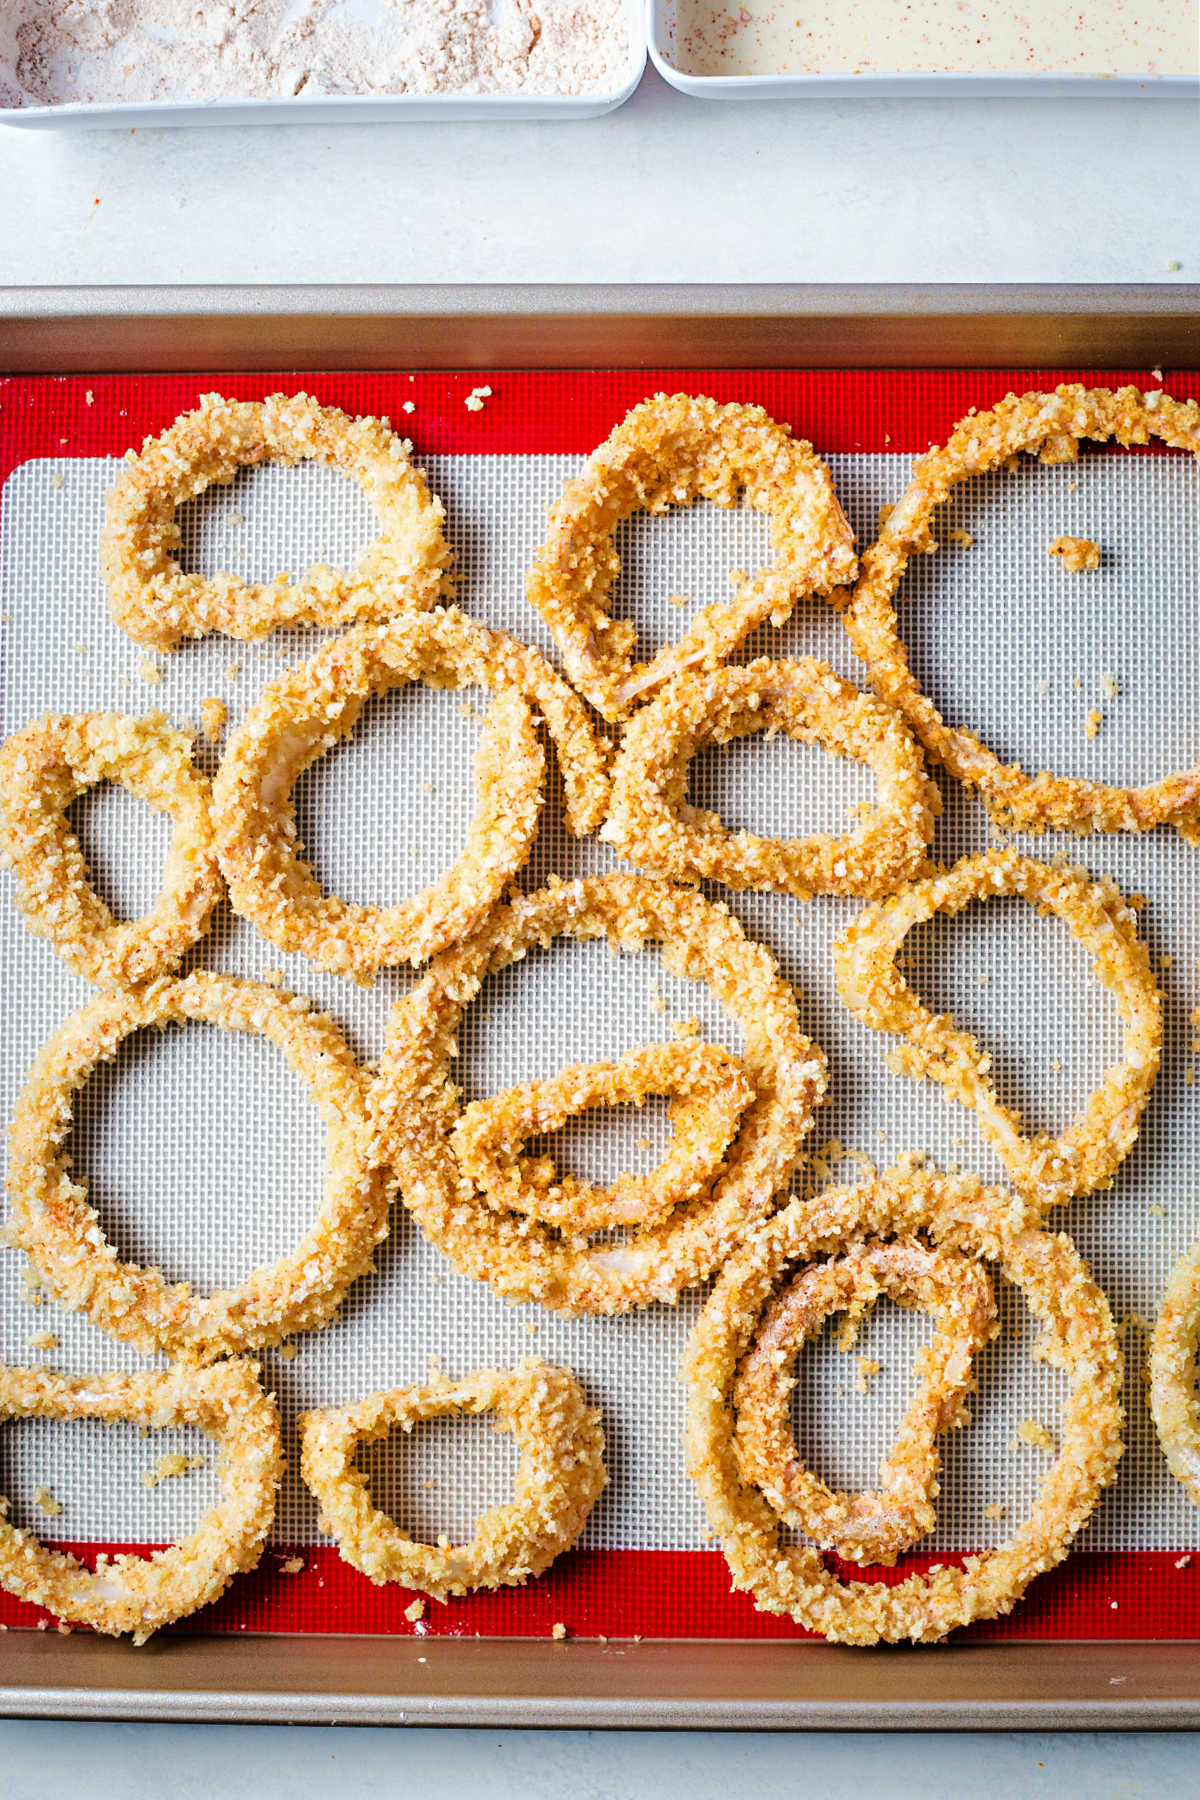
STEP 4 | Freeze
This step helps the breading adhere better to the surface, meaning it won’t slide off the onion rings in the air fryer!
tip
- Spray a thin layer of oil in the basket before cooking — it isn’t necessary to spray the veggie slices themselves.
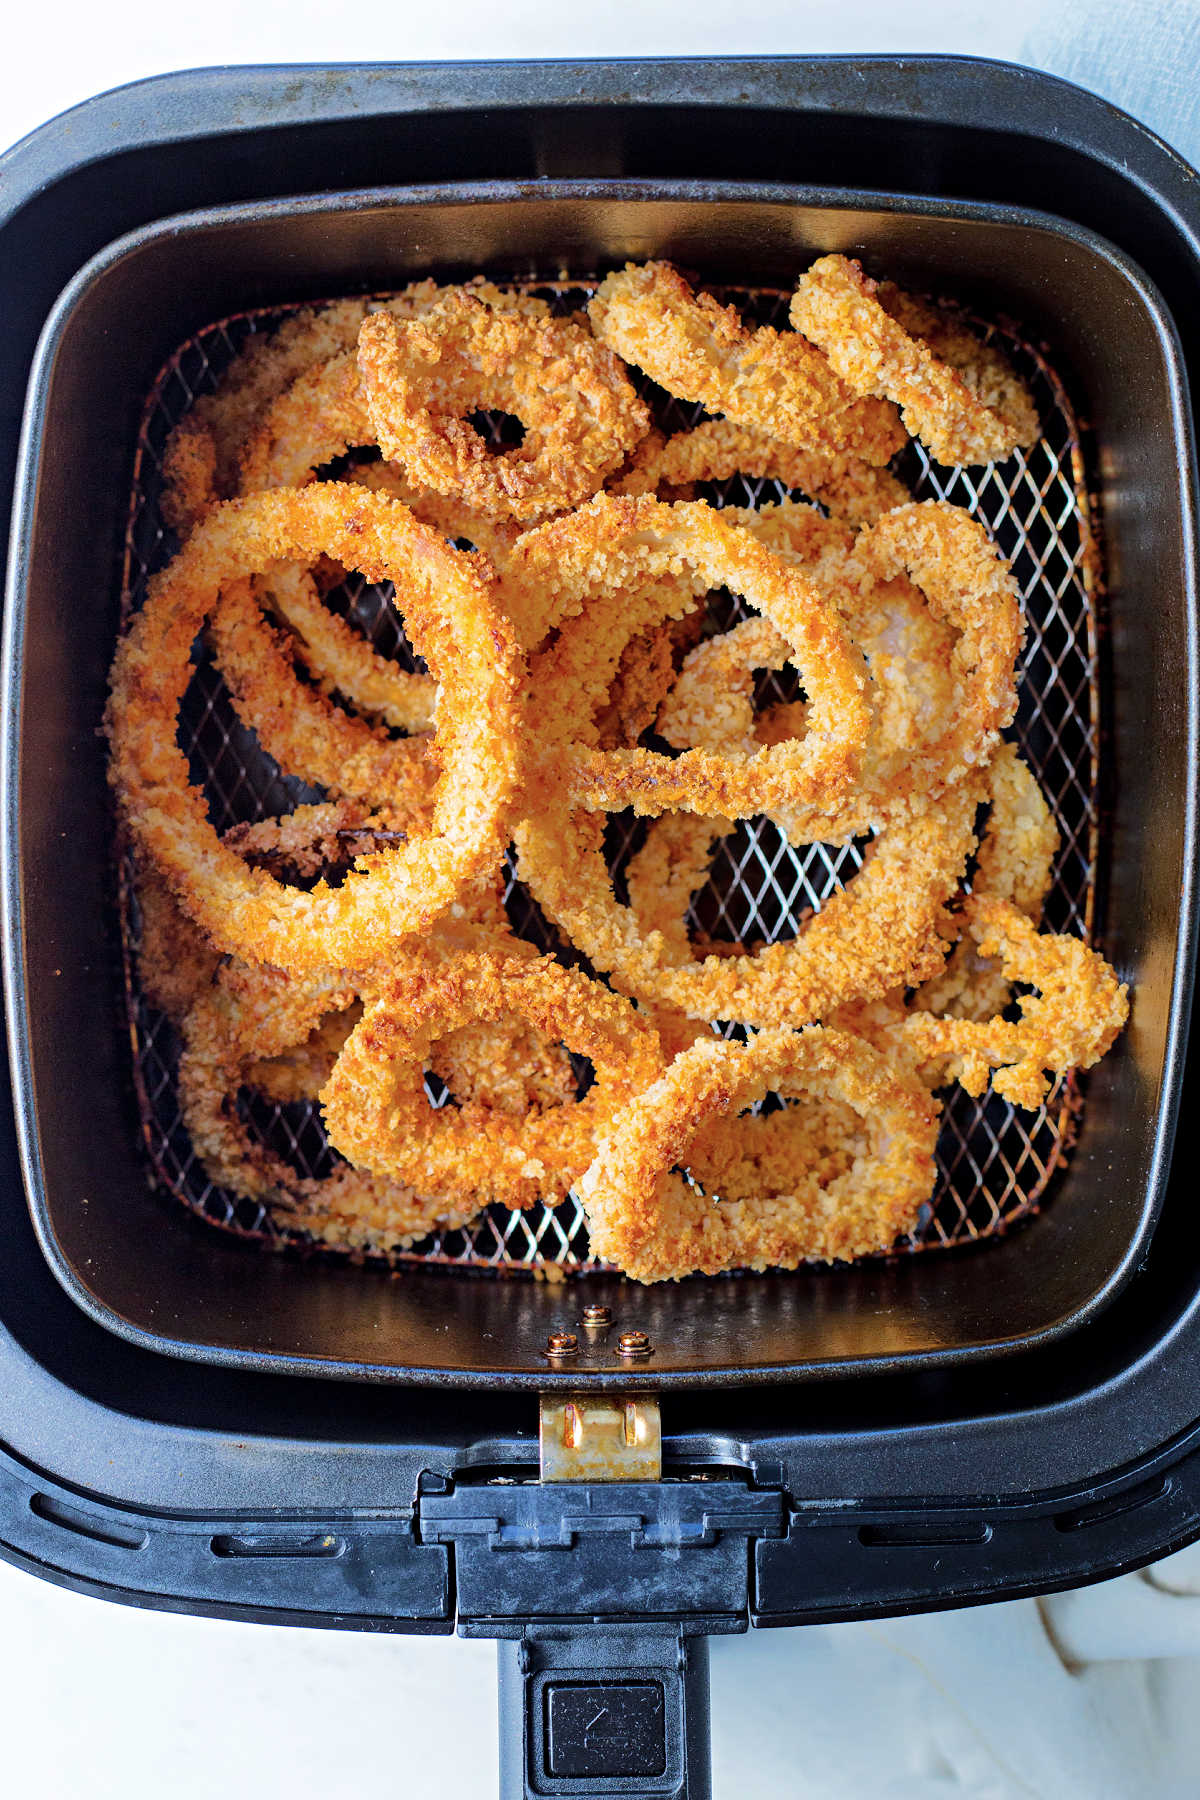
STEP 5 | Cook
Always cook in a single layer. You can use tongs to flip them halfway, but I didn’t notice a difference either way.
Depending on the size of your air fryer, you may need to cook these in 2 or 3 batches. It’s fine to nest the onion rings inside of each other as long as they aren’t touching. Once golden and crispy, they’re done!
tips
- When all of the batches are done, layer the onion rings in the air fryer basket and cook for another couple of minutes. This will reheat the first batches so they are all warm for serving!
- If you wish to add a sprinkle of sea salt when you remove your air fried onion rings from the basket, go ahead and spritz them lightly with oil during the last few minutes of cooking.
- Want to freeze these for later? Transfer cooled batches to a freezer-safe storage bag and store for up to 8 weeks. Cook from frozen for a quick and easy snack.
Frequently asked questions
You can make as much or as little as you would like, as long as you cook these in batches.
First, don’t skip the freezer step! It’s the easiest way to set the breadcrumb coating so it doesn’t fall off. Also, it helps to pat the veggie slices with paper towels before dredging them to soak up any excess liquid
While I don’t find this step to be necessary, it’s not a bad idea if you’re using regular yellow onions. It dilutes the sulfur content, making them more mild and sweet. Just be sure to pat dry completely before breading the slices.
Serving suggestions
You can’t have air fried onion rings without dip! Serve these up with a number of tasty options like ketchup, honey mustard, ranch, or blue cheese dressing. Even a side of Yum Yum sauce would be delicious!
Love this recipe? Bookmark it for the future!
Simply tap the heart symbol located in the lower right corner of your screen, and the recipe will be securely stored in your own recipe box.
Air Fried Onion Rings
Ingredients
- 1 large Vidalia onion peeled and sliced into 1/2-inch rings
- 1 cup all-purpose flour
- 1 teaspoon smoked paprika
- ¼ teaspoon black pepper
- 1 ½ teaspoons kosher salt divided
- 1 cup half and half
- 1 egg beaten
- 1 ½ cups panko breadcrumbs
- 2 tablespoons olive oil
- Cooking spray
Instructions
- Cut the ends off of a large Vidalia onion and remove the outer skin. Cut into 1/2-inch slices ad separate the rings.
- Set up the breading station using 3 shallow bowls. In the first bowl combine the flour, smoked paprika, pepper, and 1/2 teaspoon salt. In the second bowl, whisk together the half and half and egg. In the last bowl, use a fork to combine the panko breadcrumbs, remaining teaspoon of salt, and the olive oil.
- Dredge each onion ring in the flour mixture, then dip into the egg mixture. Dredge again in the flour and in the egg, then shake off any excess and coat with the panko breadcrumbs. As you go, layer the breaded onion rings on a baking sheet. When finished, place the onion rings in the freezer for 10 – 15 minutes.
- Meanwhile, preheat the air fryer to 400 degrees for 5 minutes. Lightly spray the basket of the air fryer with cooking spray.
- Cook the onion rings in batches in a single layer (nesting smaller rings inside larger rings as long as they are separated by space) for 9 – 11 minutes, or until crispy.
- At the end of cooking, return all the onion rings to the air fryer basket (it's fine to layer them this time) and cook for 2 minutes to warm up any that have cooled.
Notes
Nutrition
Life Love and Good Food does not claim to be a registered dietician or nutritionist. Nutritional information shared on this site is only an estimate. We recommend running the ingredients through an online nutritional calculator if you need to verify any information.

