Chocolate Peanut Butter Balls (Only 4 Ingredients!)
This post may contain affiliate links. Please read my disclosure policy.
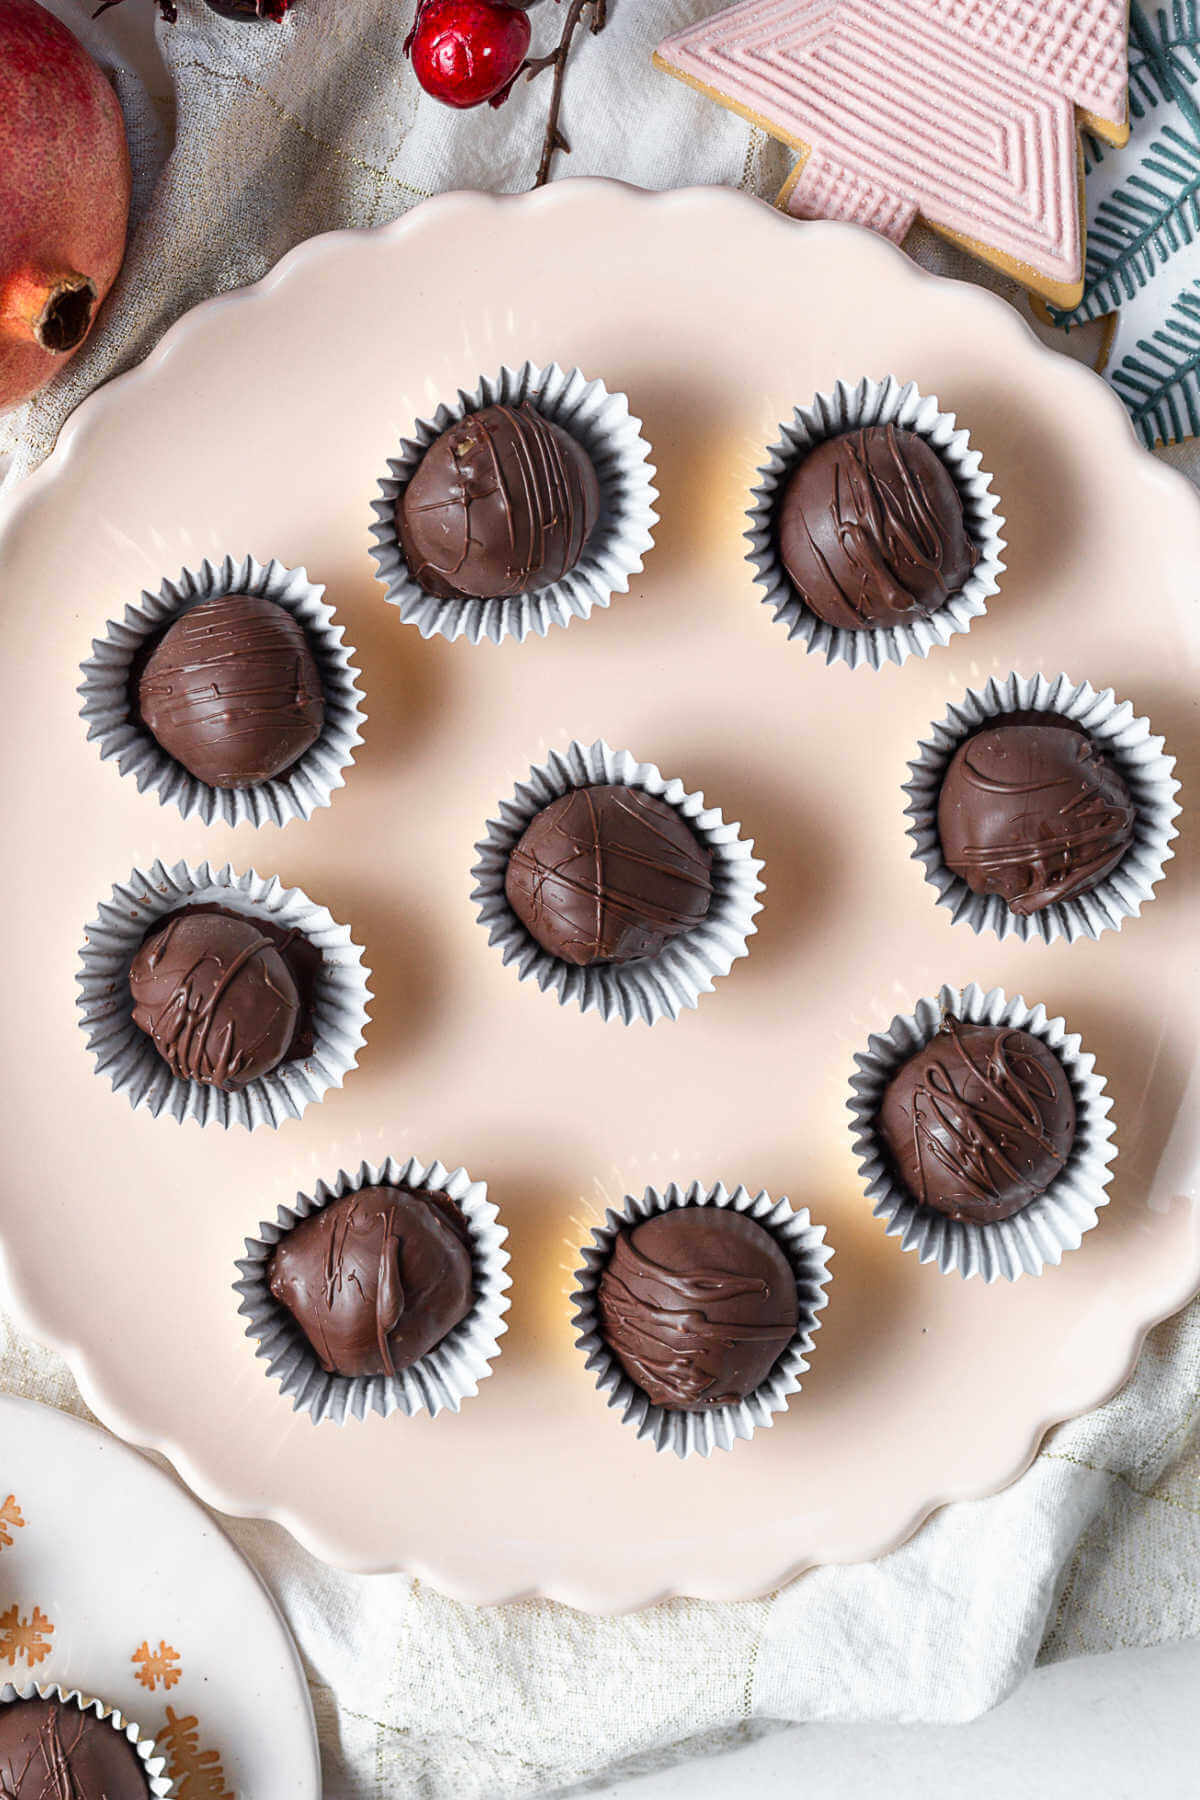
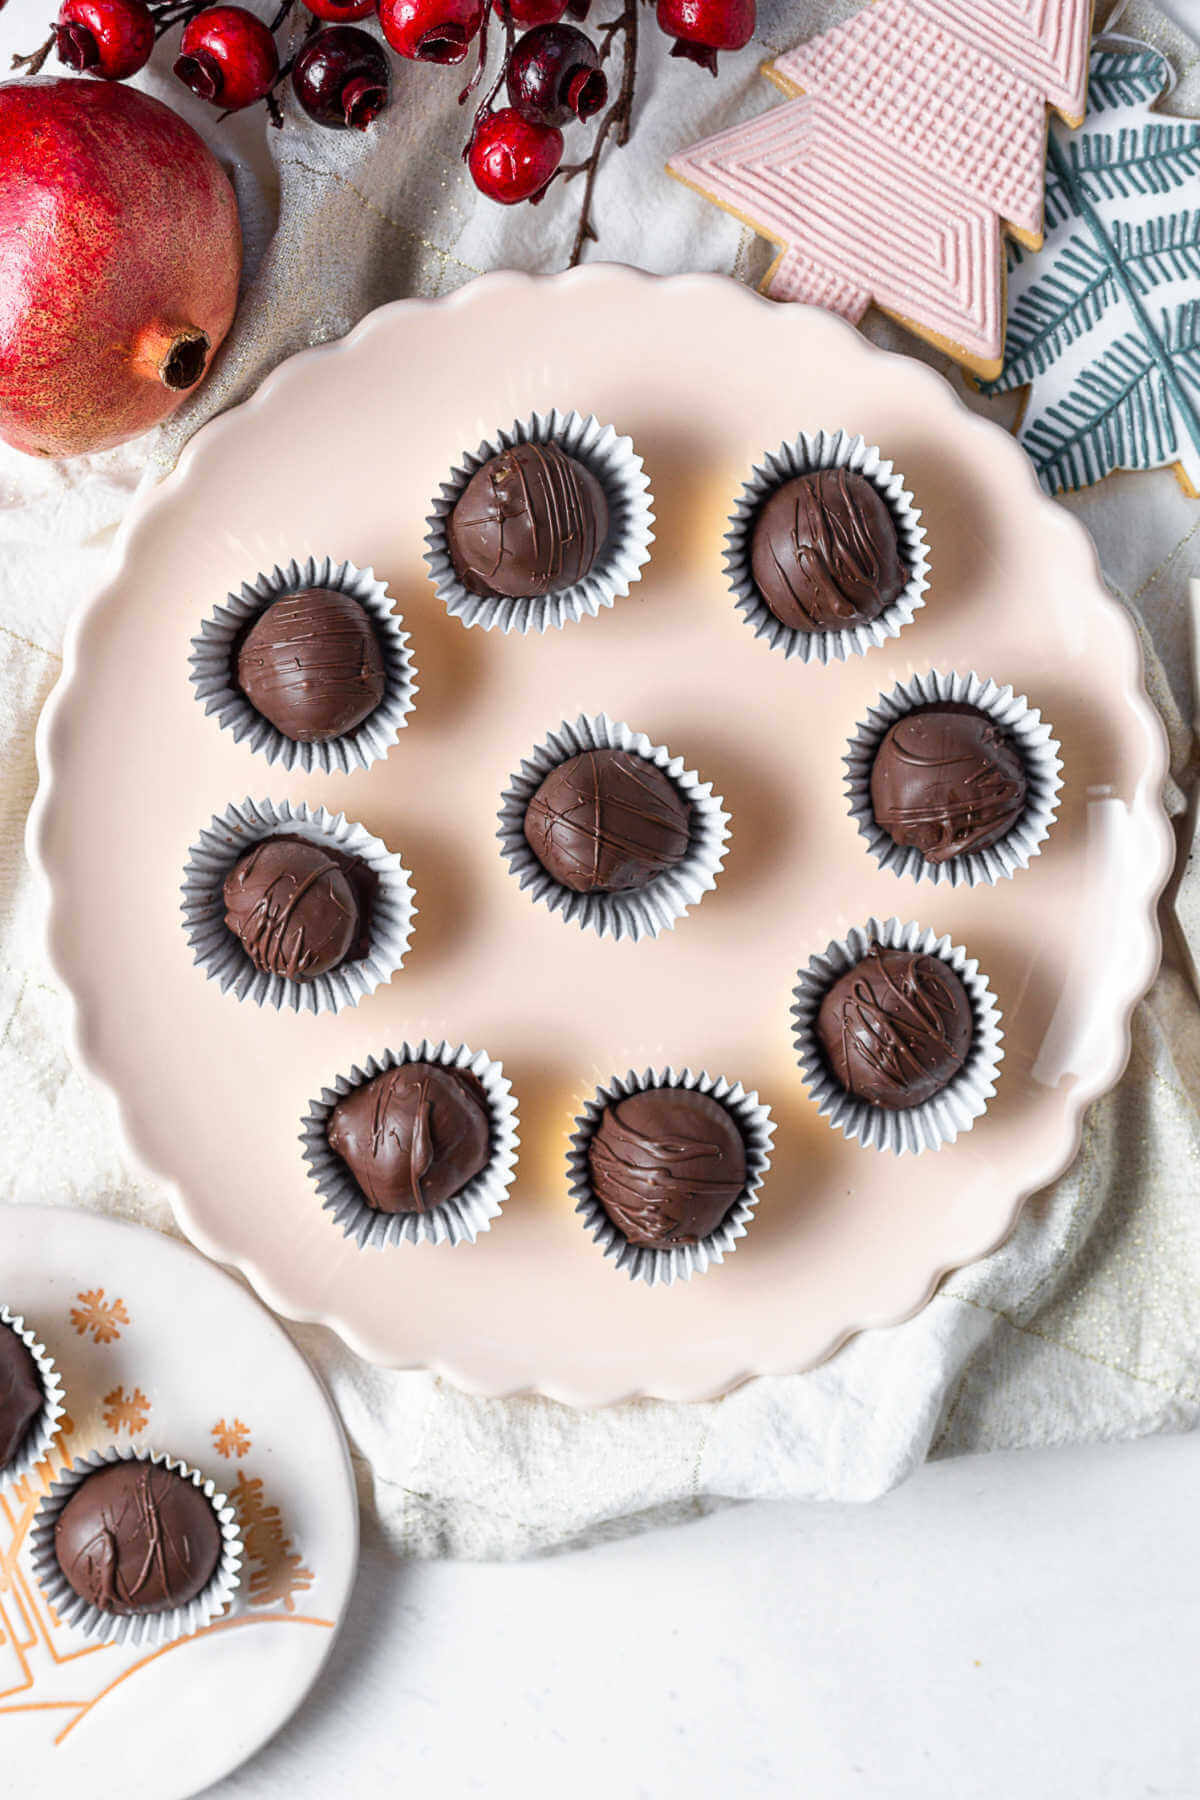
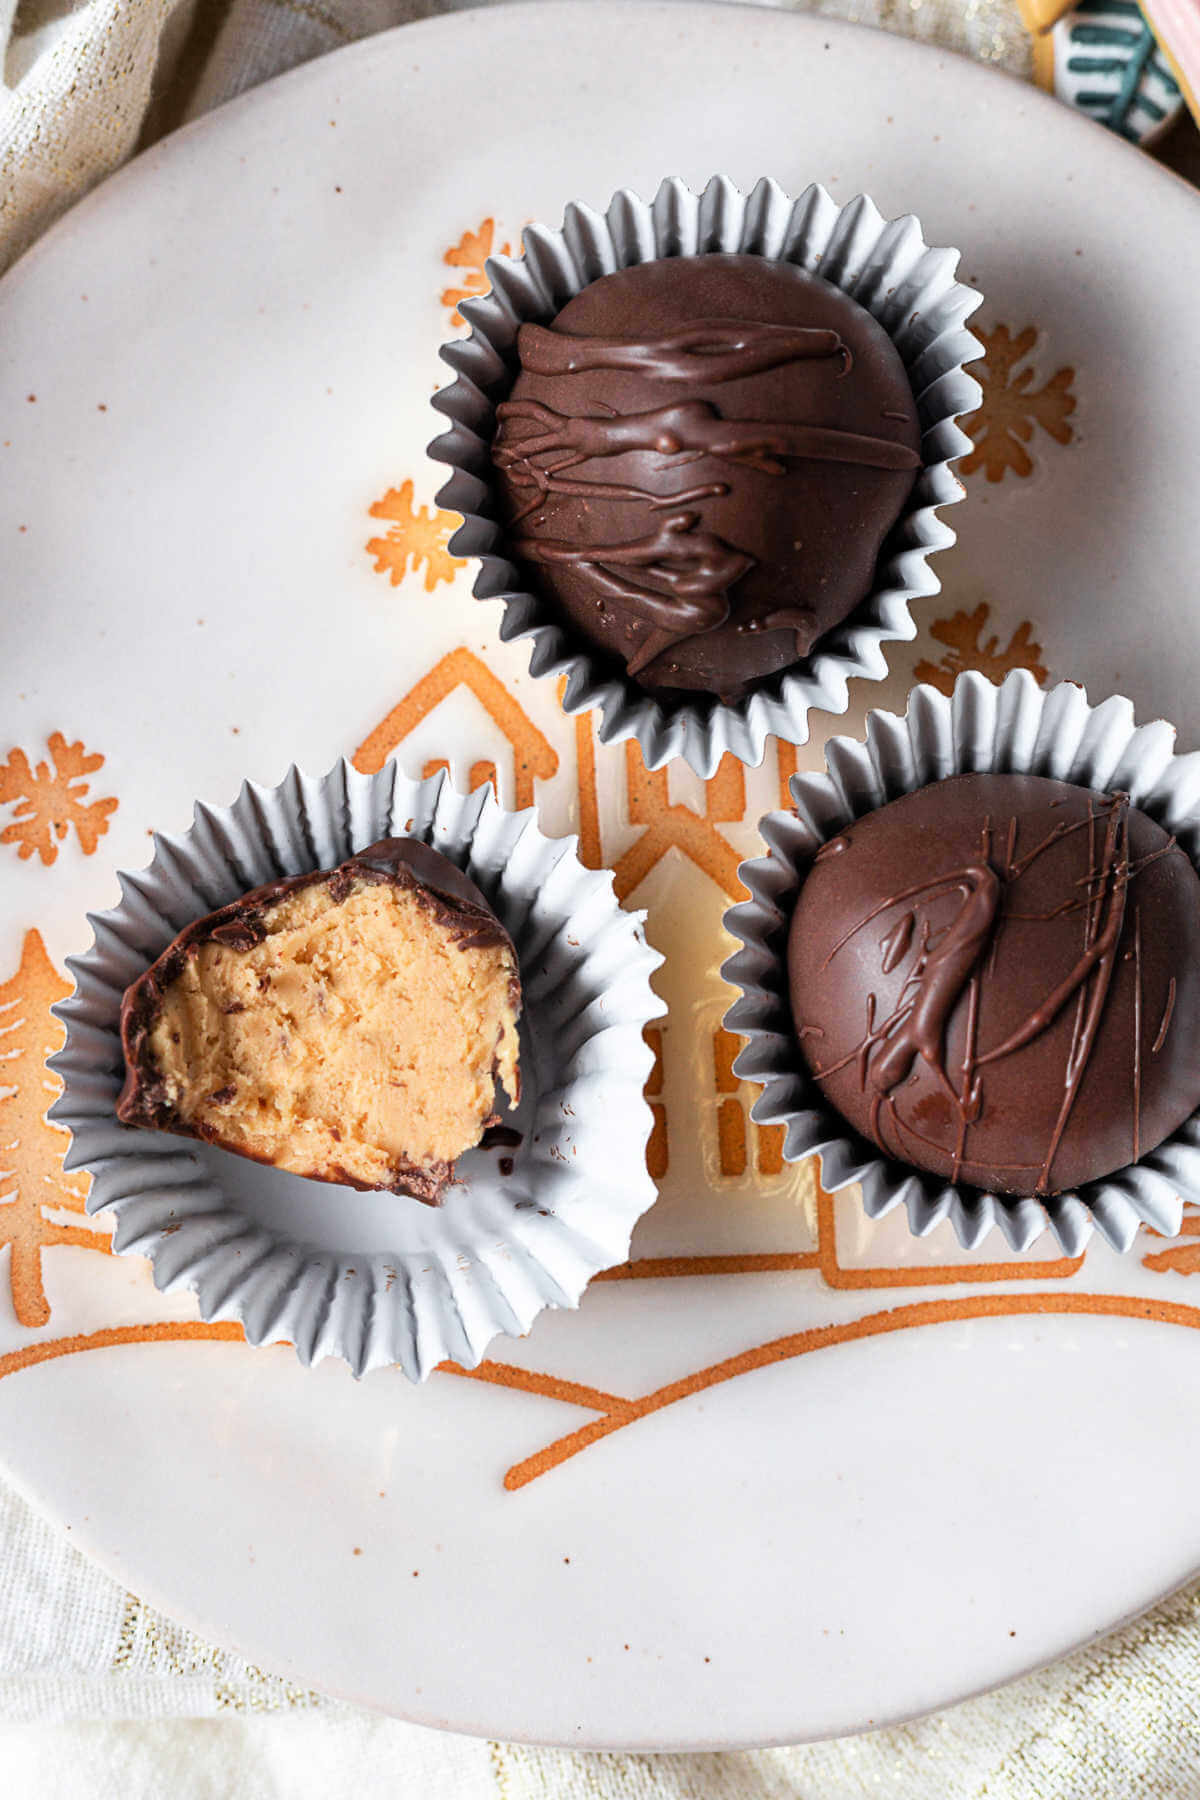
These Peanut Butter Balls are creamy, chocolatey, and easy to make, but watch out — they’re absolutely addictive! Whip up a batch of these easy 4-ingredient Peanut Butter Balls in under an hour and make enough to serve a crowd at your upcoming holiday gatherings and other seasonal events.
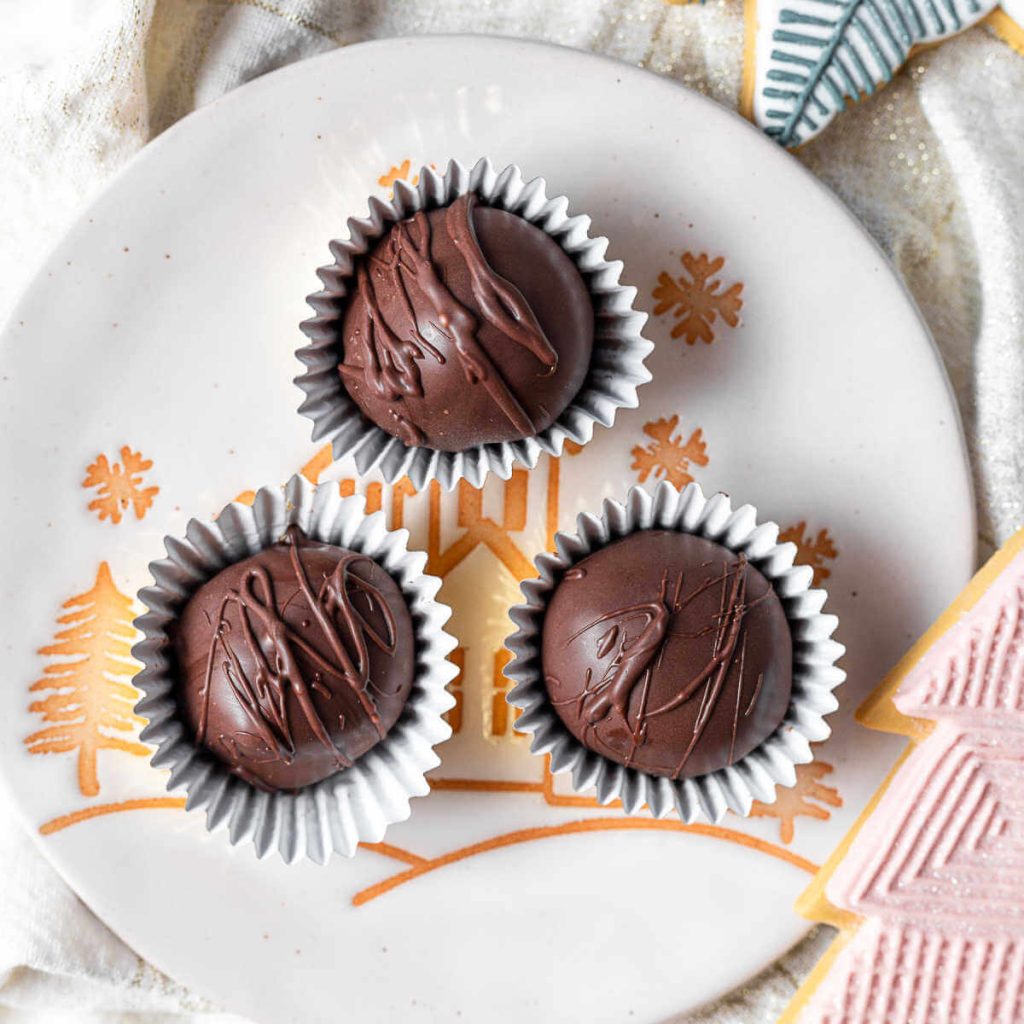

Why You’ll Love This Peanut Butter Balls Recipe!
Besides the perfect combination of rich chocolate flavor with the creamy goodness of peanut butter, these homemade goodies look gorgeous and taste even better!
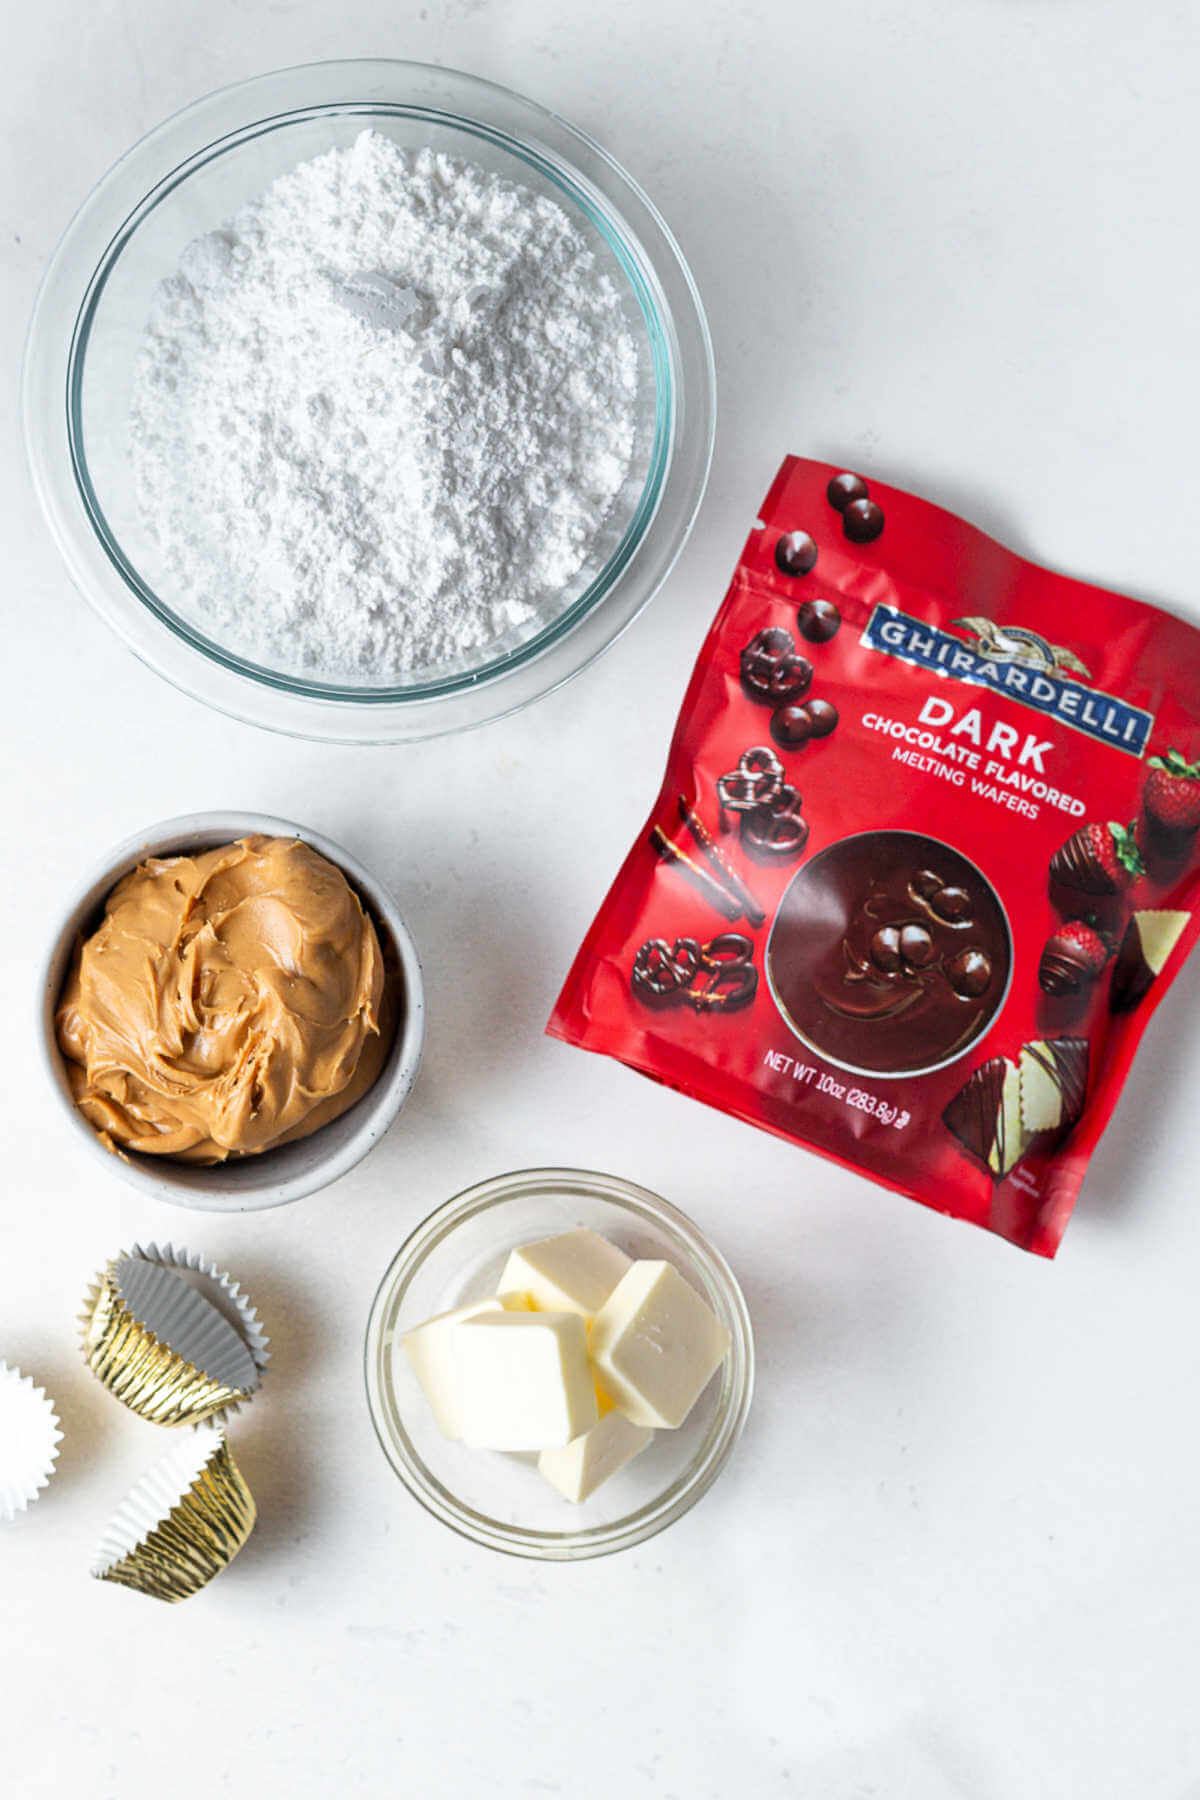
Ingredient Notes
- Peanut butter | These chocolate treats are best when made with high-quality creamy peanut butter — use your favorite brand!
- Butter | To soften the peanut butter filling and add buttery richness, use unsalted butter softened to room temperature.
- Powdered sugar | Sweeten the peanut butter filling with soft powdered sugar.
- Chocolate | I recommend melting chocolate, like the Ghiradelli dark chocolate melting wafers.
How to make this No-Bake Peanut Butter Balls Recipe
These easy peanut butter balls are fun to make! Invite friends, family, or your little ones to make them with you!
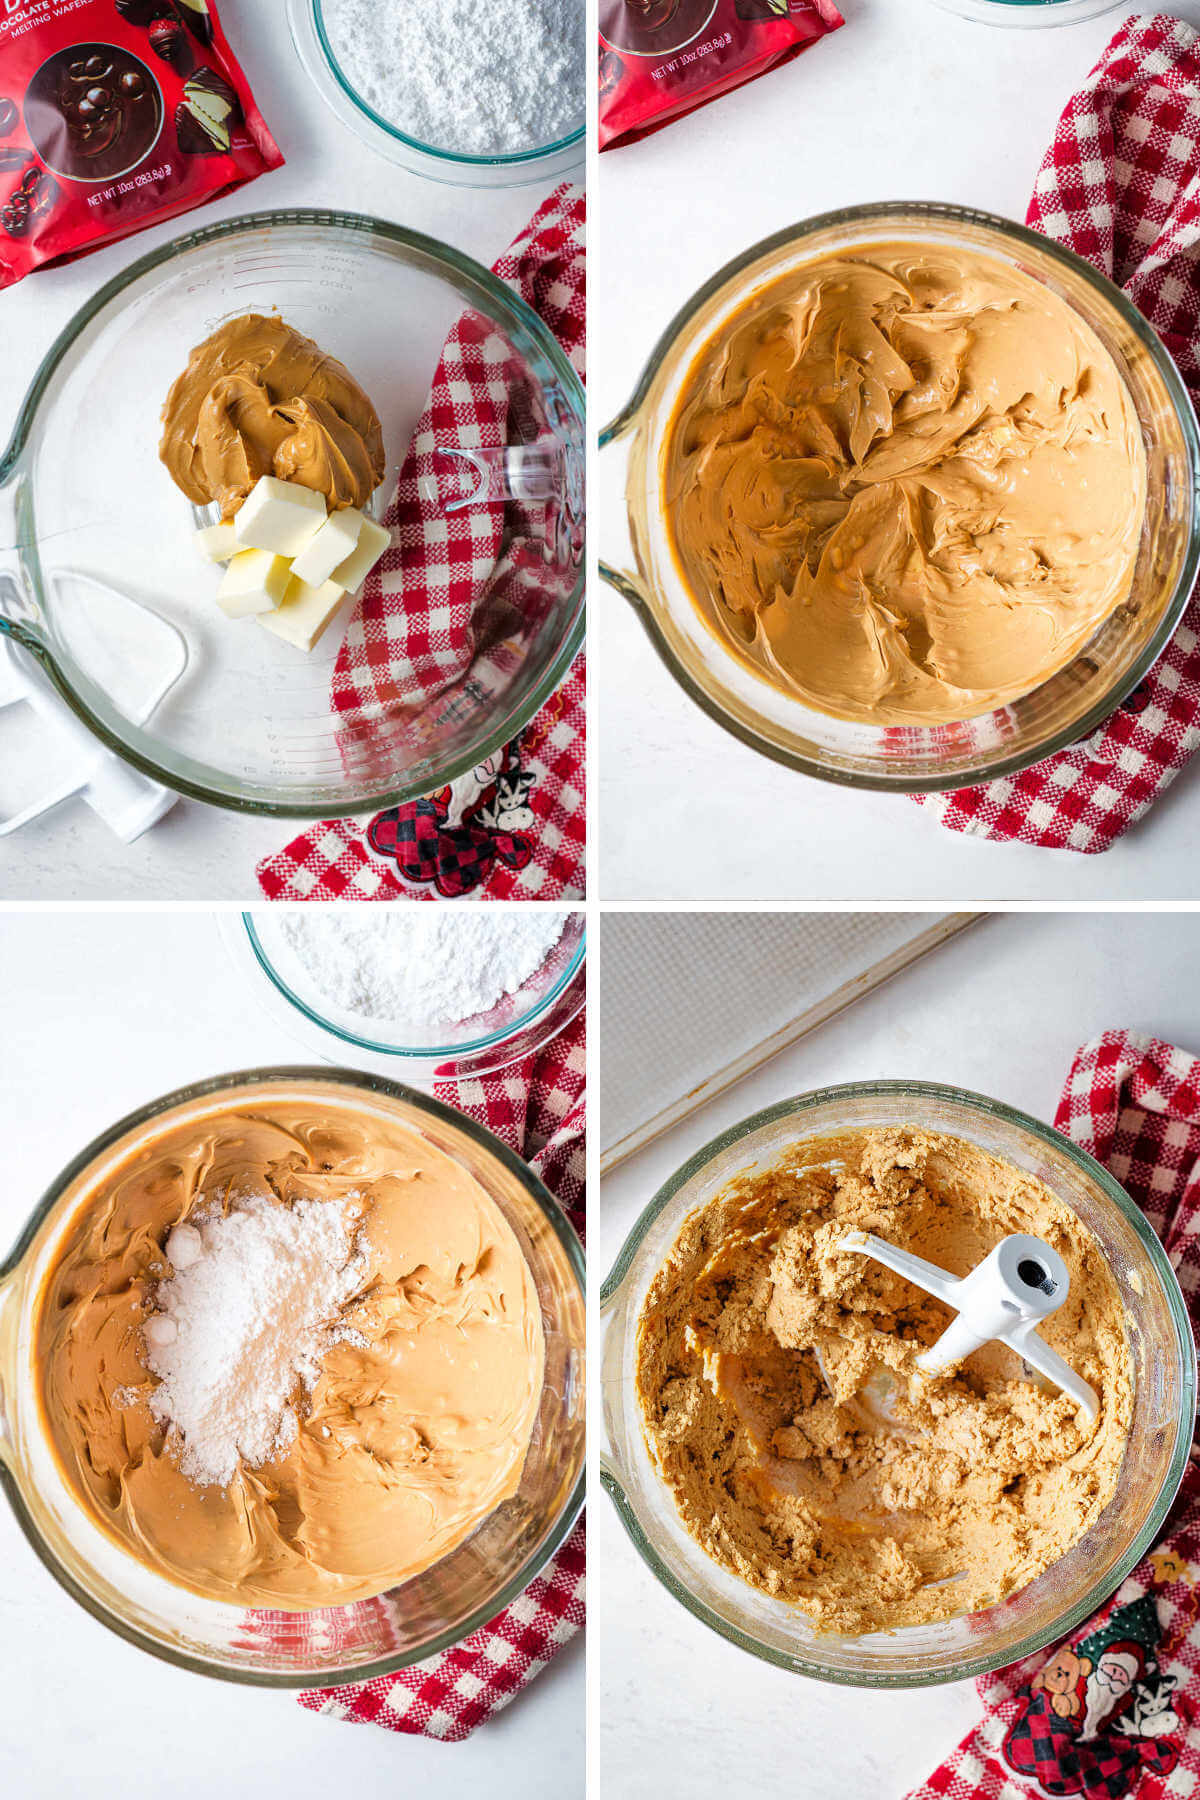
STEP 1 | Combine butter and peanut butter
First, add the peanut butter and softened butter to the mixing bowl of a stand mixer and cream together until the mixture is smooth.
STEP 2 | Add powdered sugar
Next, gradually add the powdered sugar, mixing on low until it’s well incorporated and forms a thick dough.
STEP 3 | Roll and chill
Now for the fun part, roll the peanut butter mixture into 1-inch balls and place them on a wax paper or parchment paper lined baking sheet or tray. Chill the homemade peanut butter balls for about 30 minutes.
STEP 4 | Melt the chocolate
When you’re ready to apply the chocolate coating, place the chocolate melting wafers in a microwave-safe bowl and heat in 30-second increments at 50% power, stirring between each increment until the chocolate is melted and smooth.
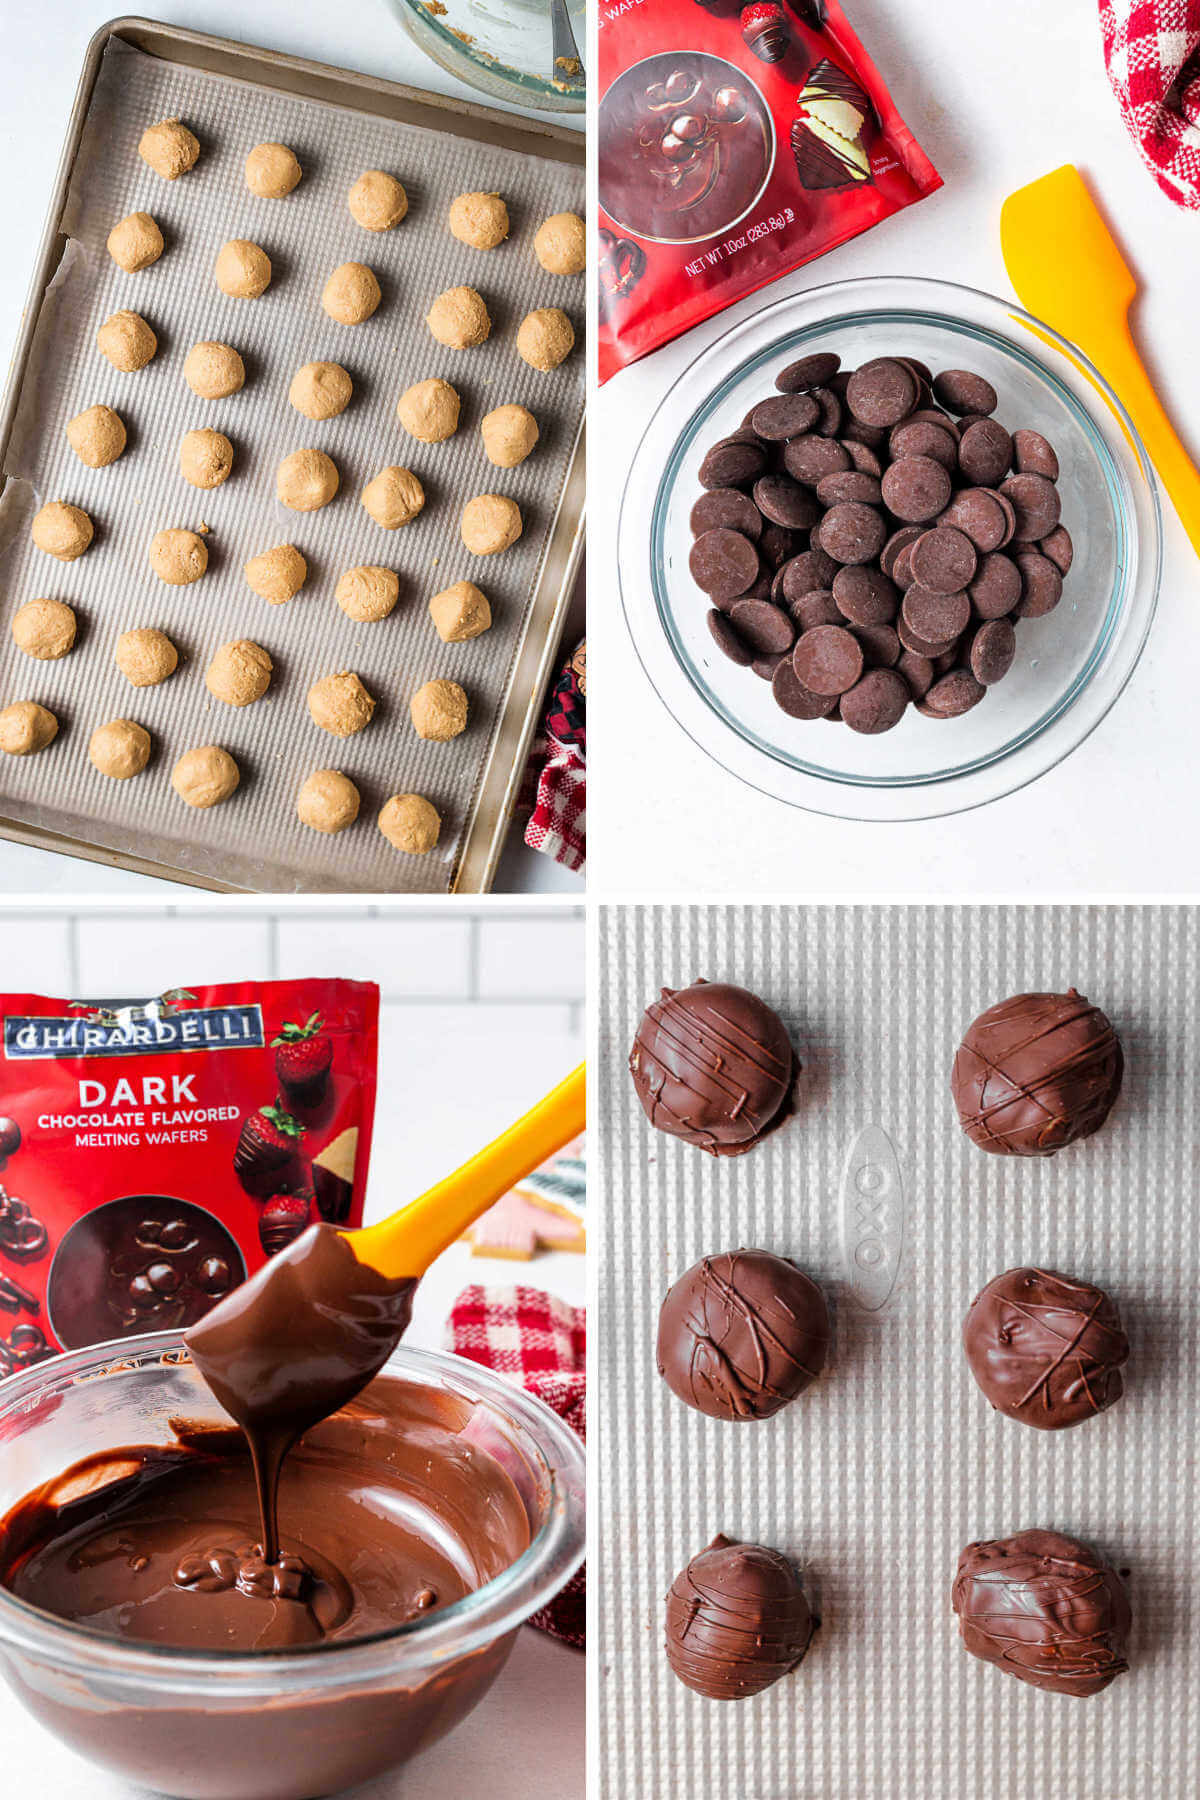
STEP 5 | Coat with chocolate, set, and serve!
Now, dip the peanut butter balls in the melted chocolate until they are entirely covered, then place them on the lined cookie sheet until the chocolate is set.
Let the excess chocolate drip into the dish before placing the balls down to harden. If desired, drizzle more chocolate on top to decorate — they look so fancy that way!

Tips from the Home Chef’s Kitchen
For similar recipes, try my Crispy Coconut Balls, Chocolate Marshmallow Cookies, and these sweet Christmas Sand Tarts!
Variations and Substitutions
- Crunchy Peanut Butter Balls. Use crunchy peanut butter for extra texture or add a few Rice Krispies.
- Alternatives to Peanut Butter. A similar treat can be made with peanut butter alternatives, like almond butter.
- Add richness with vanilla extract.
- Dip them in another type of chocolate, like milk or white chocolate. You can use melting wafers, sweet chocolate chips, or even dark chocolate chips.
- Christmas Peanut Butter Balls. Add Christmas sprinkles to make them perfect for the holiday season.
Storage Tips
- Store leftovers of this peanut butter candy recipe in an airtight container in the refrigerator for up to a week.
- Chocolate peanut butter balls may be frozen for up to 3 months in a freezer-safe container.
Frequently Asked Questions
Sometimes, when the butter is too soft or almost melted, the peanut butter balls are hard to roll and a bit too soft. To fix this, place the mixture in the fridge for about 30 minutes or until it is a little firmer.
Just add more powdered sugar, about a tablespoon at a time. Mix, check the texture, then decide if it needs a bit more. Continue this process until the dough is no longer too sticky to handle.
Most prefer creamy peanut butter. Natural peanut butter is also an excellent choice, especially if you want to cut the sweetness. I only suggest not to use the natural peanut butter that is mostly ground peanuts.
What to Serve with Peanut Butter Balls
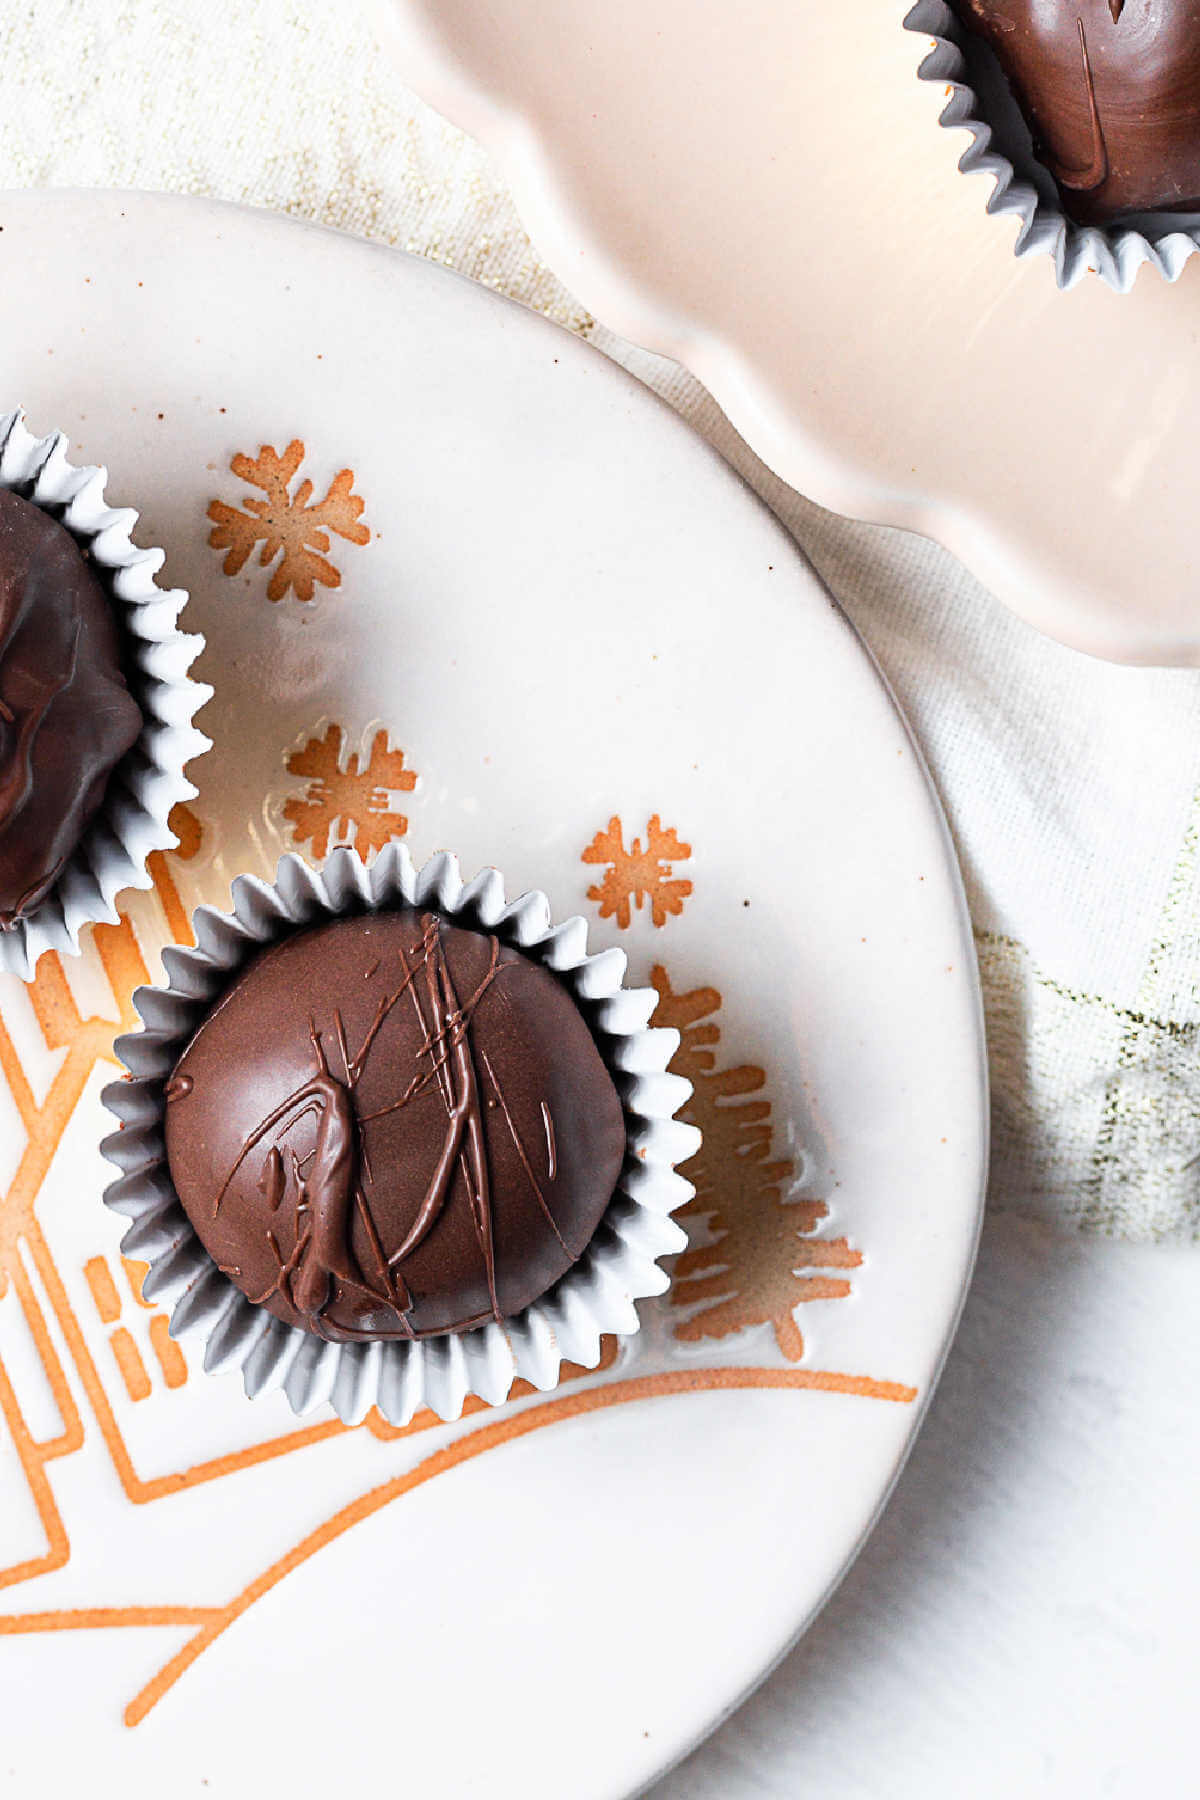
These Peanut butter truffles look lovely on a tray with classic White Chocolate Strawberries, Crispy Coconut Balls, Chocolate Covered Oranges, and festive Peppermint Bark.

Looking for more delicious recipes with Peanut Butter?
Explore more delicious treats made with salty and sweet peanut butter, like these Soft Peanut Butter Cookies, Fudgy Chocolate Peanut Butter Brownie Cookies, and Old Fashioned Peanut Butter Pie — Yum!

Love this recipe? Bookmark it for the future!
Simply tap the heart symbol located in the lower right corner of your screen, and the recipe will be securely stored in your own recipe box.
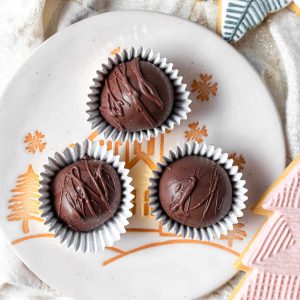
4-Ingredient Chocolate Peanut Butter Balls
Ingredients
- 1 cup creamy peanut butter
- 6 tablespoons unsalted butter softened
- 2 cups powdered sugar
- 1 10-oz. pkg. Ghiradelli dark chocolate melting wafers
Instructions
- Add the peanut butter and softened butter to the bowl of a stand mixer and cream together until smooth.
- Gradually add the powdered sugar, mixing on low until well incorporated.
- Roll the peanut butter mixture into 1-inch balls and place on a wax paper or parchment paper lined baking sheet or tray. Chill the shaped balls for 30 minutes.
- When ready to dip the balls, place the chocolate melting wafers in a microwave safe bowl and heat in 30-second increments at 50% power, stirring between each increment until the chocolate is melted and smooth. Do not over heat.
- Dip the peanut butter balls in the chocolate until completely covered (use a toothpick) then place on the wax paper lined baking sheet until the chocoalte is set. If desired, drizzle more chocolate on top to decorate.
Notes
- Store in an airtight container in the refrigerator for up to a week.
- Chocolate peanut butter balls may be frozen for up to 3 months.
- Gradually add in the powdered sugar so when you turn on the mixer, you do not end up in a cloud of sugar!
- It’s all too easy to burn melting chocolate. Take the process slowly to avoid overheating the chocolate.
- The best way to dip the balls in chocolate is by inserting a toothpick, dipping, then pulling the pick out.
- To get the right size balls, use a small cookie scoop.
Nutrition
Life Love and Good Food does not claim to be a registered dietician or nutritionist. Nutritional information shared on this site is only an estimate. We recommend running the ingredients through an online nutritional calculator if you need to verify any information.



These look amazing! How much vanilla do you add? Thank you!
Hi, Shea. You may add 1/2 teaspoon of vanilla if you like, but it isn’t absolutely necessary.