Easy Homemade Plum Jam without Pectin (Instant Pot)
This post may contain affiliate links. Please read my disclosure policy.
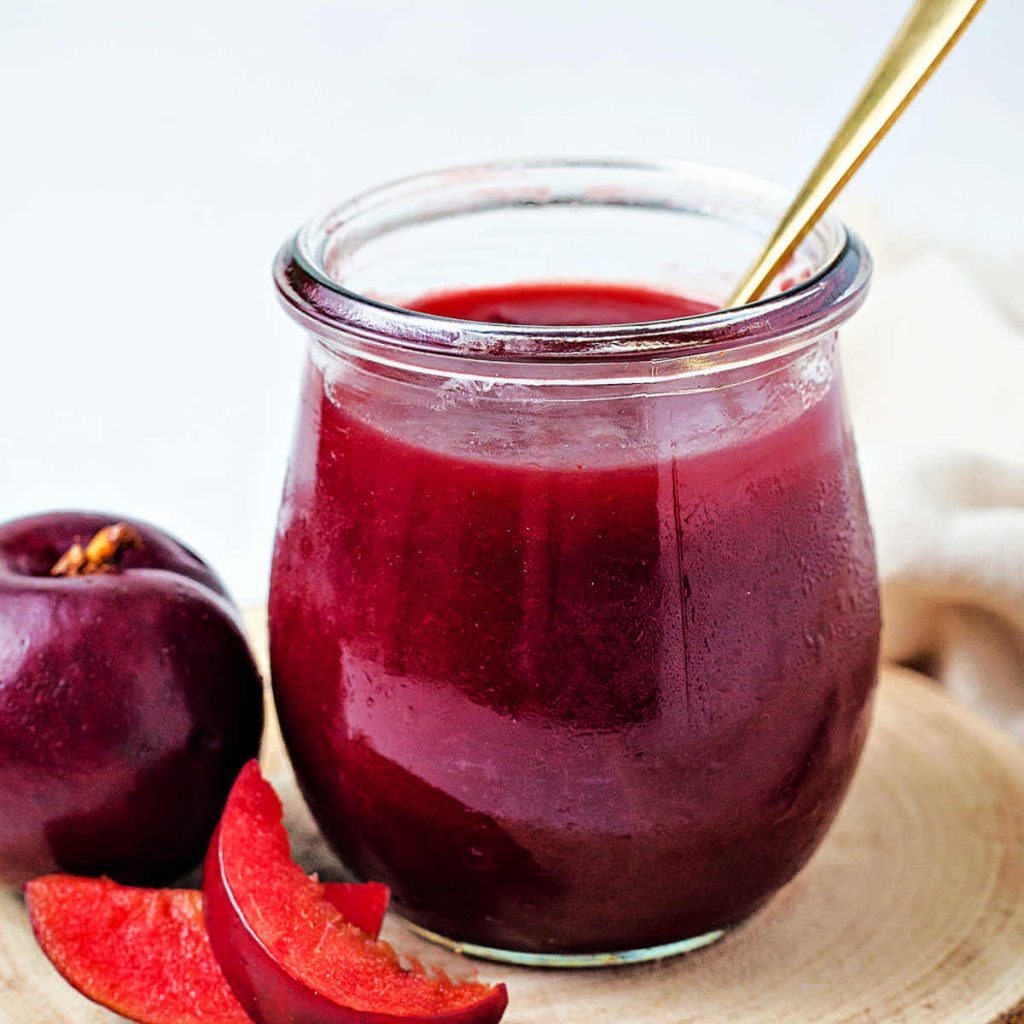
Sweet, juicy plums and warm cinnamon spice in my Easy Homemade Plum Jam Recipe deliver a mellow breakfast jam that is more flavorful than store-bought varieties, AND it contains less sugar and preservatives. I’ll show you how to whip up a batch of plum jam effortlessly in the Instant Pot without any additional pectin!
Why you’ll love this easy plum jam without pectin!
Even if the idea of canning scares you, if you own an Instant Pot, there’s simply no reason you can’t make this delicious jam!
My easy homemade jam uses less sugar to highlight the natural sweetness of ripe plums, a fruit that is luckily high in natural pectin. Making this jam requires very little prep, and it may be canned, frozen, or even stored in the refrigerator for up to six months.
Ingredient notes
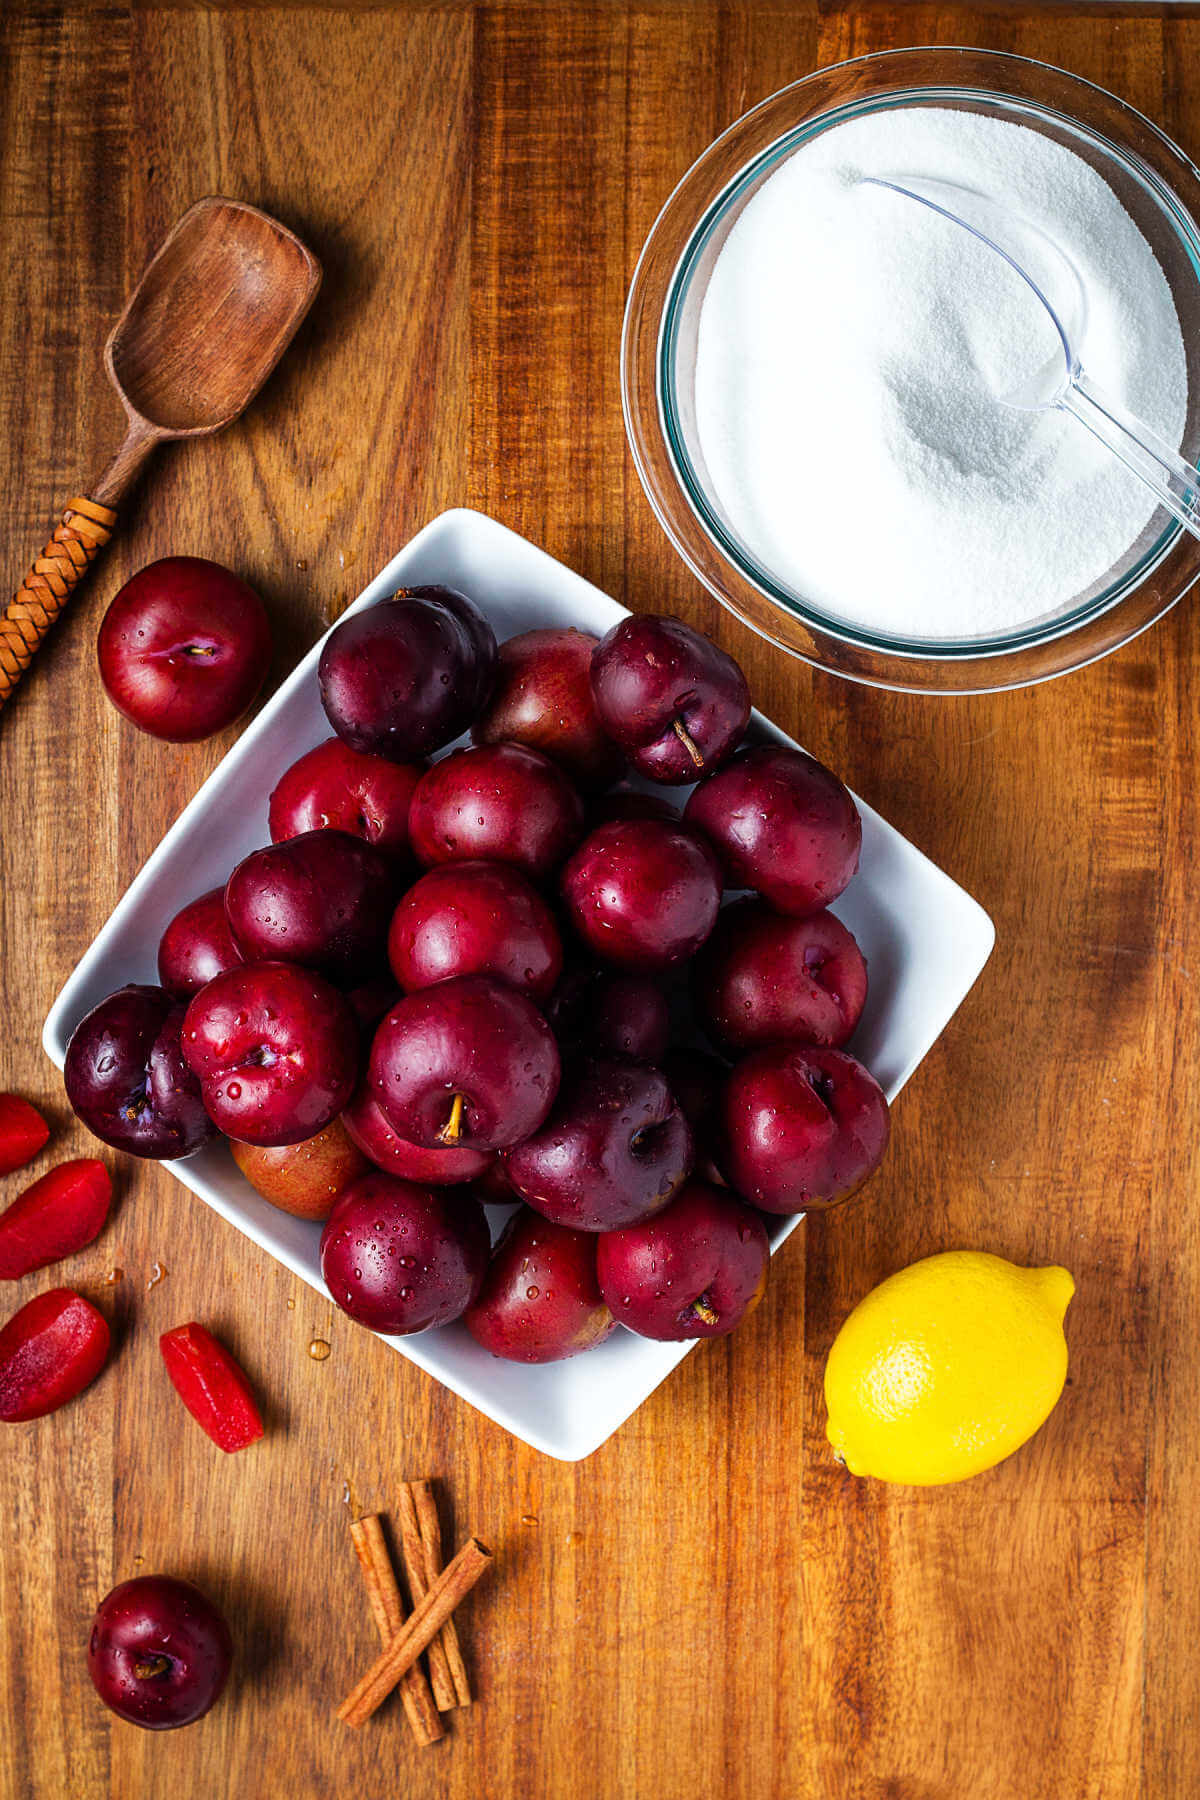
- Fresh plums — You’ll need four pounds of plums for this recipe. Ensure they are ripe — they should be soft to the touch but not squishy.
- Granulated sugar — A good jam has the perfect amount of sugar to bring out the natural sweetness of the fruit. That being said, most jam recipes use equal amounts of sugar to fruit. In this recipe, I used less sugar and thought it was perfectly sweet enough. You may adjust to your taste.
- Lemon juice — Lemon juice reacts with the plum pectin and helps with gelatinization. There’s some discussion on whether fresh or bottled juice is best when canning low-acid foods. Bottled lemon juice has a more controlled acidity, which is better for canning. However, if you are freezing the jam, fresh lemon juice is perfectly fine.
- Ground cinnamon — Provides the perfect amount of subtle warmth that melds perfectly with the sweet flavor of plums.
Choosing the perfect plums for jam
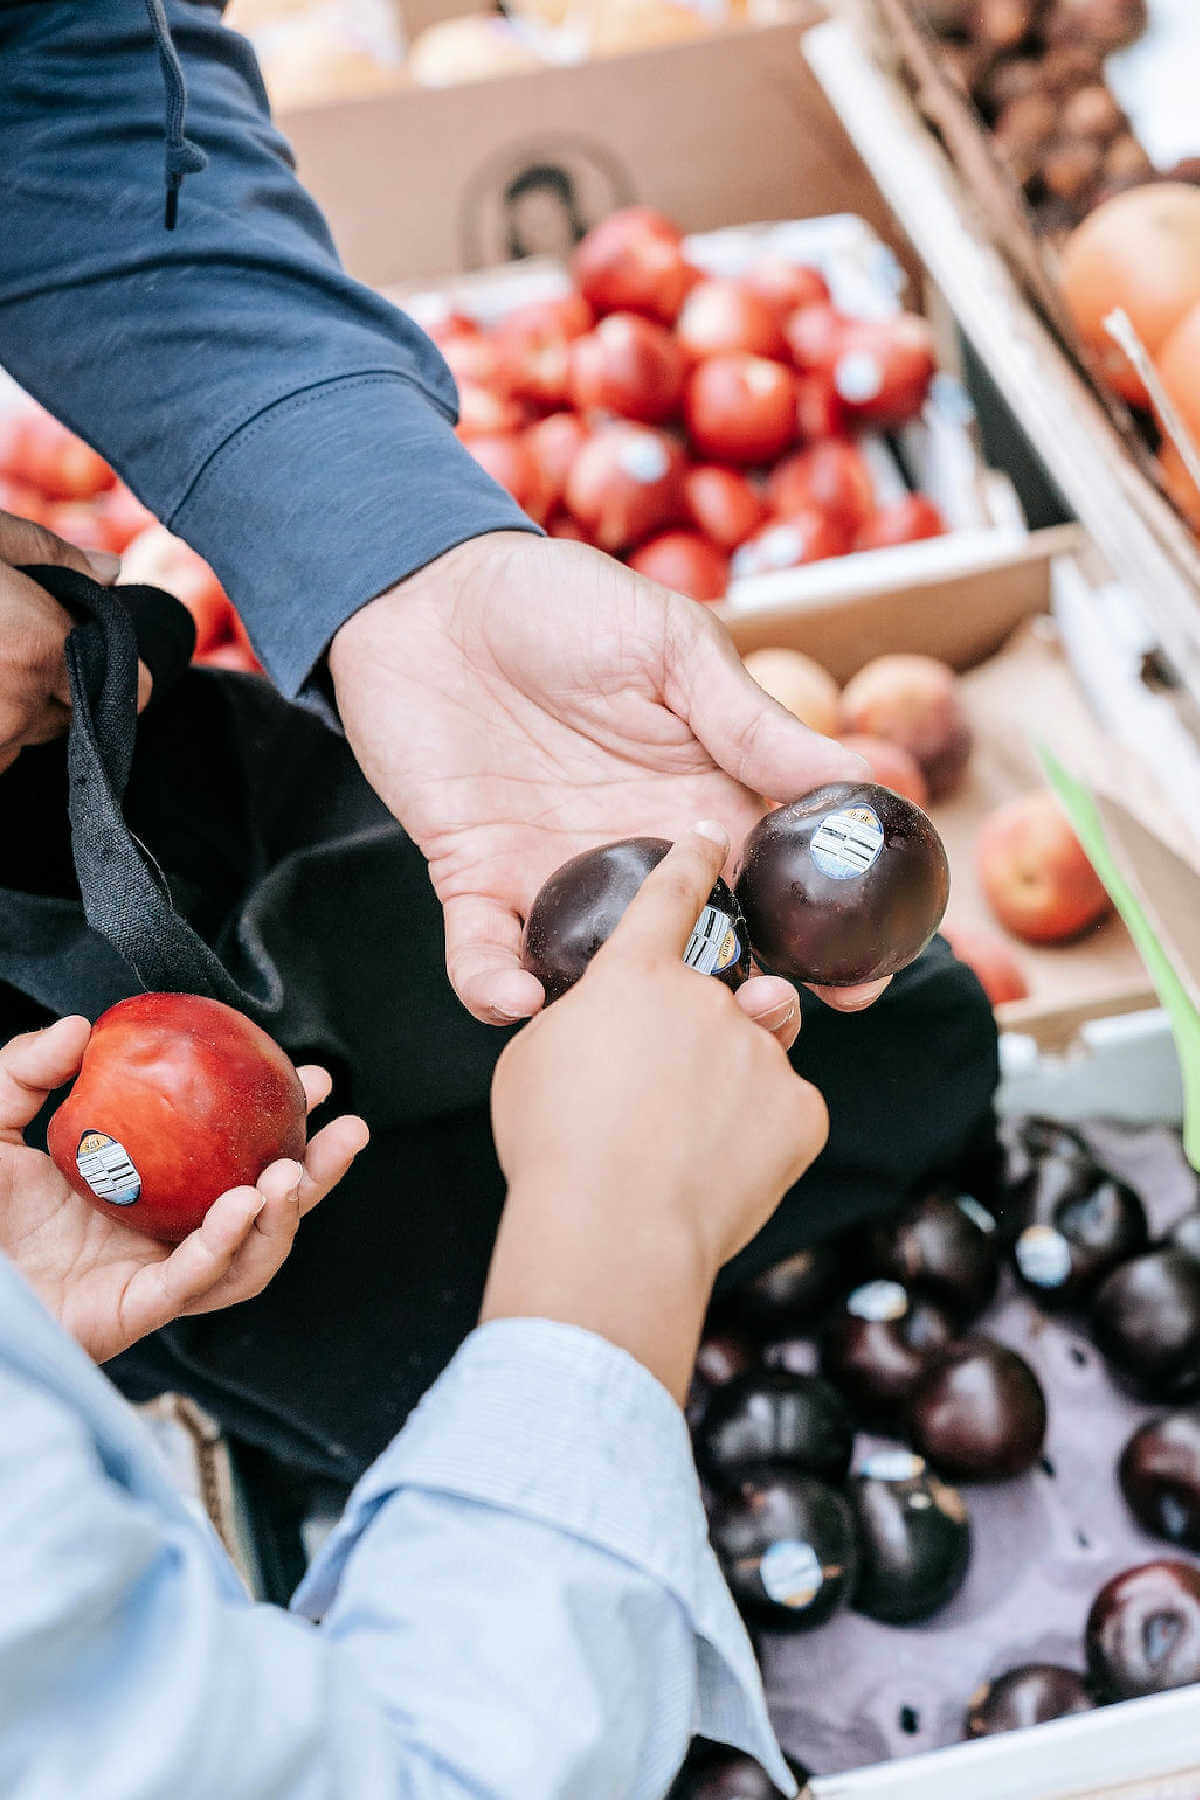
I think black and red plums make the best jam, but you may use whatever variety of plums you prefer. In our area, black ruby plums and blood plums are popular.
The most important thing when choosing plums for jam is ensuring they are ripe enough. The plum will not be as sweet or tasty if it is still firm. On the flip side, you don’t want plums that are so soft they have begun to rot.
How to ripen plums
The perfect plum will have softer skin and will give slightly when touched. If your plums are still pretty firm, you may speed up ripening by placing them in a clean paper bag with a banana and fold over the top.
Leave the bag on the counter at room temperature. But don’t place it in direct sunlight, as it may cause the plums to over ripen.
How to make homemade jam with fresh plums
Gorgeous red plums create a beautiful and tasty small-batch jam in the instant pot — without adding any additional pectin!
STEP 1 | Prepare the plums
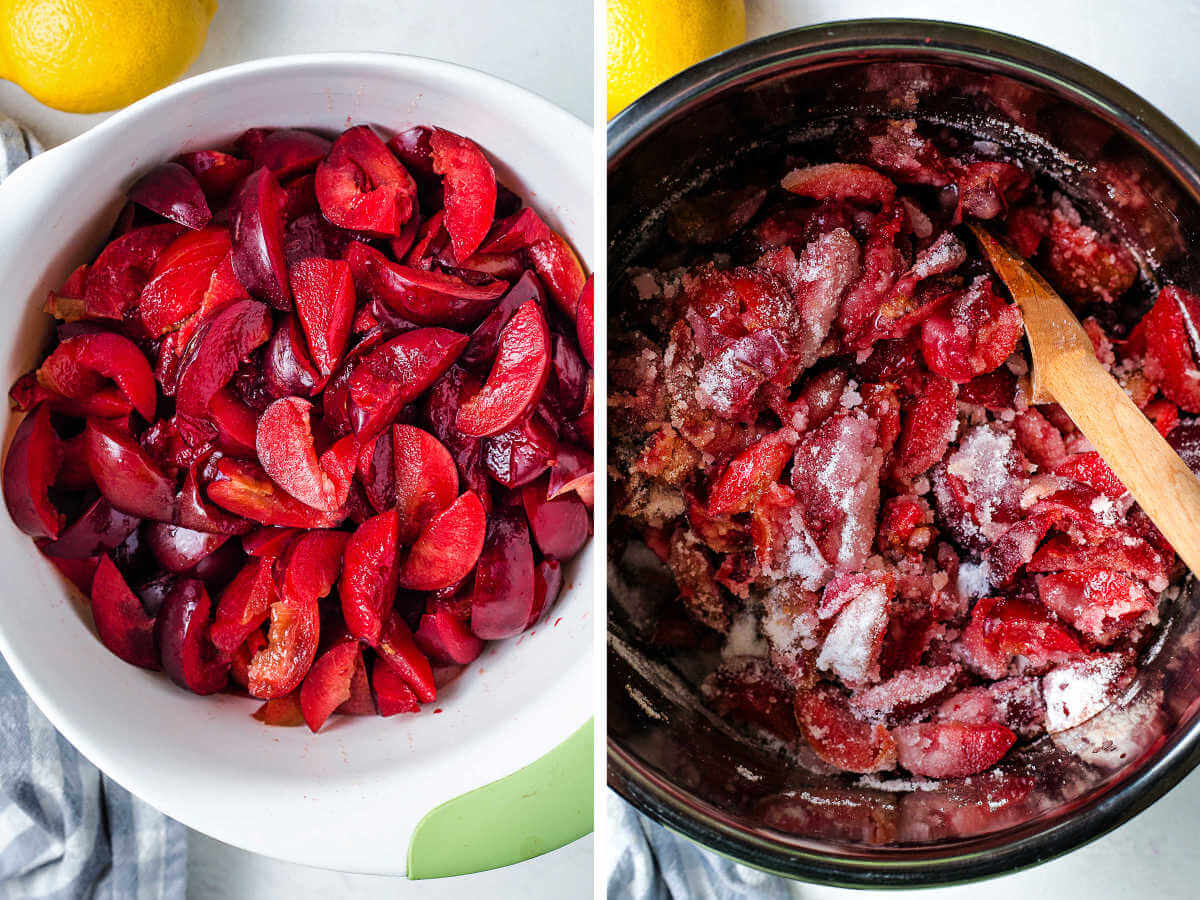
Like peaches and apricots, plums are a stone fruit with a hard pit inside that holds the seed. You’ll want to remove the pits, but their skins are soft enough that there is no need to peel the plums.
Rinse and dry the plums, then use a sharp paring knife to slice and chop them into smaller pieces.
STEP 2 | Add sugar and mix
Place the sliced plums, along with the sugar, lemon juice, zest, and cinnamon into the Instant Pot and stir gently to combine.
STEP 3 | Saute to release the juices
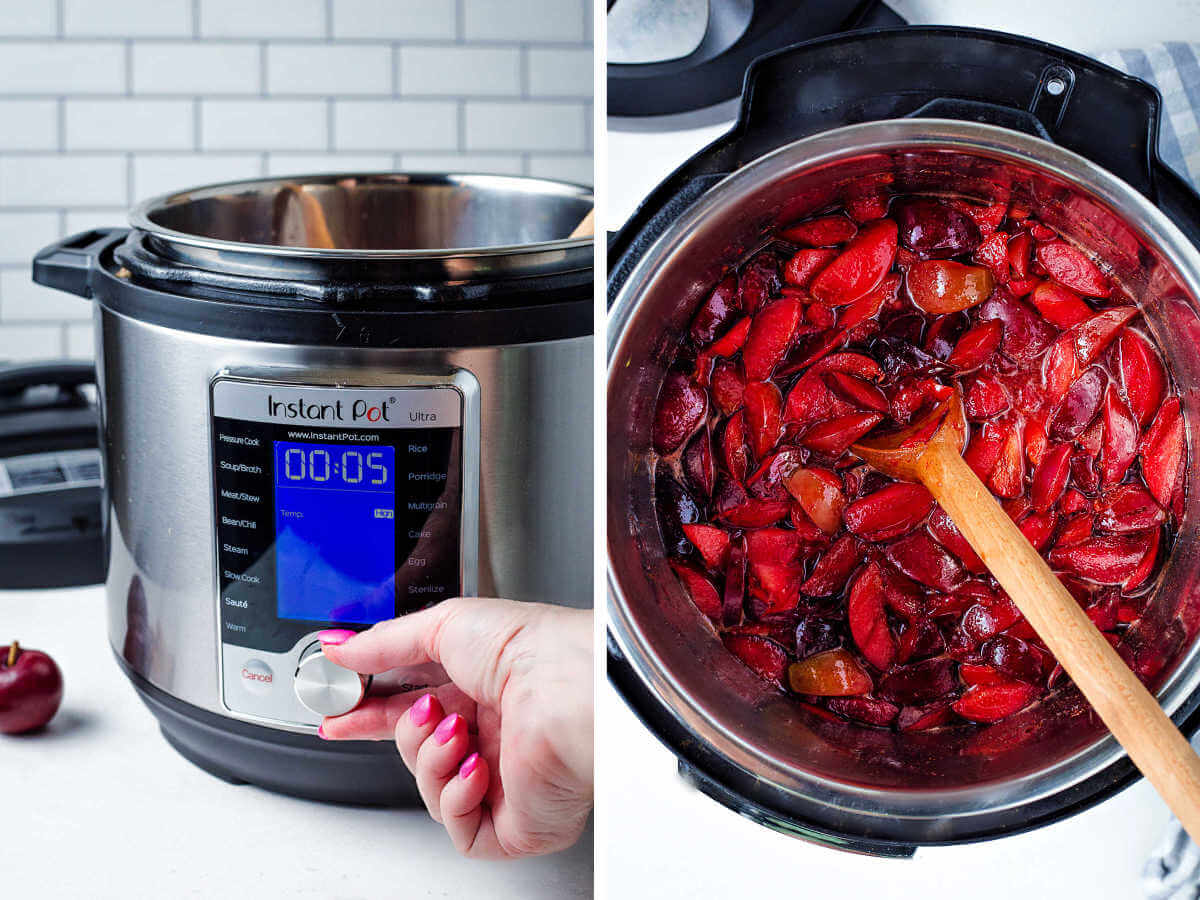
Set the Instant Pot to the SAUTE mode and cook the plums for about 5 minutes, or until the sugar dissolves and some juices have been released. Then, press CANCEL to stop the cooking.
You should have about a cup of liquid in the pot from the juices, so if it looks more dry, add a little water before going to the next step.
STEP 4 | Cook the plums
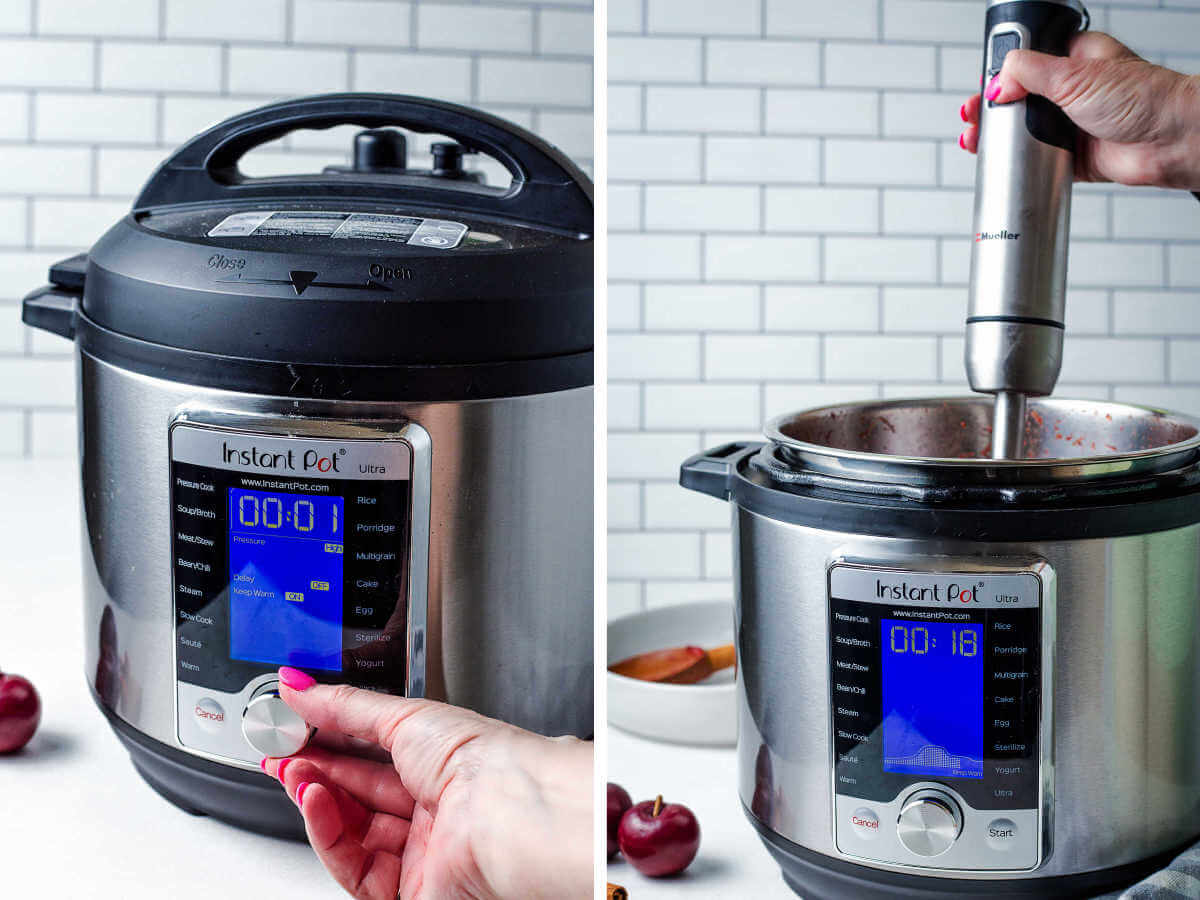
Lock the lid and set the Instant Pot to cook on HIGH PRESSURE for 1 minute (it will take about 10 minutes for it to come to pressure and actually start cooking).
When done, leave the pot alone for 10 minutes — this is called a natural pressure release — then press down the valve to release the remaining pressure.
STEP 5 | Blend the fruit
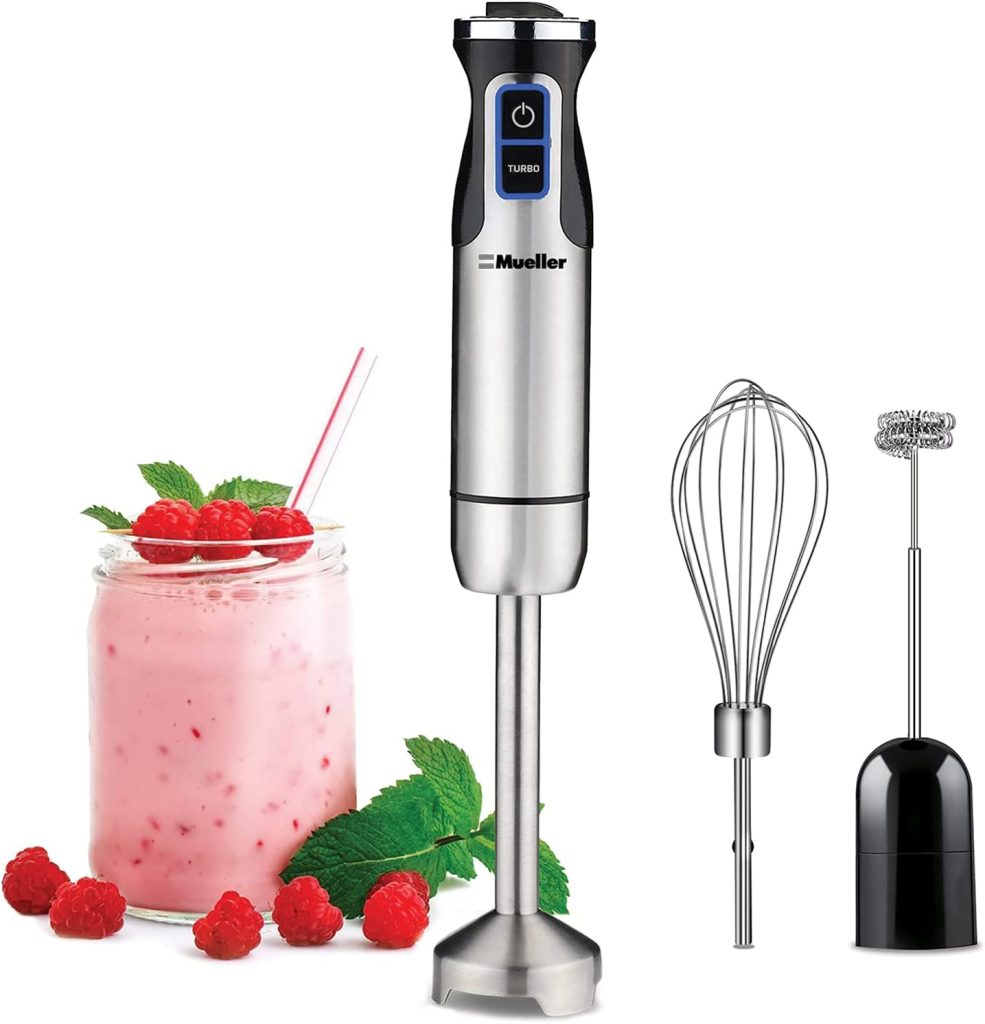
The plums should be perfectly cooked and softened when you remove the lid. Blend the flesh and skins with an immersion blender or potato masher for a smoother jam.
STEP 6 | Boil and thicken
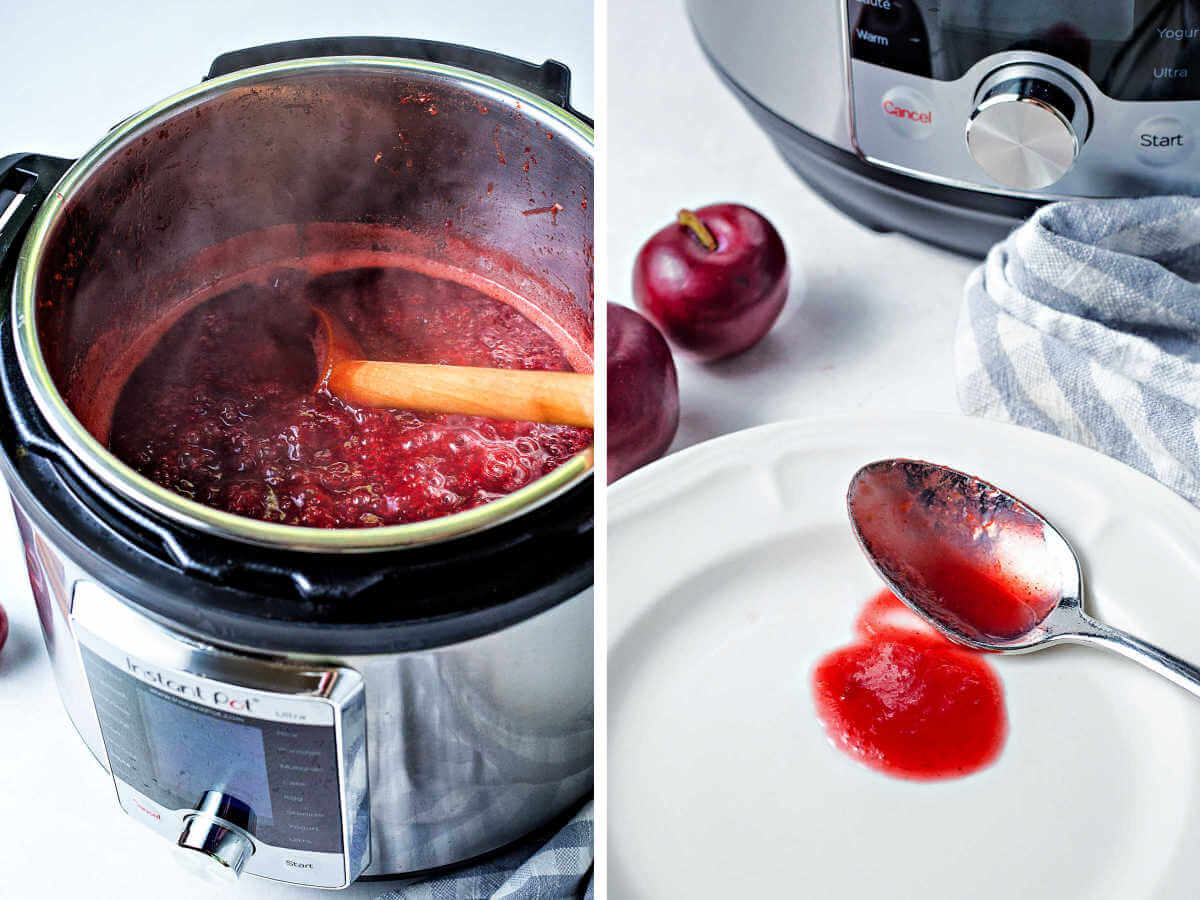
Leave the lid off, and again set the Instant Pot to the SAUTE function.
Bring the jam to a full rolling boil, then continue to cook and stir with a long-handled wooden spoon for an additional 10 to 12 minutes.
STEP 7 | Cold plate test
Perform a cold plate test by taking some hot jam on a metal spoon and pouring it onto a cold plate.
If the jam retains its shape, it’s ready to go! If not, cook for another 5 minutes and try again.
STEP 8 | Ladle into jars
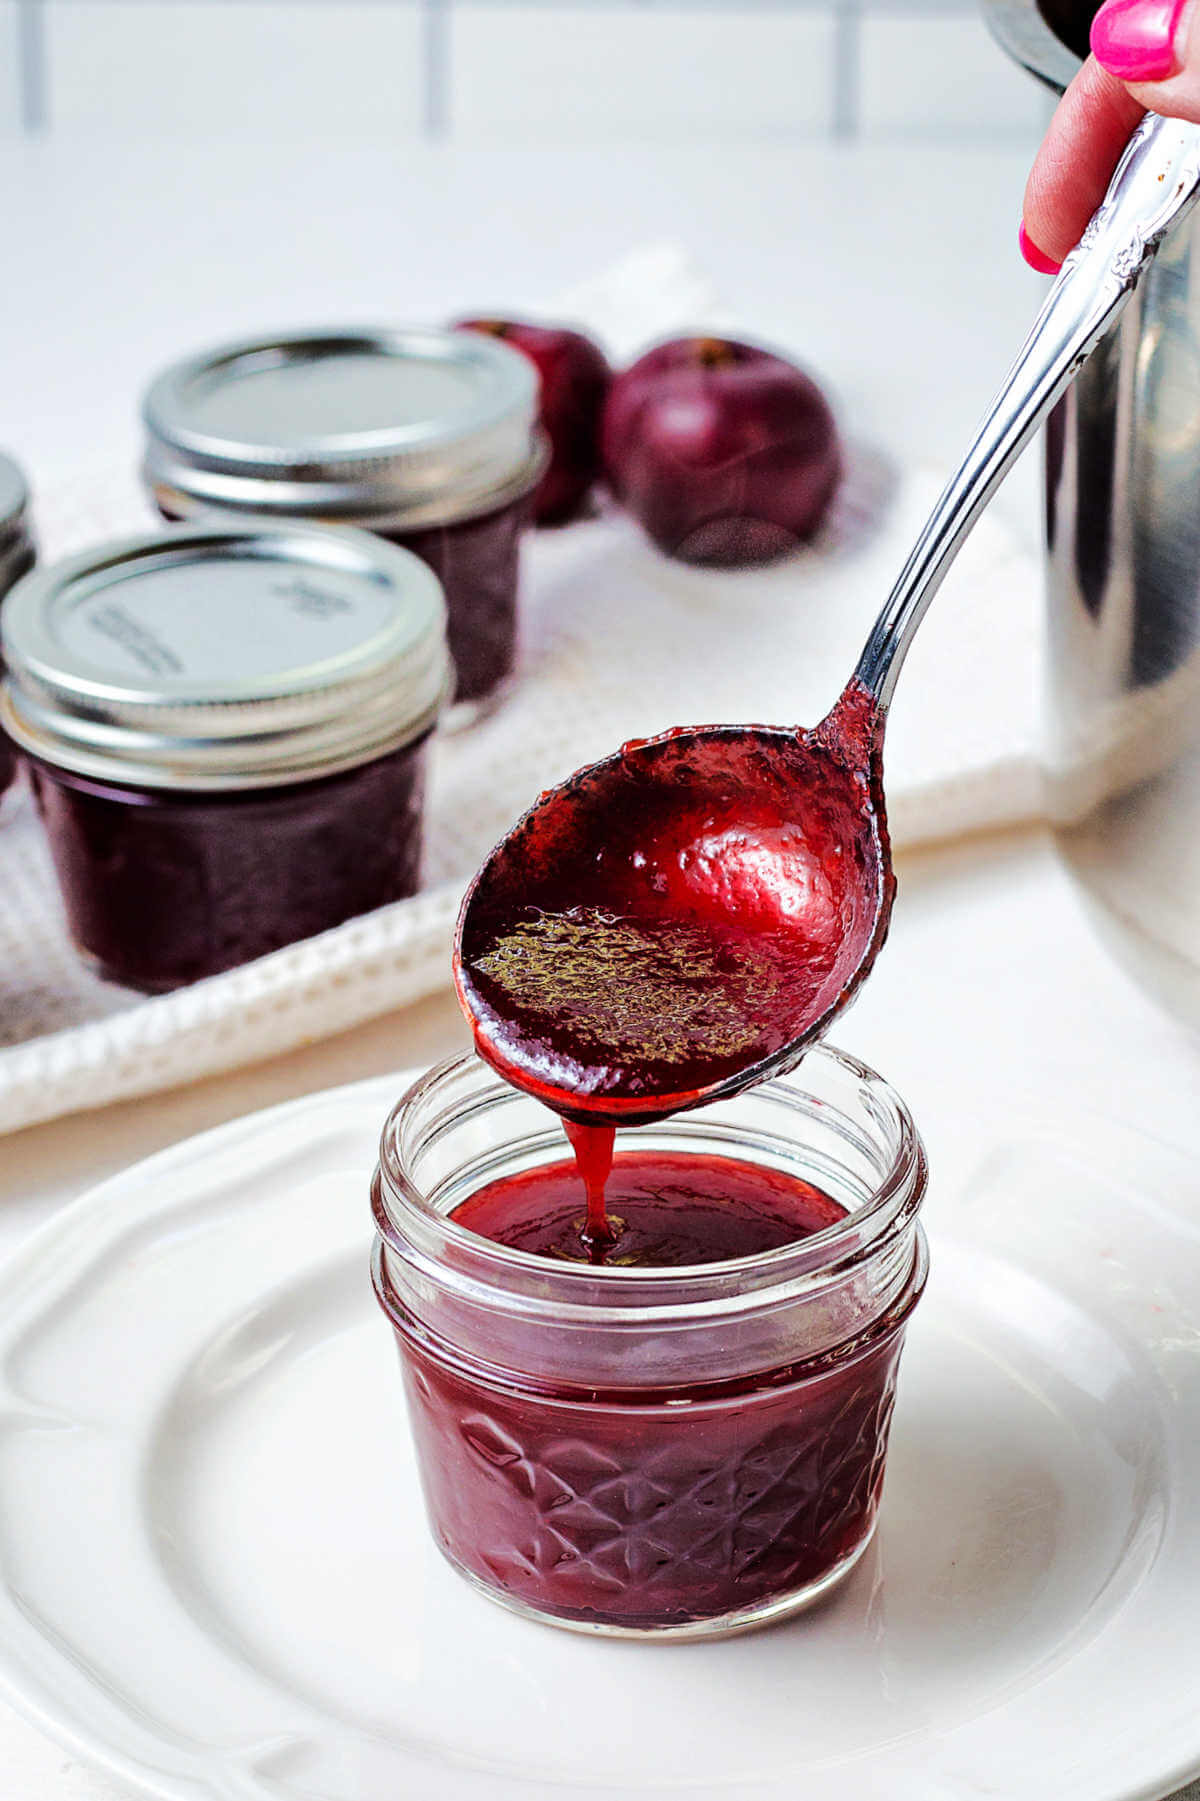
Allow the finished jam to cool for a few minutes, then spoon into sterilized jam jars (I recommend half-pint jars for jam) or freezer jars. Wipe the rims of jars to remove any jam drips and top with the sterilized lids and rings.
Proceed with water-bath canning or let the jam cool completely before storing it in the freezer or refrigerator.
Your jam will last up to a year in the freezer and for up to 6 months when stored in the refrigerator.
tips
- This plum jam is made with a bit less sugar than some recipes, so the texture is thinner than store-bought jams. If you like, increase the amount of sugar for more sweetness and a thicker result.
- Jam, jelly, or preserves? So what’s the difference? Jams still have small fruit particles, while preserves are even more chunky. You can skip the blending step and make preserves instead with this recipe. To make jelly, you would strain the cooked plums through a sieve to get a clear juice, discarding the pulp.
- If your jam is overly foamy during the cooking process, stir in a tablespoon of butter to keep it smooth and glossy.
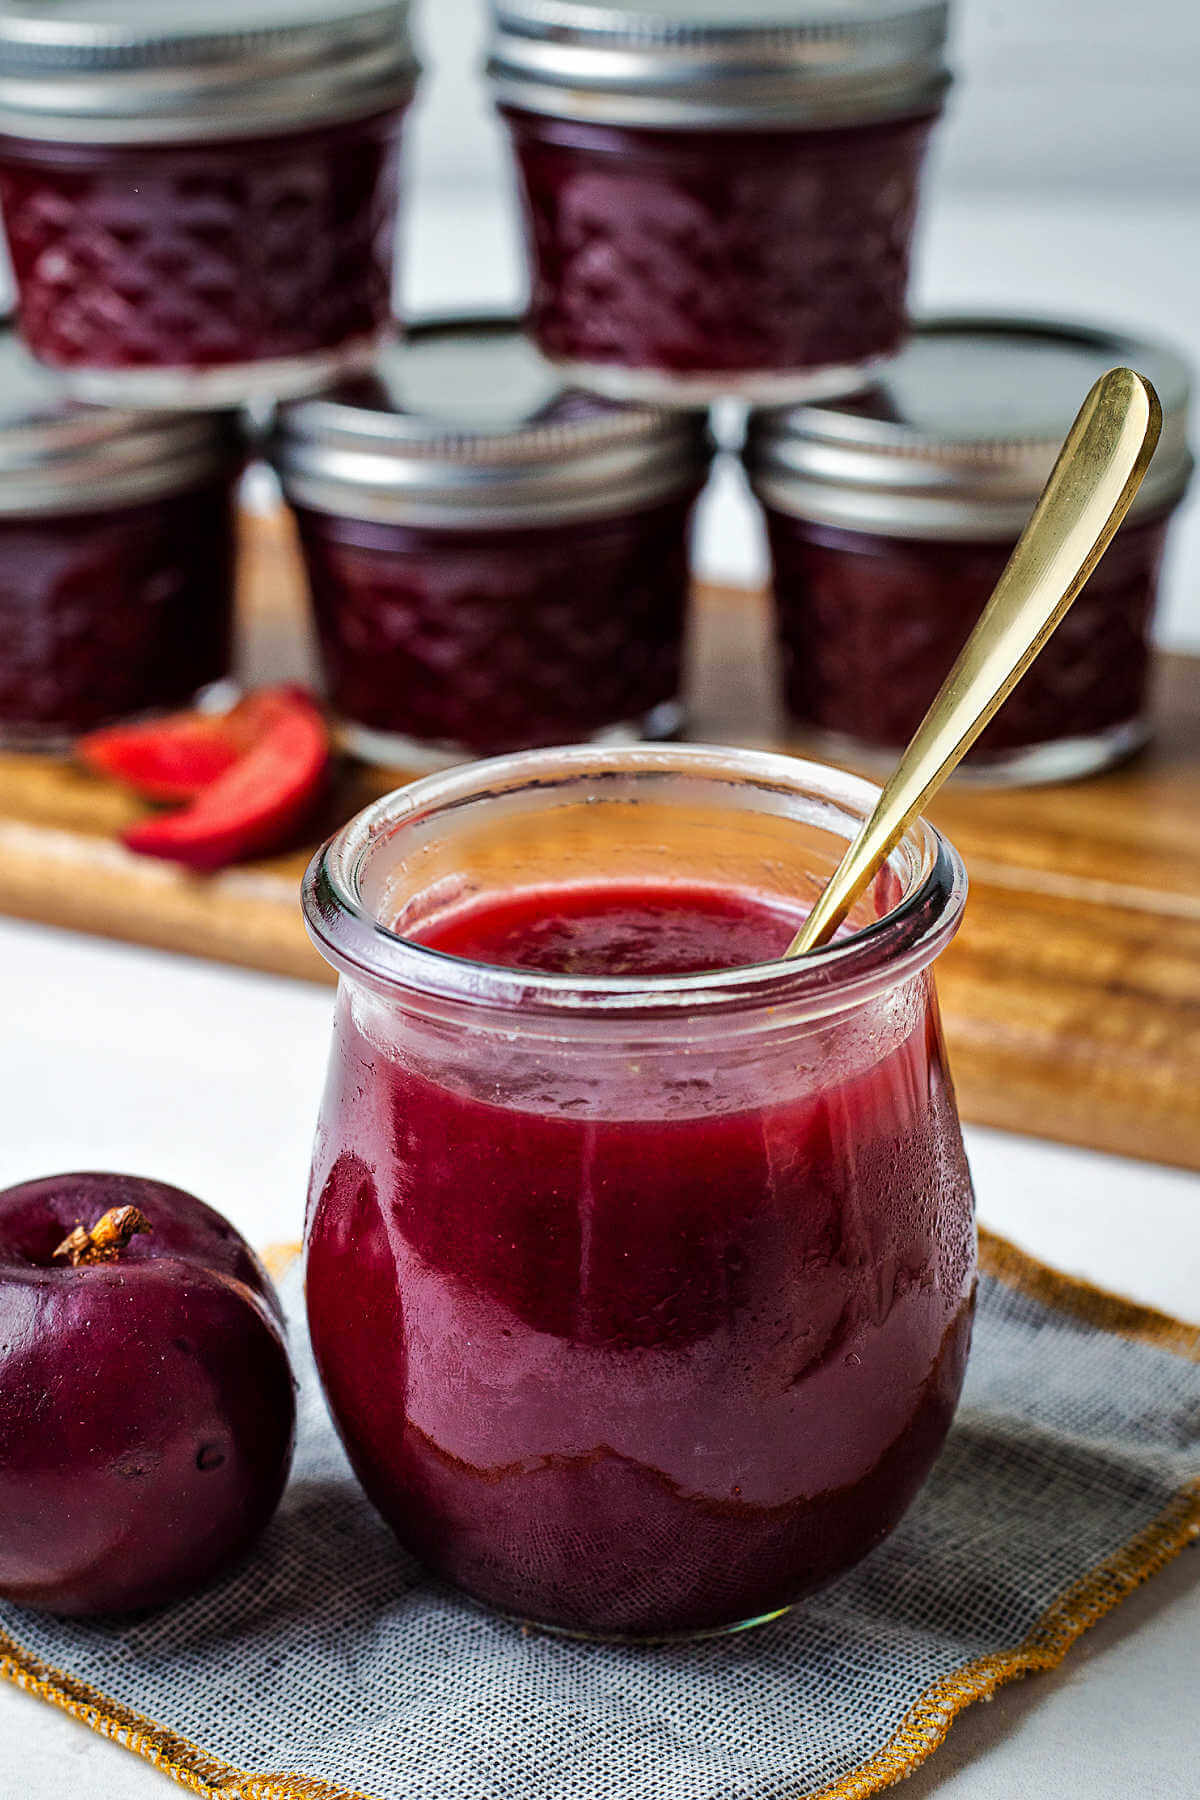
Preserving jam with water-bath canning
The benefit of water-bath canning is two-fold. First, boiling water helps prevent the growth of bacteria so food is safe to eat and acts as a vacuum to ensure the lids seal properly.
Below is my concise list of very basic canning equipment and steps. You can get more detail in this Basics of Canning Guide.
Essential canning supplies
- Boiling water bath canner with a rack
- Sterile glass preserving jars, plus new lids and bands
- Jar lifter
Simple steps for water bath canning
- Fill a water bath canner halfway with water, and heat to a slow simmer.
- Preheat jam jars in hot water (180°F), and keep lids and bands at room temperature.
- Fill the jam jars one at a time, leaving one-half inch of headspace.
- Wipe the jar rim clean, place the lid, and tighten the band with your fingertips.
- Place the jars in the canning rack, ensuring water covers them by 1 to 2 inches.
- Cover the canner with a lid and bring the water to a rolling boil. Process or boil for 10 minutes.
- Carefully remove the jars, set them upright on a towel, and leave undisturbed for 12 to 24 hours. Then, check the seals.
Frequently asked questions
Wash the jars in hot soapy water, then place them right side up on the rack of a water bath canner. Boil for 10 minutes (or if at an altitude higher than 1000 feet, add a minute for each 1000 feet), then remove the hot jars carefully with a jar lifter.
You can make jams with even less sugar than this recipe calls for, or you may use another sweetener like honey or maple syrup.
I don’t recommend it for this recipe, as the natural pectin in the plum skins is what allows the jam to thicken when it cooks. If you want to remove the plum skins, you’ll want to add pectin to ensure the jam is the right consistency.
Looking for more jam recipes?
For some other delicious homemade jams, make my No-Cook Strawberry Jam or a batch of Homemade Blueberry Jam. Or if you’re looking for a unique and spicy option, try this Hot Cherry Pepper Jelly!
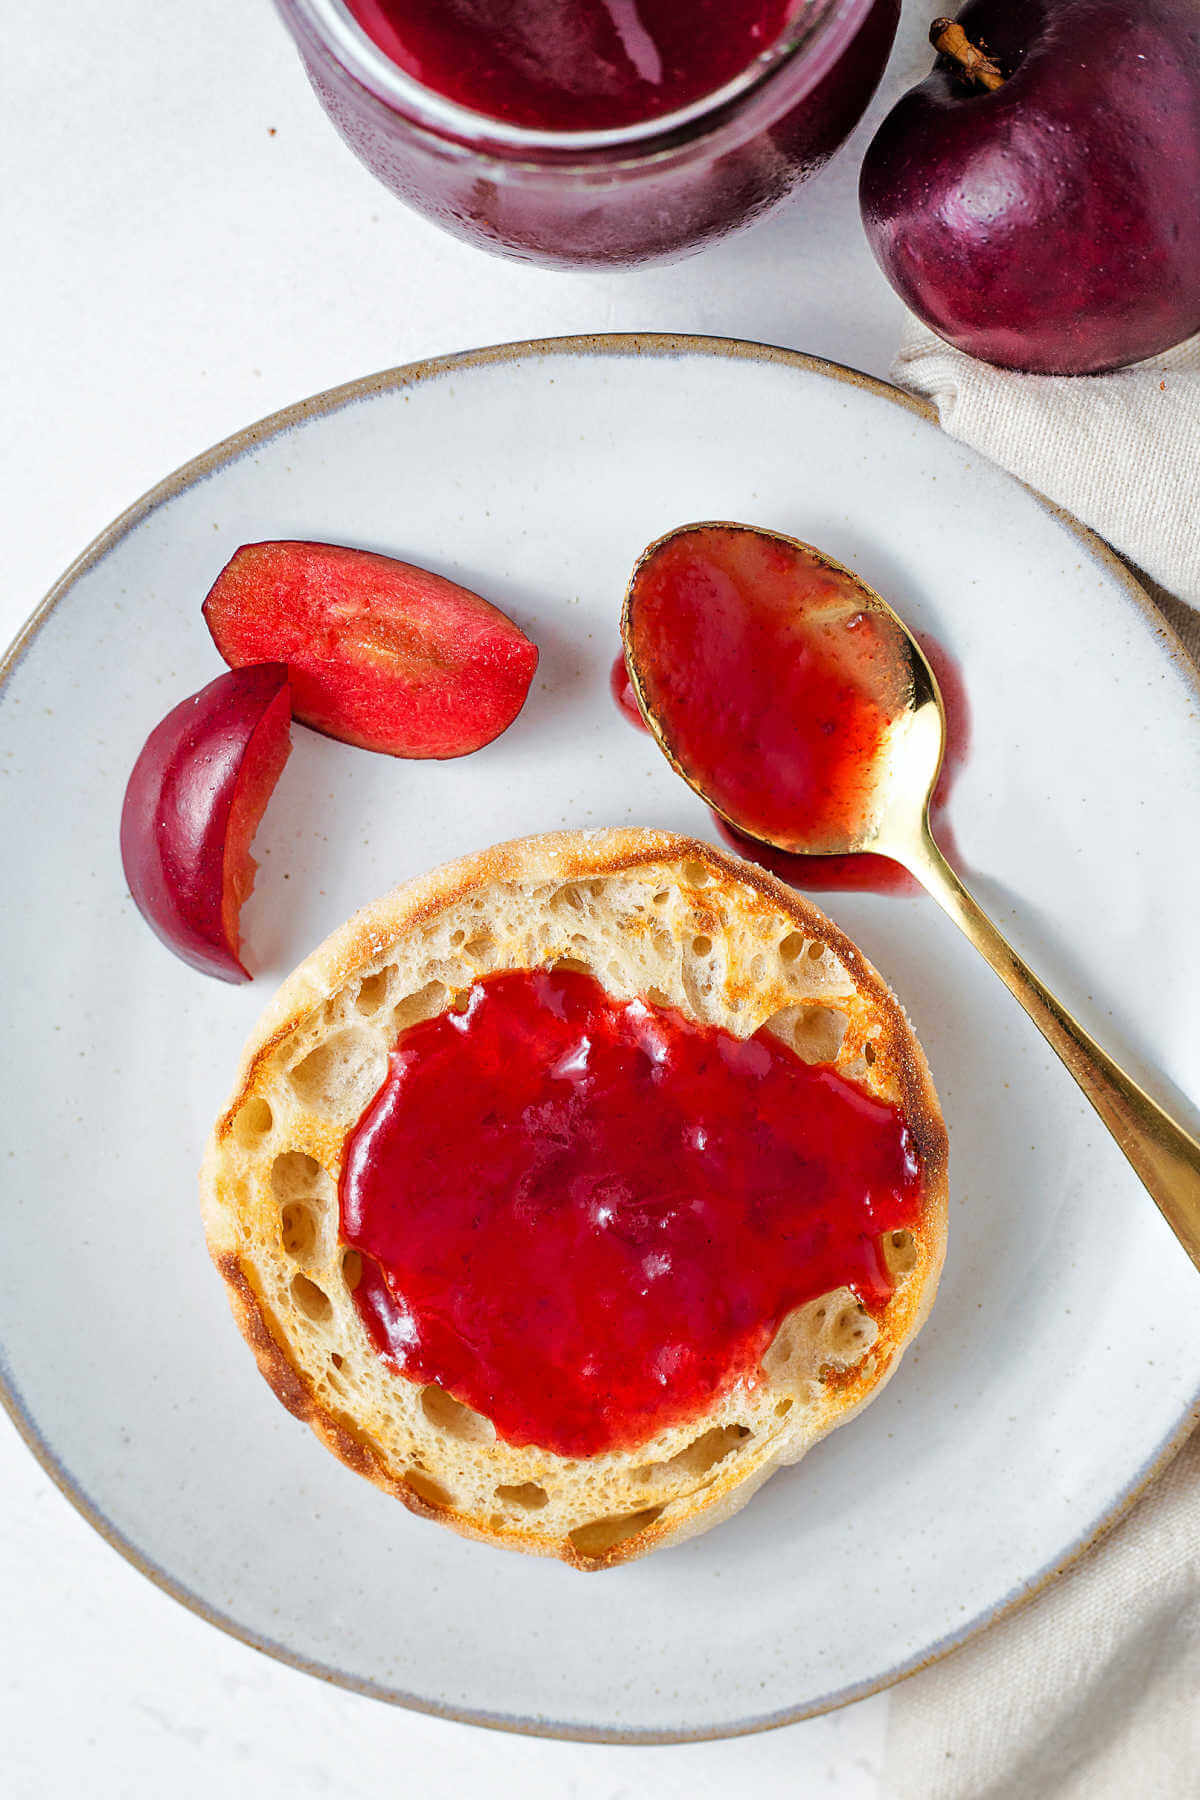
Serving suggestions
Pair your finished jam with a batch of Blueberry Waffles or Orange French Toast for a delicious breakfast treat that’s bursting with the distinct flavor of these classic stone fruits.
Pair this jam with a wide variety of other foods for a pop of sweet and tangy fruity flavor!
- Spread your plum jam recipe over toast, English muffins, bagels, scones, and more for a delicious addition to any breakfast.
- Use as a topping for an ice cream sundae to add a fruity twist.
- Drizzle plum jam over a slice of cake. You can also combine plum jam with buttercream frosting to make a gorgeous plum frosting.
- Press homemade jam between two cookies to make a homemade sandwich cookie!
Love this recipe? Bookmark it for the future!
Simply tap the heart symbol located in the lower right corner of your screen, and the recipe will be securely stored in your own recipe box.
Easy Homemade Plum Jam without Pectin (Instant Pot)
Equipment
- Instant Pot
- Immersion Blender
- Ladle
Ingredients
- 4 lbs. plums
- 3 cups granulated sugar
- 4 tablespoons fresh lemon juice
- 1 teaspoon lemon zest
- 1 teaspoon ground cinnamon
Instructions
- Rinse and dry plums, then slice into wedges or chunks removing the pit.
- Add the plums to the instant pot and stir in the sugar, lemon juice, zest, and cinnamon. Set the instant pot to SAUTE, cooking and stirring for about 5 minutes unti the sugar dissolves and some juices have been released.
- Lock on the lid and set the instant pot to cook for 1 minute at HIGH pressure. Allow to natural release for 10 minutes, then manually release the remaining pressure and remove the lid.
- Use an immersion blender or a potato masher to puree the fruit. Then, set the instant pot to SAUTE again and continue cooking, stirring occasionally, for another 10 – 12 minutes. The plum jam should start to thicken slightly. If there is a lot of foam, stir in a tablespoon of butter so the jam will remain glossy.
- To test if the jam is ready, drop a teaspoon of jam on a cold plate and wait for 1 minute. If the jam retains its shape, it is ready to put into jars. If it is too runny, cook it another 5 minutes and test again.
- Let the jam cool for a few minutes before ladling into sterilized jars and sealing with lids. The jam may be stored in the refrigerator for use within 6 months, in the freezer for up to a year, or processed in a water bath canner and stored in a cool, dry place for 1 year.
Notes
- This plum jam is made with a bit less sugar than some recipes, so the texture is thinner than store-bought jams. If you like, increase the amount of sugar for more sweetness and a thicker result.
- If your jam is overly foamy during the cooking process, stir in a tablespoon of butter to keep it smooth and glossy.
Nutrition
Life Love and Good Food does not claim to be a registered dietician or nutritionist. Nutritional information shared on this site is only an estimate. We recommend running the ingredients through an online nutritional calculator if you need to verify any information.


Thank you Sheila !
1. Dark French plums growth in our yard in Carson City, Nevada.
2. Used pre-prepared lemon juice, as I ran out of fresh.
3. Sweeteners was combo of raw sugar and Splenda powder.
4. Don’t have an immersion blender and didn’t choose to use one either because I like the thicker jam.
5. Now to spread the love and give to friends
Oh, I knnow your jam will be amazing!