Graham Cracker Crust Recipe
This post may contain affiliate links. Please read my disclosure policy.
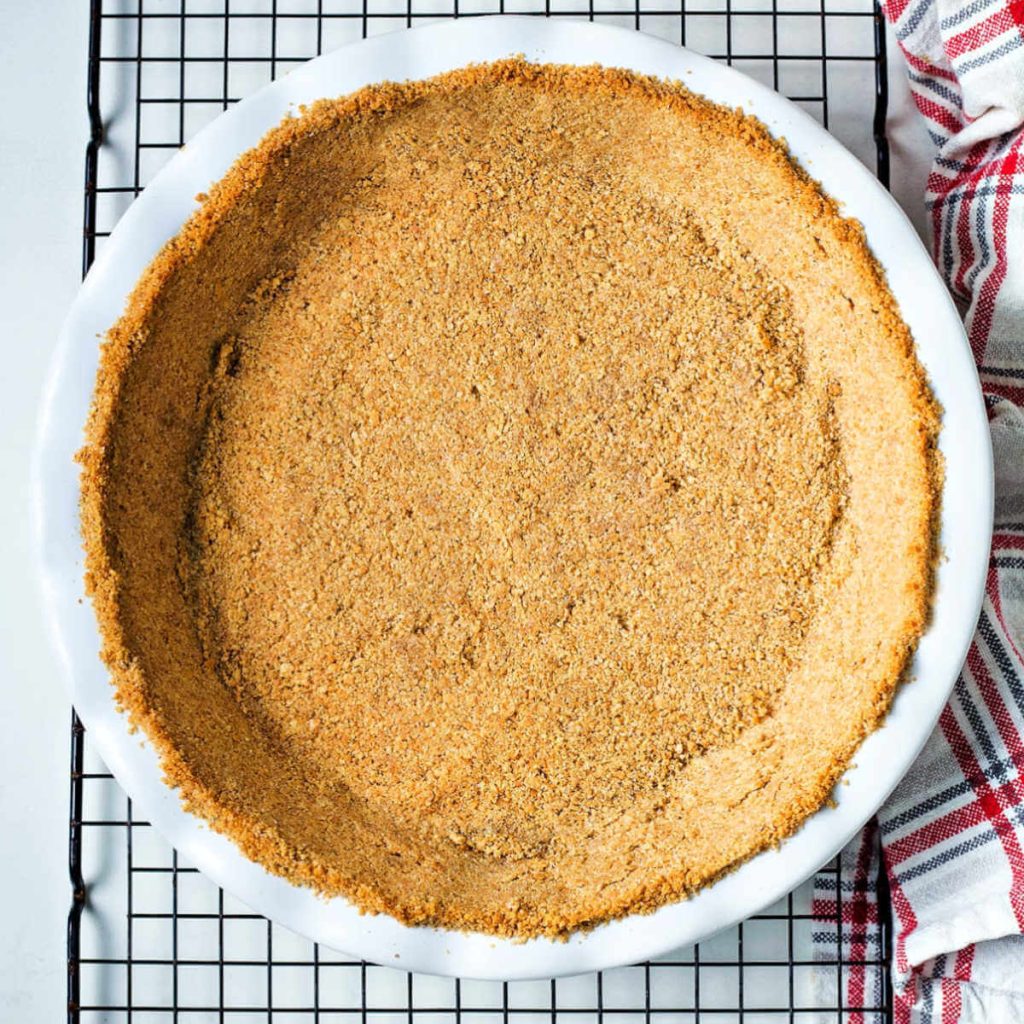
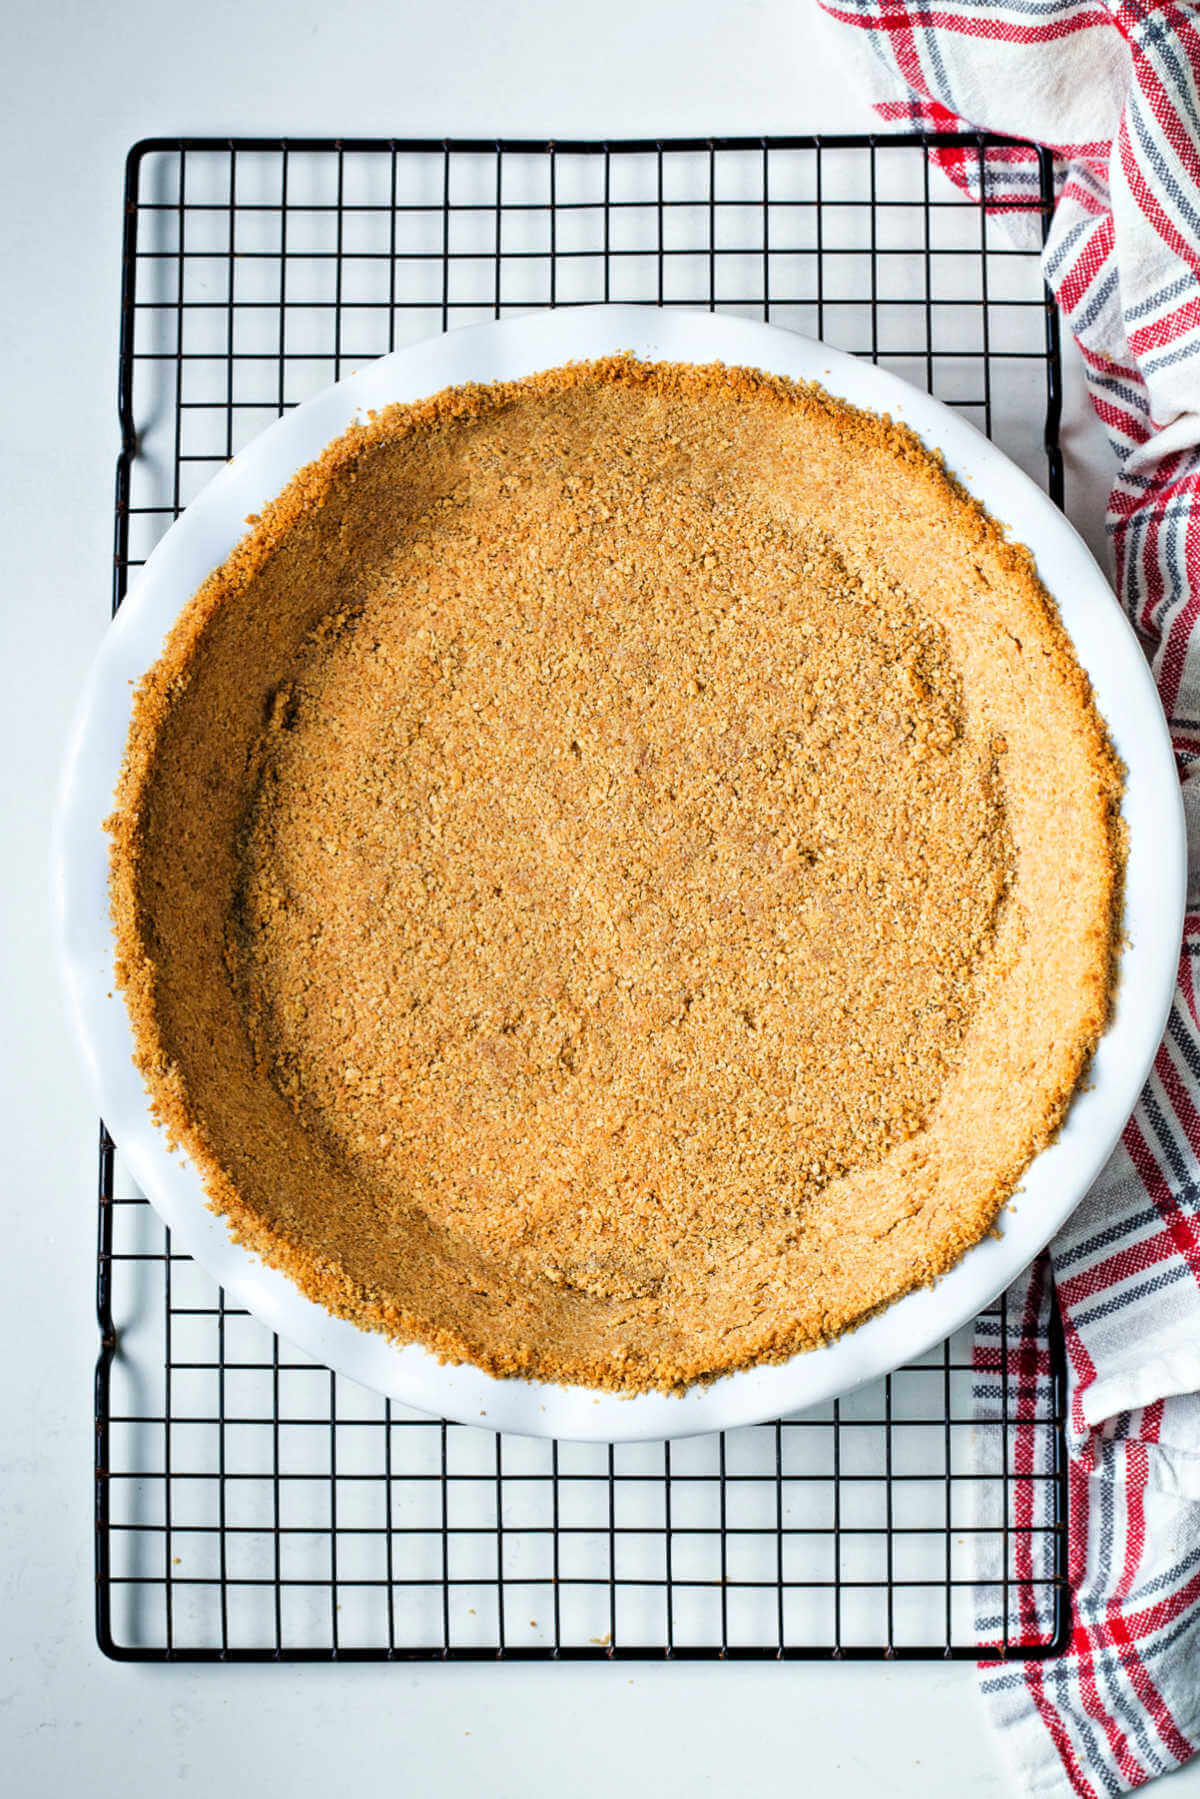
This homemade graham cracker crust doesn’t require baking — all you need to do is combine the ingredients, press the crust into a pie pan, and cool it in the refrigerator. In just minutes, you have a crust ready to be completed with a delicious filling!
Today’s recipe is an easy yet scrumptious buttery-sweet graham cracker crust that makes the perfect shell for so many different no-bake pies and cheesecakes.
But you can also bake this graham cracker crust in the oven if your filling recipe needs to be cooked.
Making a traditional pastry pie crust from scratch can be a hassle and usually takes several times to truly perfect. I can understand why most people buy a pre-made crust instead.
However, if you’re looking for that homemade touch and authentic flavors, my easy graham cracker crust is an excellent option!
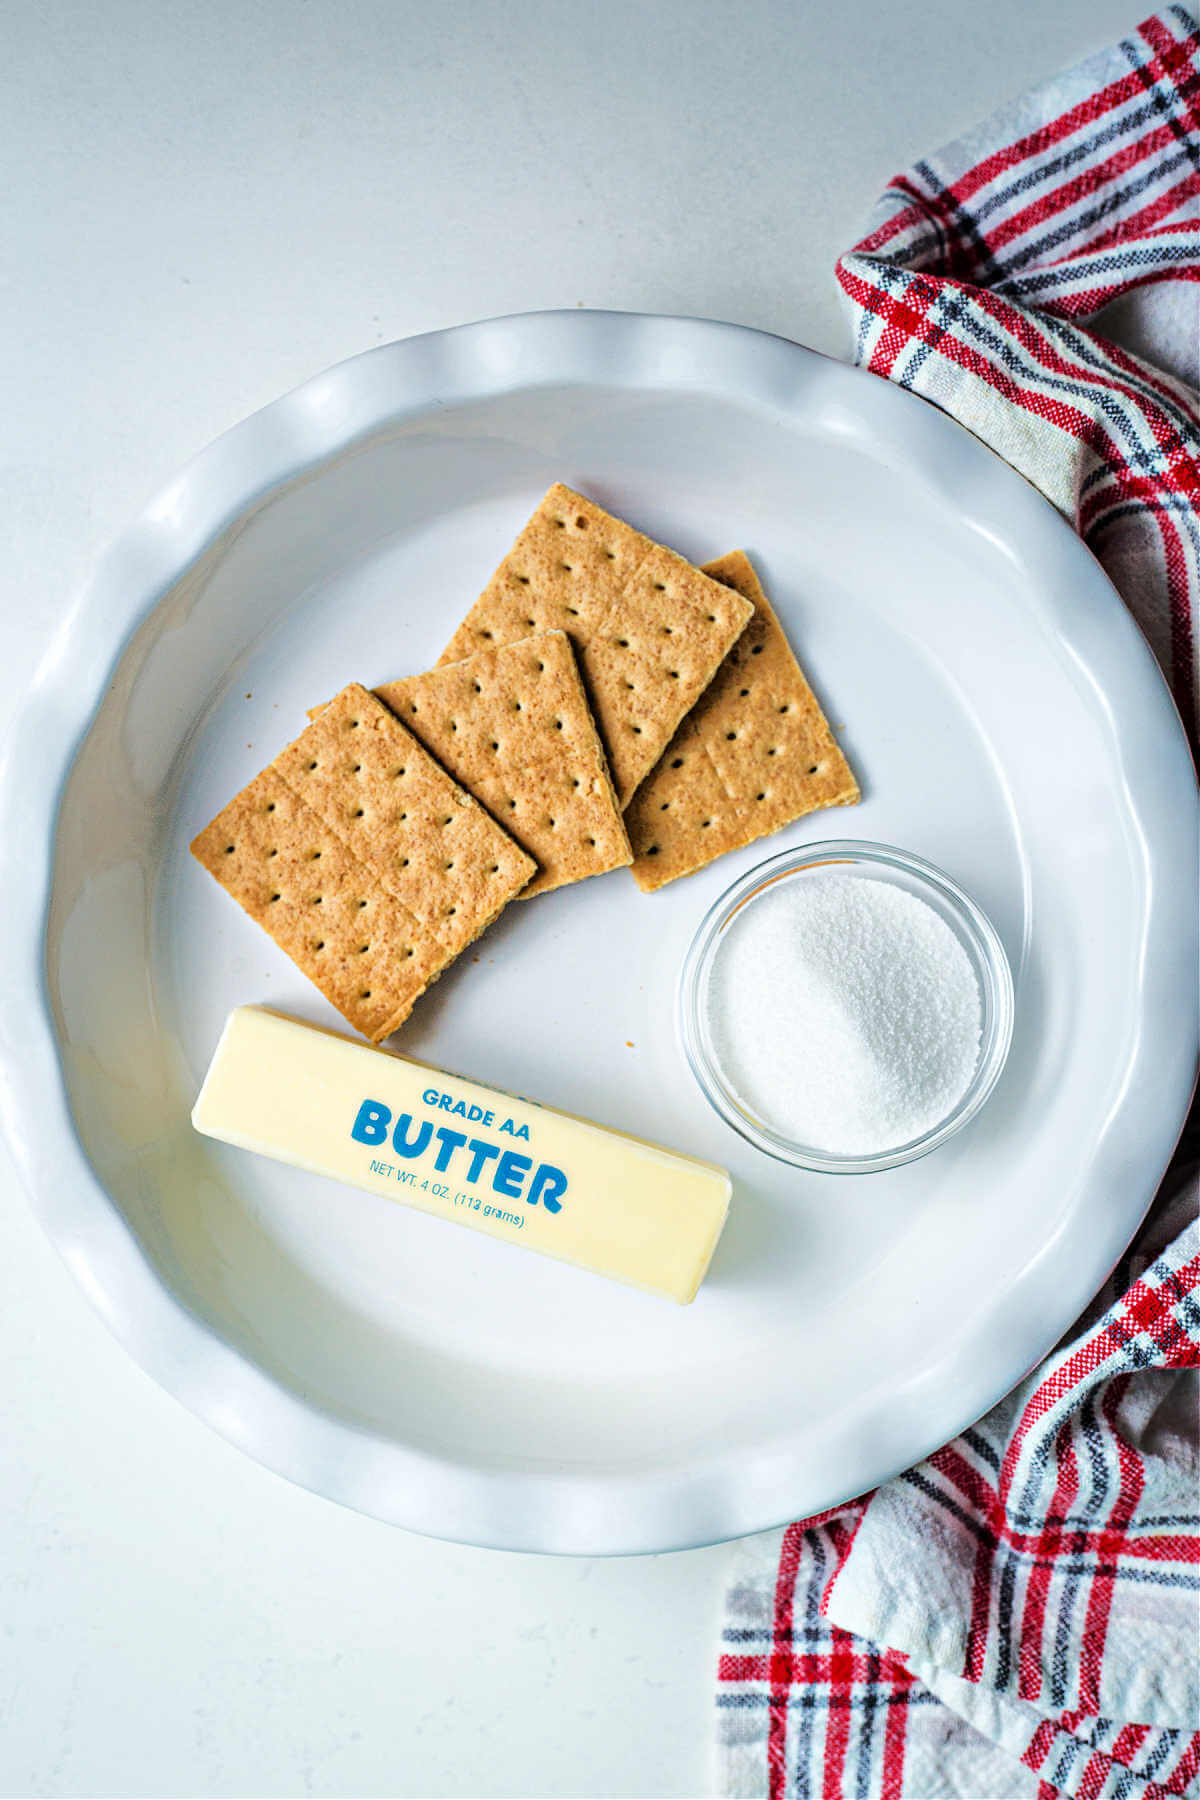
You only need three simple ingredients — graham crackers, sugar, and butter. It’s an excellent recipe for when you have little ones helping you out in the kitchen.
Key ingredients & substitutions for Easy Graham Cracker Crust
- Graham cracker crumbs — You can either buy these sweet and crunchy crumbs at the store or crush plain graham crackers.
- Granulated sugar — I like to use granulated white sugar to keep the recipe simple and traditional. However, if you want a richer molasses flavor, you can use brown sugar in its place.
- Unsalted butter — Melted butter will act like the glue in this recipe holding the ingredients together. I prefer using unsalted butter for this crust to keep it extra sweet. You can use salted butter if you want a touch of saltiness in your final crust.
How to make homemade Graham Cracker Crust
Sure, you could buy a pre-made graham cracker crust at the store. But once you’ve tried this easy homemade graham cracker crust, you surely won’t want to use a store-bought option again.
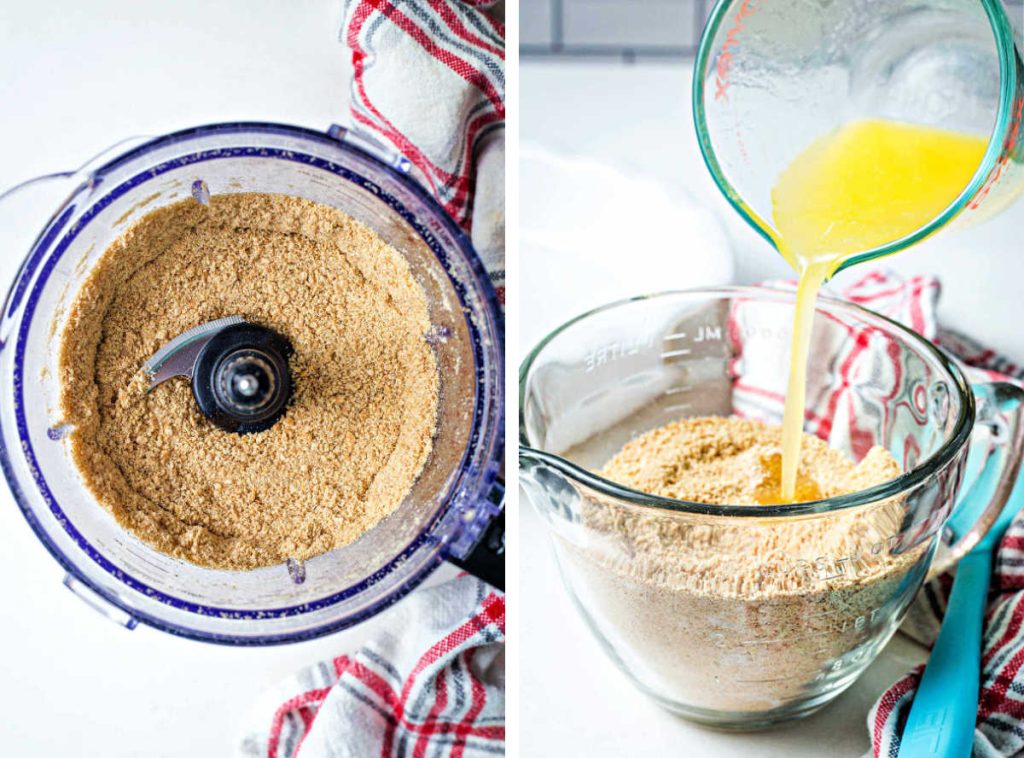
STEP 1 | Combine ingredients
Mix the graham cracker crumbs, sugar, and melted butter in a medium-sized bowl until you have coarse crumbs and all the ingredients are thoroughly combined.
tips
- If you decide to crush your own graham cracker crumbs, you’ll need about 10 to 12 graham cracker sheets. You can use a food processor to blend the crackers until they transform into fine crumbs with a sand-like texture.
- If you don’t have a food processor handy, do it the old-fashioned way! Place the cracker sheets into a Ziplock bag and seal it tightly. Then, use a rolling pin, your hands, or just about anything else to crush the crackers into crumbs.
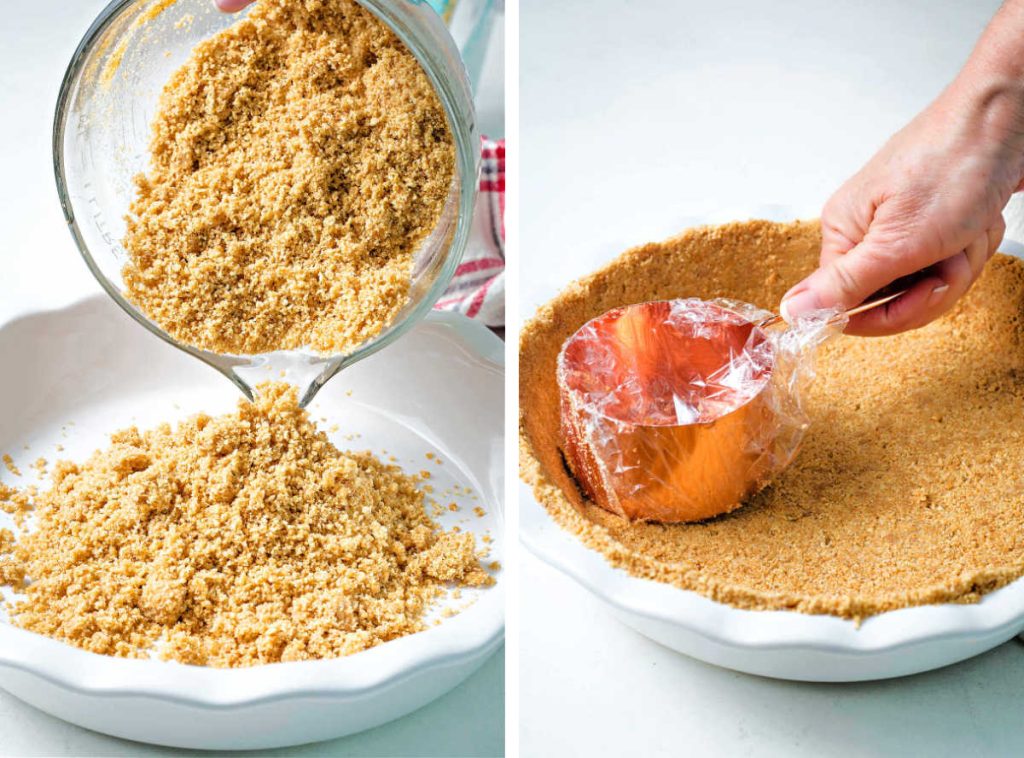
STEP 2 | Form the crust
Using your fingers, evenly press the crumb mixture into the bottom and up the sides of a 9-inch pie pan. After the pie crust is formed, place it in the refrigerator for about 30 minutes.
Quick and easy! You’re ready to fill this buttery sweet crust with a delicious pie or cheesecake filling — YUM!
tips
- A 1/2 cup measuring cup or spoon may help press the crumbs along the sides of the pan. Wrap it in plastic wrap to keep the crumbs from sticking to the cup.
- Add another tablespoon of melted butter if the mixture seems dry and doesn’t form or stick together.
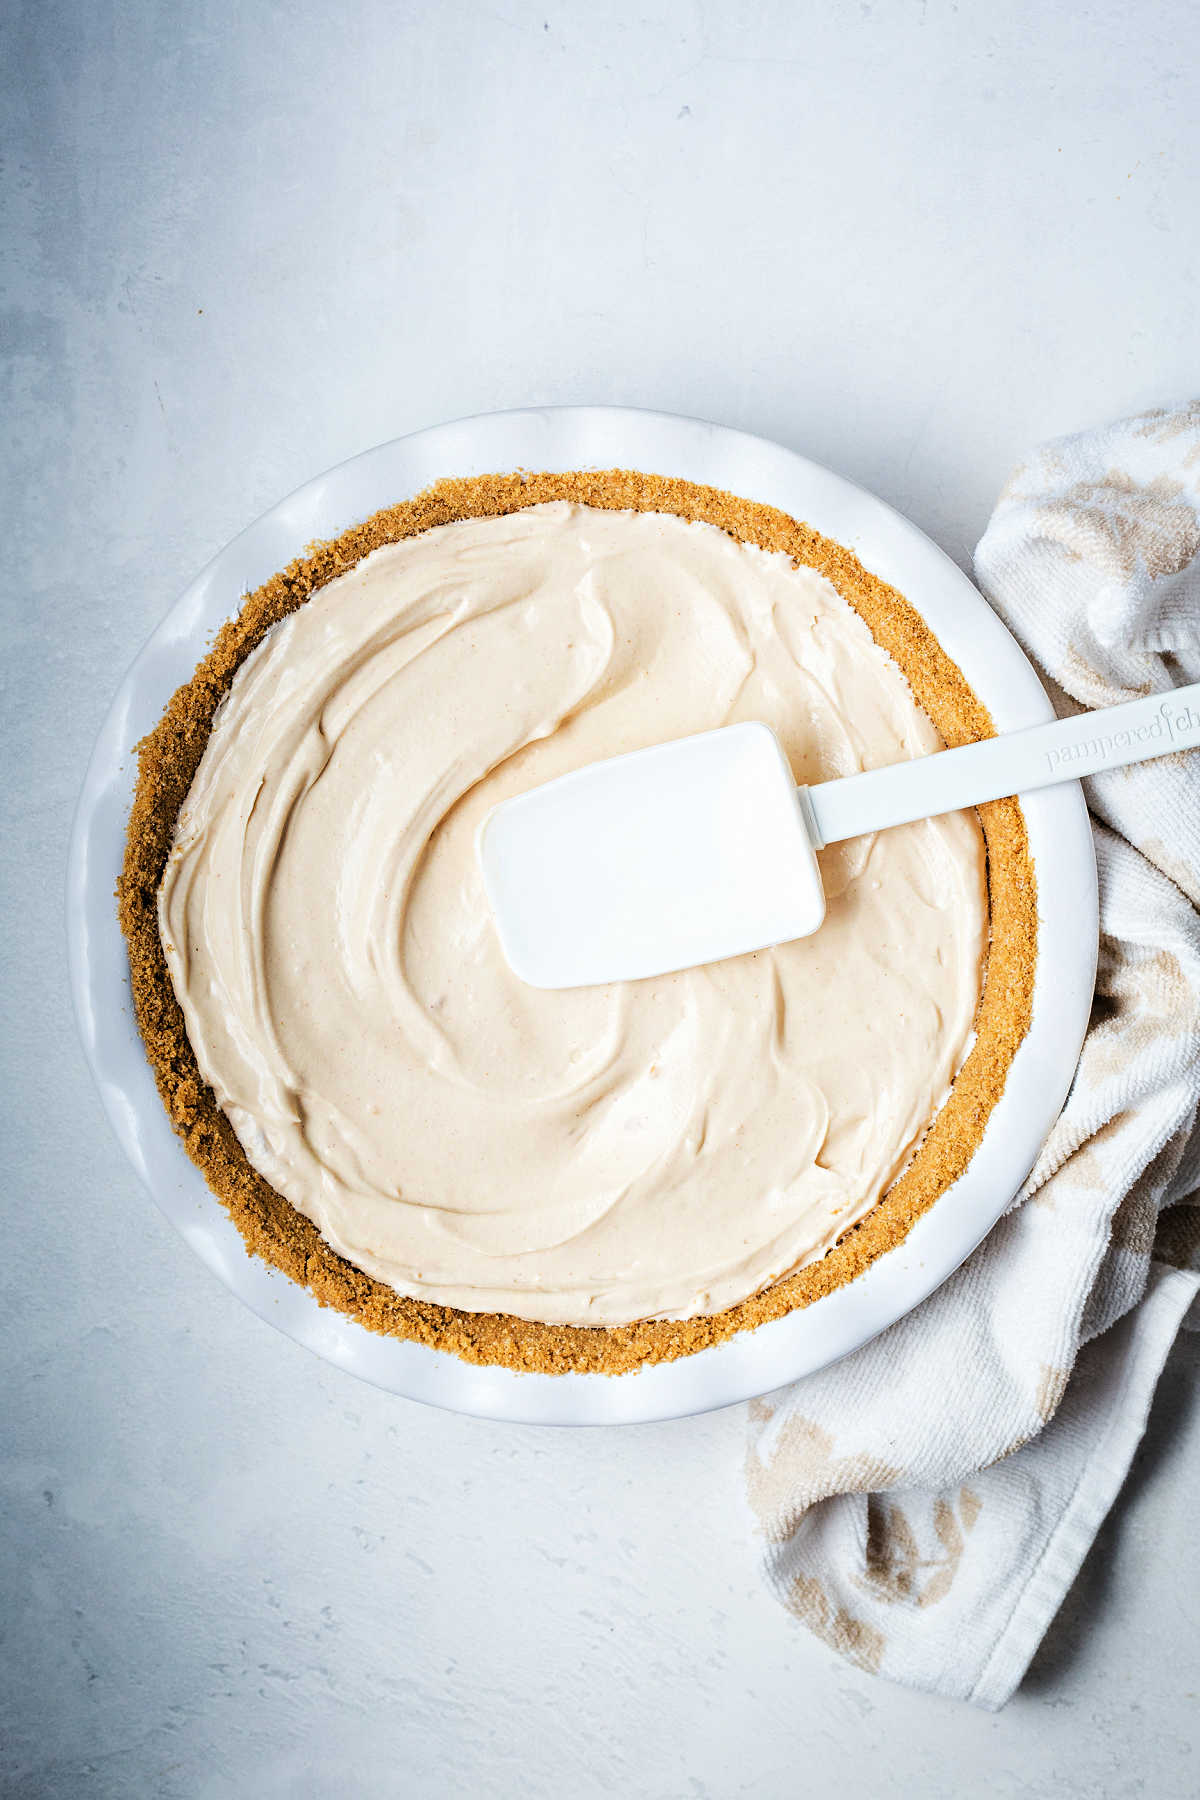
Frequently asked questions
To properly melt the butter, slice it into four or five pieces and place it in a heavy pan or double boiler if you have one. Turn the stovetop heat on low and watch the butter until the pieces are almost entirely melted, stirring occasionally.
To prevent browning or burning, remove the pan from the heat and continue stirring until all the butter is melted.
You can also easily melt butter in the microwave. It’s much quicker, but also has more risk of burning. Slice the butter into several smaller pieces and place in a microwave-safe dish. Cover the dish with a paper towel to prevent splattering.
Then, heat the butter for just 5 to ten seconds on low or defrost. Remove the butter from the microwave and stir. Place it back for 5 to 10 seconds until fully melted.
You sure can! This is the perfect recipe to get creative with and make your own. Use chocolate graham crackers for a double-chocolate pie. You can also use honey or cinnamon-coated graham crackers.
There are two simple tips for creating a firm crust that holds its shape when sliced. First, press the crust into the pie pan gently yet with plenty of pressure to pack the crumbs together.
You also want to ensure the inside bottom edges of the crust are slightly rounded rather than at a perfect right angle. Using a spoon around those bottom edges will help attain the rounded shape.
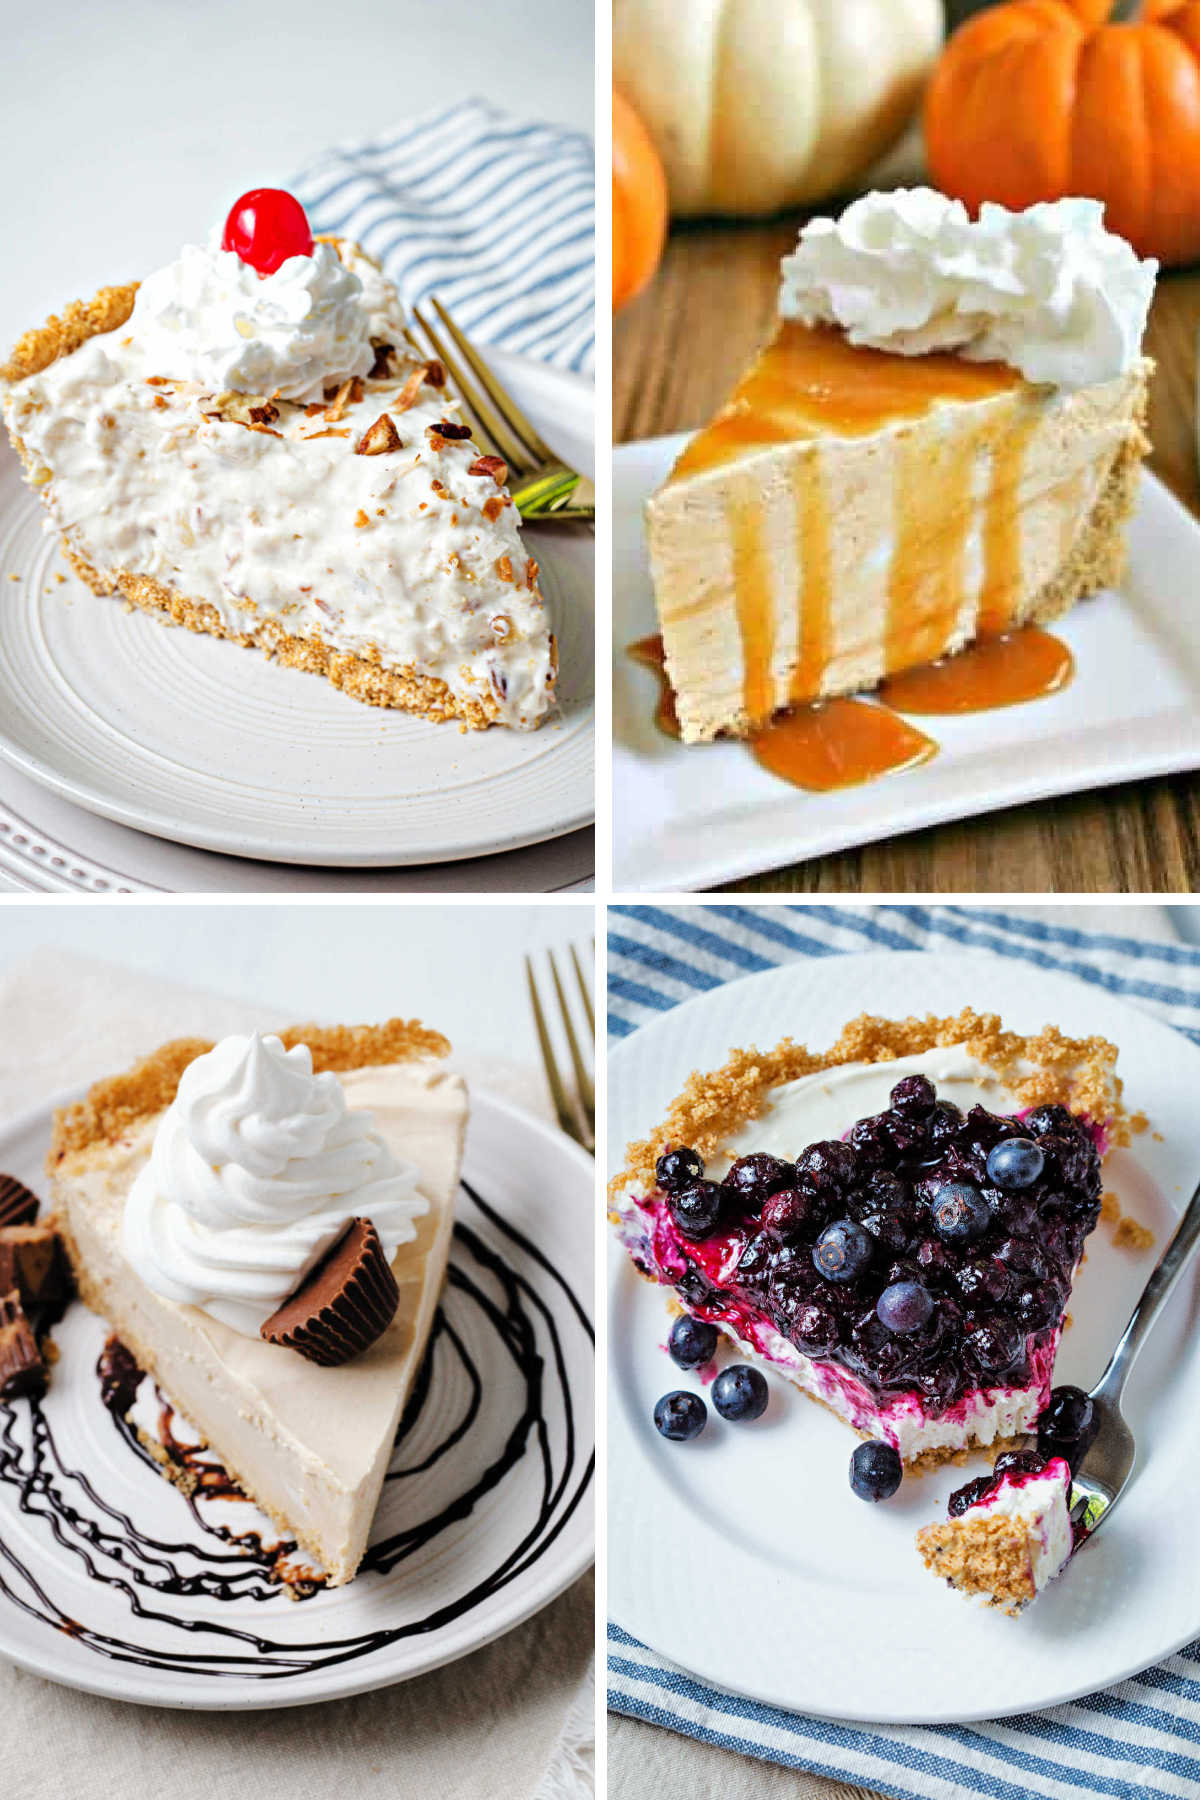
Serving suggestions
This easy and delish graham cracker crust can be used for various desserts! Use it as a crumbly and sweet crust for any dessert bar. It’s also perfect for my No Bake Blueberry Cheesecake or classic Strawberry Cheesecake.
My Mamaw B’s Million Dollar Pie with pineapple, coconut, and pecans is also made with a simple homemade graham cracker crust.
And for the upcoming fall season, try my irresistible Frozen Pumpkin Pie Cheesecake with this quick and easy cracker crust!
Behind the recipe: Graham Cracker Crust Recipe
The origin of graham crackers and graham cracker crust has probably never crossed your mind. But their histories are pretty fascinating and unexpected.
Although he did not invent them, the graham cracker was inspired by the teachings of Sylvester Graham. He was a preacher during the 19th-century temperance movement who strongly believed in minimizing worldly pleasures and sticking to a vegetarian diet.
Part of this special diet was homemade bread made from grinding wheat at home. He and his followers believed this was how God wanted his people to live. From this movement, graham flour, graham crackers, and graham bread were invented.
Later on, Monroe Boston Strause, known as the Pie King, created the simple and tasty graham cracker crust we know today.
Graham Cracker Crust Recipe
Ingredients
Crust
- 1 ½ cups graham cracker crumbs
- ¼ cup granulated sugar
- 8 tablespoons unsalted butter melted
Instructions
Graham Cracker Crust
- In a medium size bowl, blend together the graham cracker crumbs, 1/4 cup sugar, and softened butter until you have coarse crumbs. (If making your own crumbs, blend together in the bowl of a food processor.).
- Evenly press the crumb mixture into the bottom and up the sides of a 9-inch pie pan. Refrigerate for 30 minutes before filling.
Notes
- A 1/2-cup measuring cup or spoon may help press the crumbs along the sides of the pan. Wrap it in plastic wrap to keep the crumbs from sticking to the cup.
- Add another tablespoon of melted butter if the mixture seems dry and doesn’t form or stick together.
Nutrition
Life Love and Good Food does not claim to be a registered dietician or nutritionist. Nutritional information shared on this site is only an estimate. We recommend running the ingredients through an online nutritional calculator if you need to verify any information.

