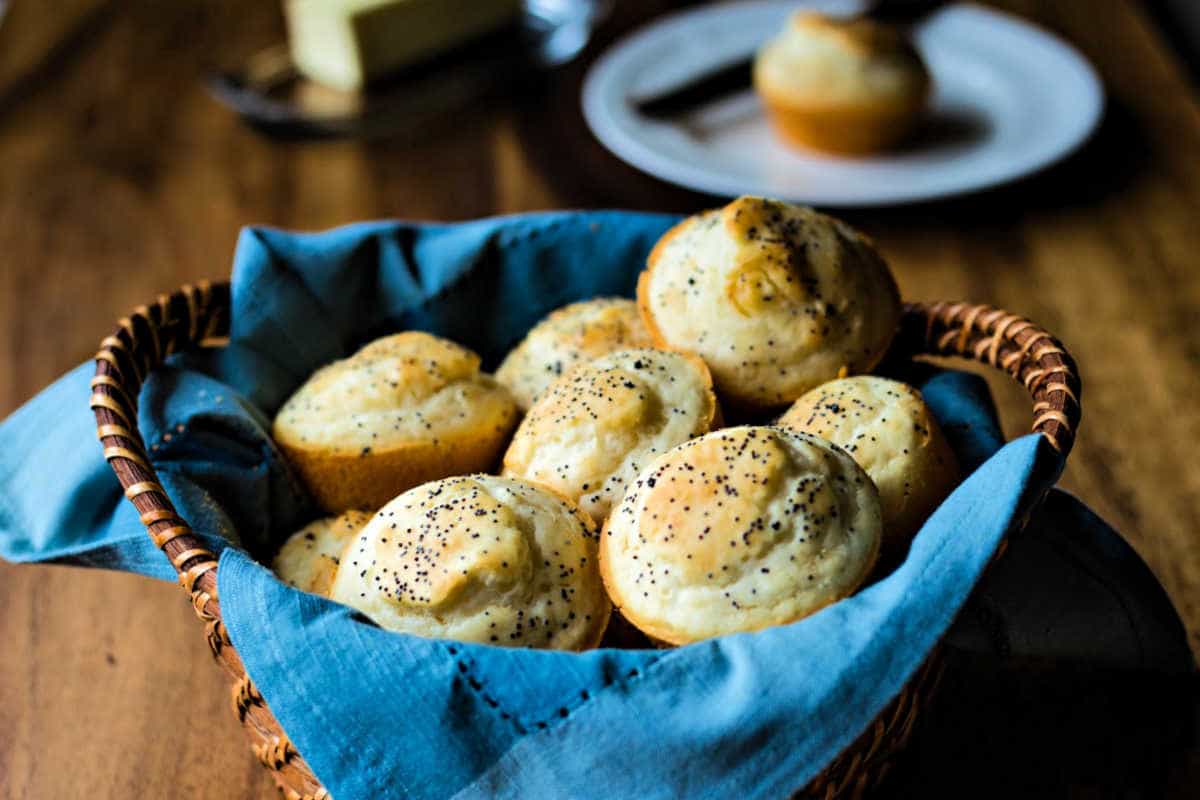
Homemade Dinner Rolls


This post may contain affiliate links. Please read my disclosure policy.
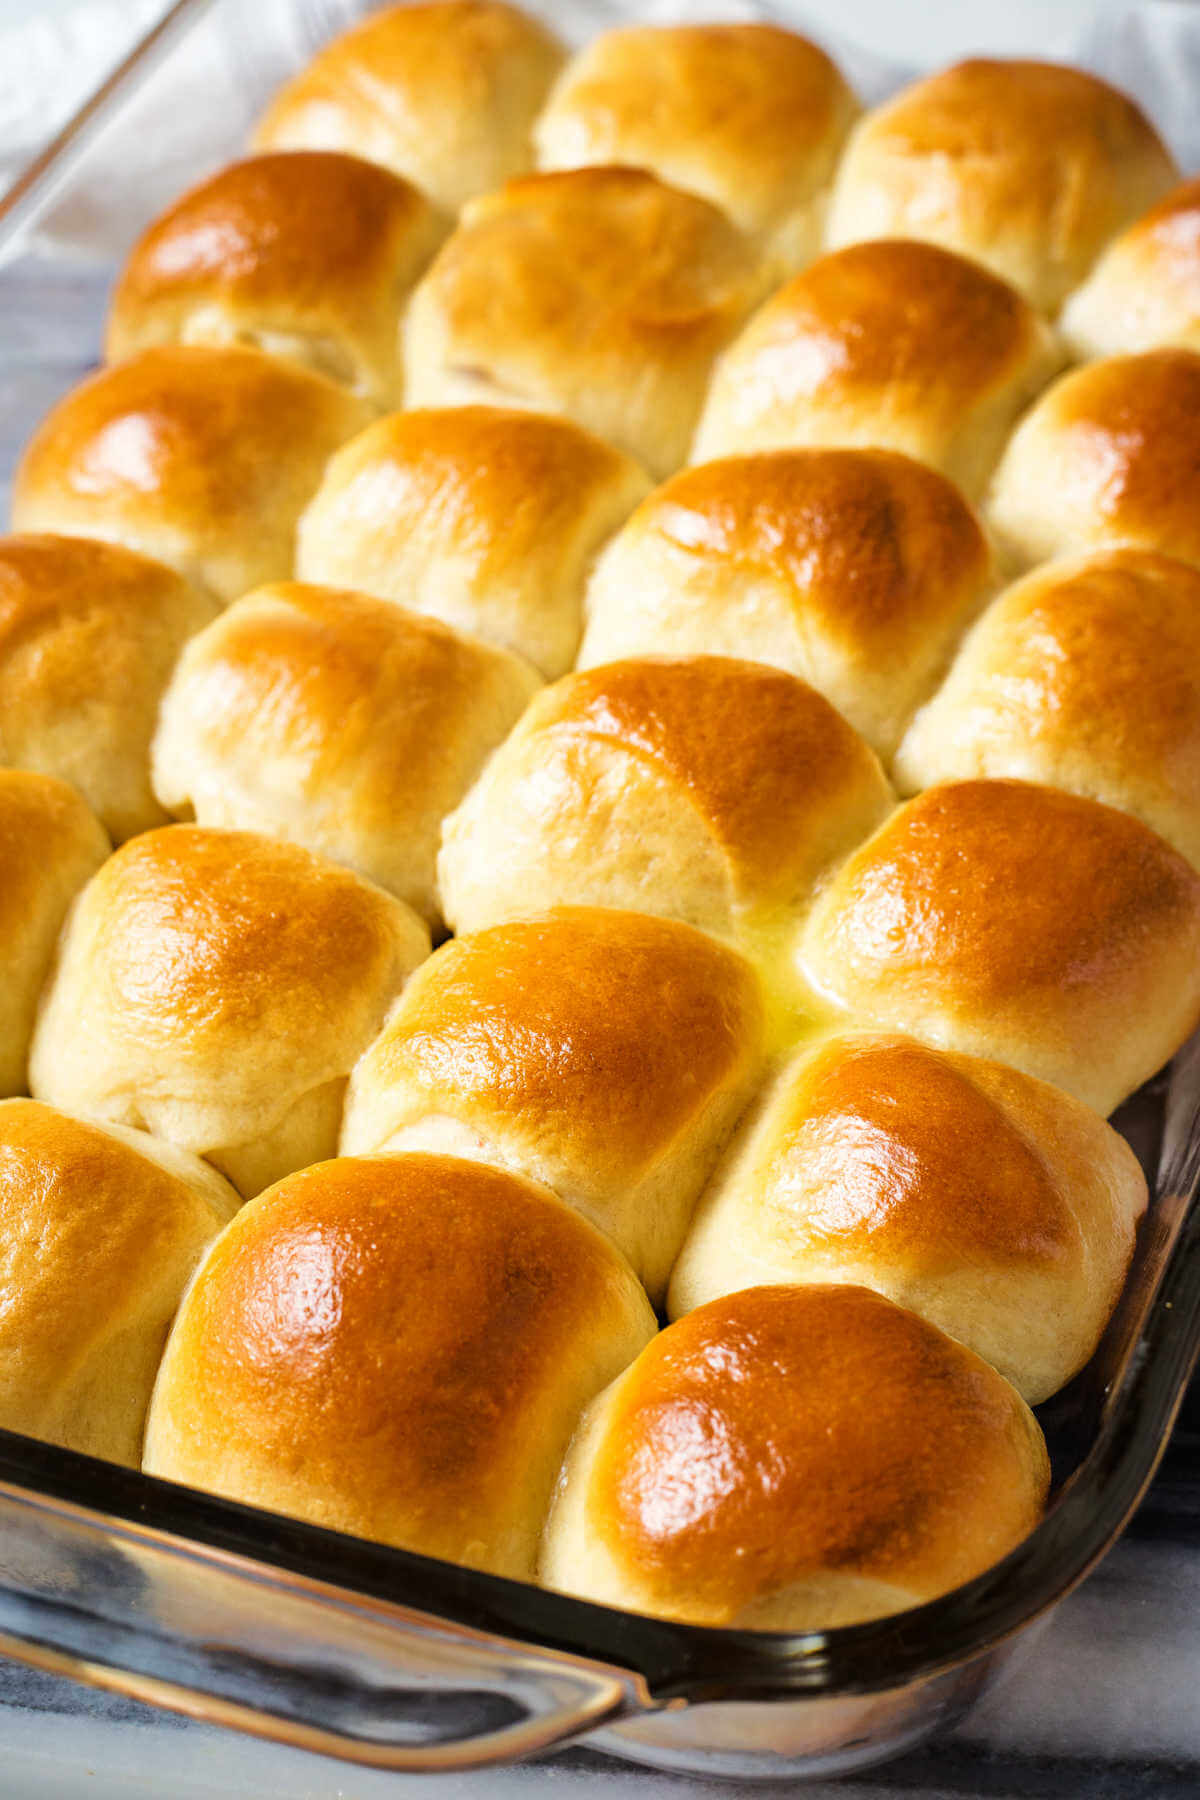
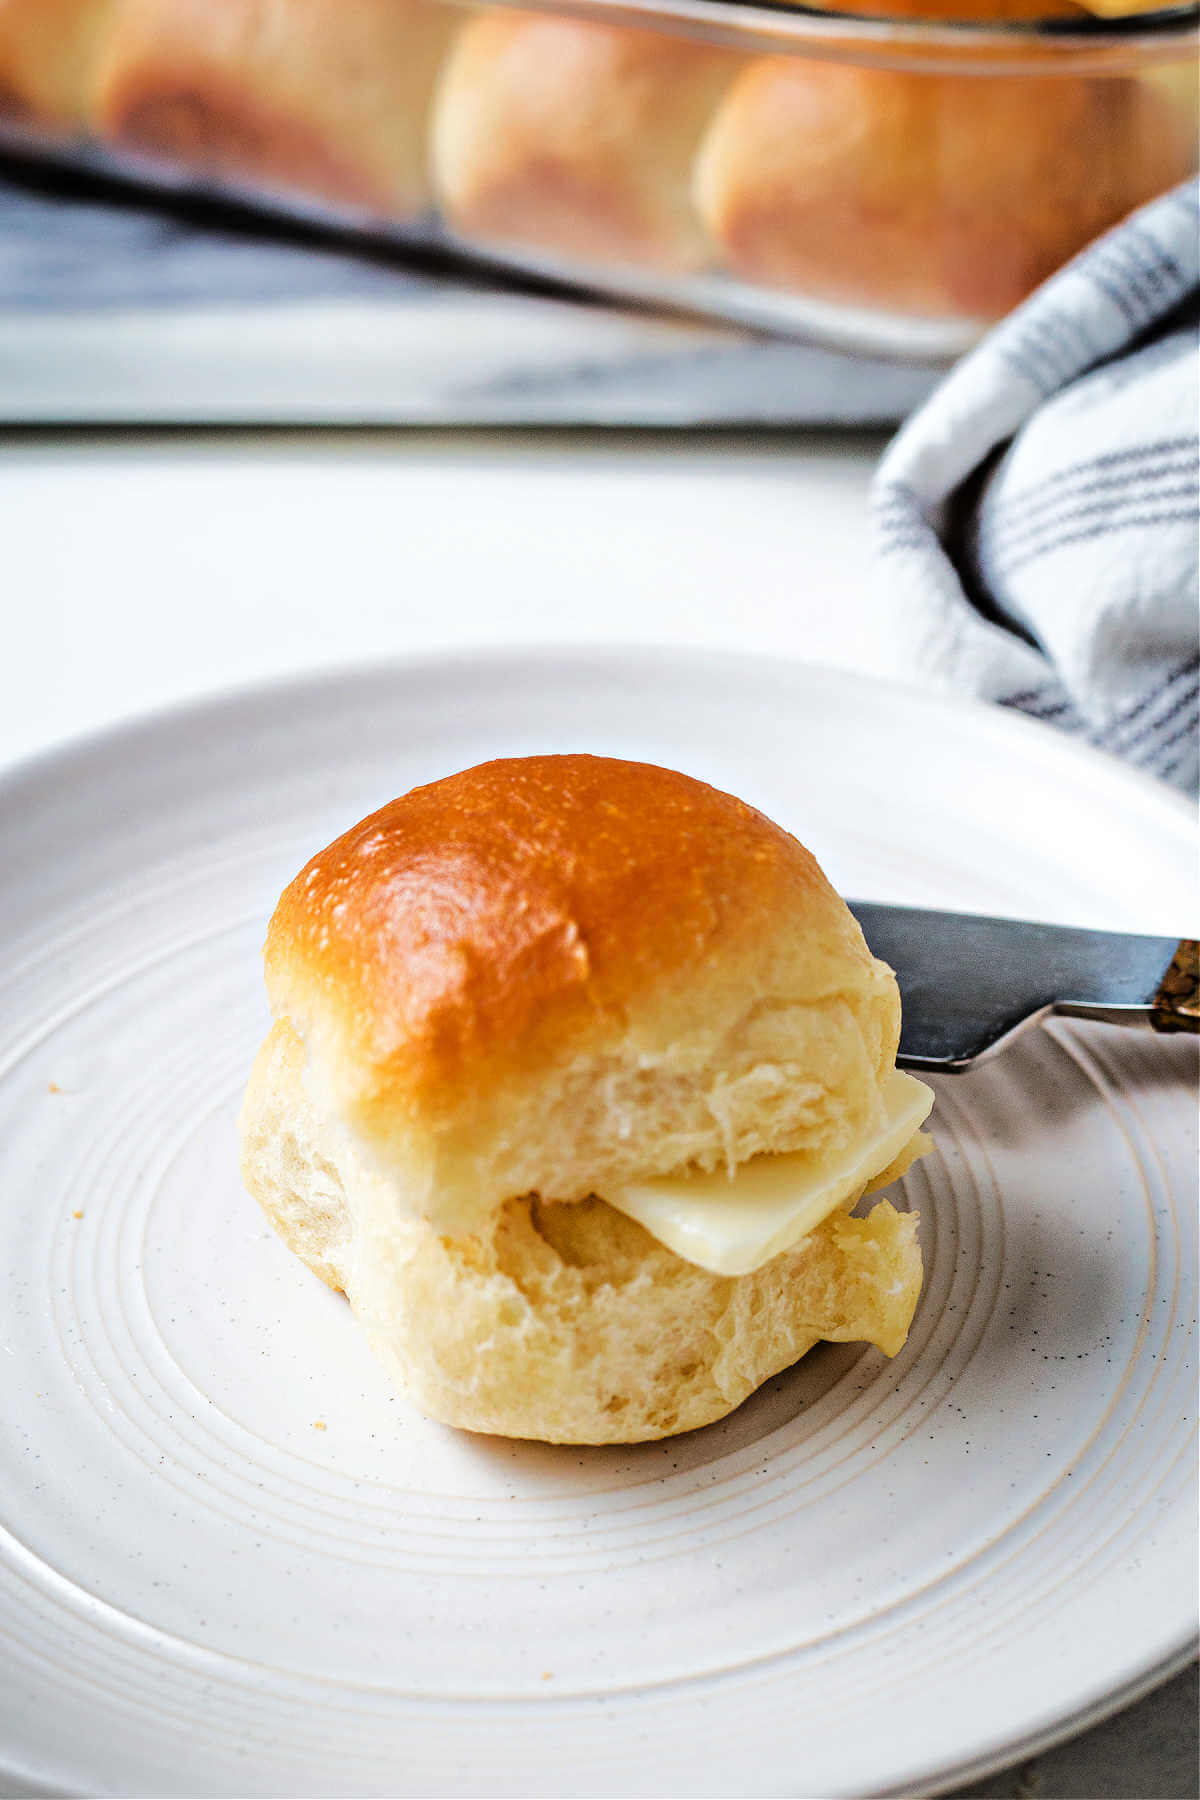
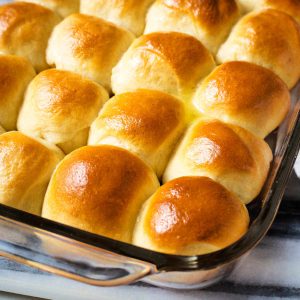
Each buttery bite of these Homemade Dinner Rolls practically melts on your tongue — they’re incredibly soft and fluffy with a slightly crispy buttered crust.
If you aren’t a from-scratch cook, get ready because this classic dinner roll recipe will inspire you to attempt more homemade masterpieces.
If there’s any perfect occasion to attempt a from-scratch recipe, it’s the holidays. Homemade dishes truly have more authentic and flavorful results. Perhaps you have never tried to make a homemade recipe, and you are nervous to finally check it off your list.
In that case, you’ll be happy to know that this dinner roll recipe is nothing to stress about. Yes, practice makes perfect. However, you’ll be off to a great start with these buttery and light dinner rolls!
After completing this simple recipe, you’ll never buy frozen, boxed, or bagged dinner rolls again. Trust me!
So, what are you waiting for? Dive right in! You’ll be happy and proud you did.
So, what recipe should you try next? Maybe it’s this delicious Homemade Stone-Ground Mustard or irresistible Pepperoni Pesto Pizza & Homemade Pizza Dough. And if you’re craving something extra sweet, check out my divine Homemade Strawberry Ice Cream Recipe.
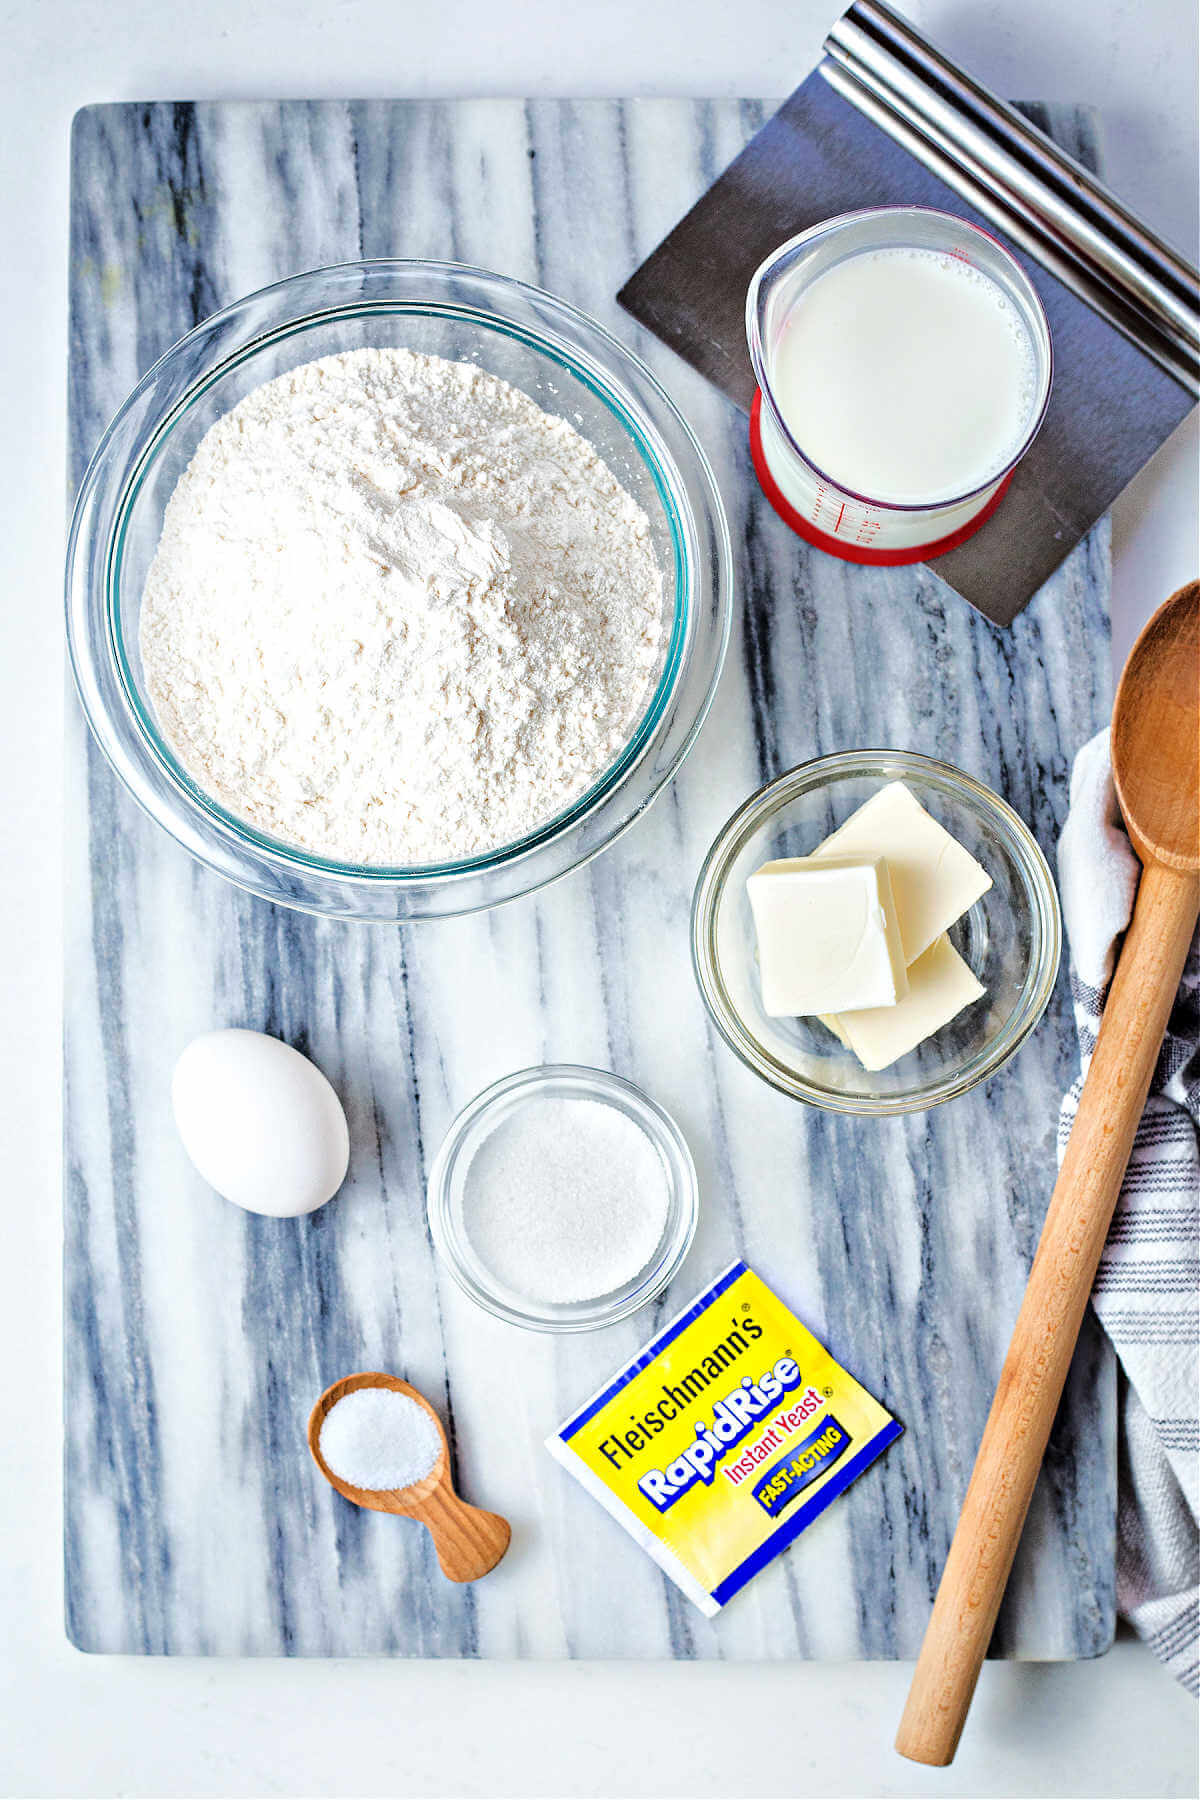
Key ingredients & substitutions for Homemade Yeast Rolls
- Milk | The milk in this homemade recipe helps to produce soft and airy dinner rolls. If necessary, you may use water in its place, but the rolls will lack the desired texture.
- Bread flour | Bread flour tastes much like all-purpose flour. However, using bread flour will allow the dough to rise high. Plus, it adds a little extra protein.
- Yeast | For this recipe you may use either instant yeast or active dry yeast. If you use the dry yeast, the rise times will take longer.
- Sugar | Add a little sugar to the dough to give it a subtle and satisfying sweetness.
- Kosher salt | Sprinkle in a pinch of kosher salt to enhance the sweetness of the sugar.
- Unsalted butter | You’ll add some butter to the dough and put the remaining amount on the tops of the golden rolls, fresh out of the oven. If preferred, you can use an unsalted butter-like butter alternative.
- Egg | Use an egg to bind the dough ingredients together and produce an extra soft and fluffy texture.
Equipment needed
- Cooking Thermometer
How to make Dinner Rolls from Scratch
Because there are roughly two hours of hands-off time total, this buttery dinner roll recipe is perfect to complete while knocking out chores, running quick errands, or preparing the rest of the meal.
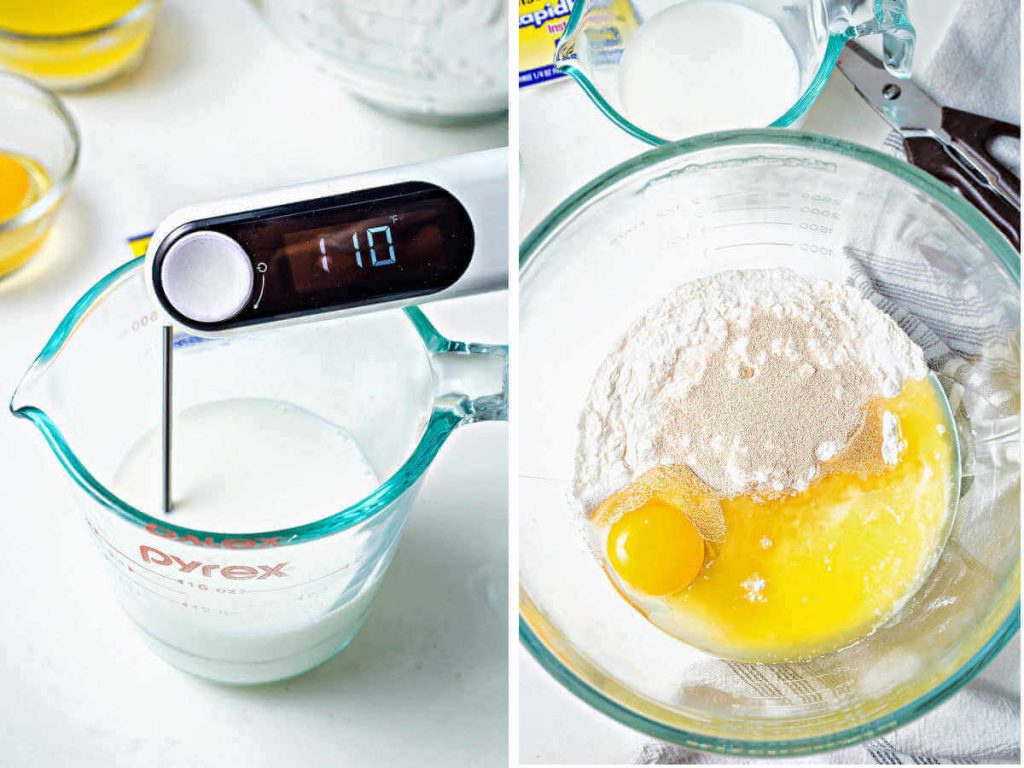
STEP 1 | Heat the milk.
You’ll be surprised at how easy it is to make dinner rolls from scratch. Let’s get started! First, you need to heat the milk to around 110 degrees f.
Pour the milk into a heat-safe bowl and place it in the microwave. Heat the milk in 30-second increments until it reaches the right temperature. Use a cooking thermometer to check the temperature as you go.
STEP 2 | Begin mixing the dough
If you have a stand mixer, get it out and ready with the dough hook attached. Add some of the flour and butter, along with the yeast, sugar, salt, and an egg, to the bowl.
Also, pour in the warmed milk. Thoroughly combine the ingredients on low speed.
STEP 3 | Finish creating the dough
Now, kick up the speed to medium and mix for two more minutes. Next, set the speed back to low and add the remaining flour until it is well incorporated.
Increase the speed to medium, once again, mixing for another couple of minutes. You’ll know the dinner roll dough is done when it is soft, sticky, and begins to separate from the sides of the bowl.
tips
- To ensure they are airy and fluffy, avoid letting the dough sit out too long. Right when it has risen enough to appear around double in size, proceed with the recipe. When bread dough is left to rise for longer than necessary, it actually starts to deflate.
- Use only minimal flour on the countertop when forming the dough balls. When excess flour is used, it can alter the texture of the dinner rolls once baked.
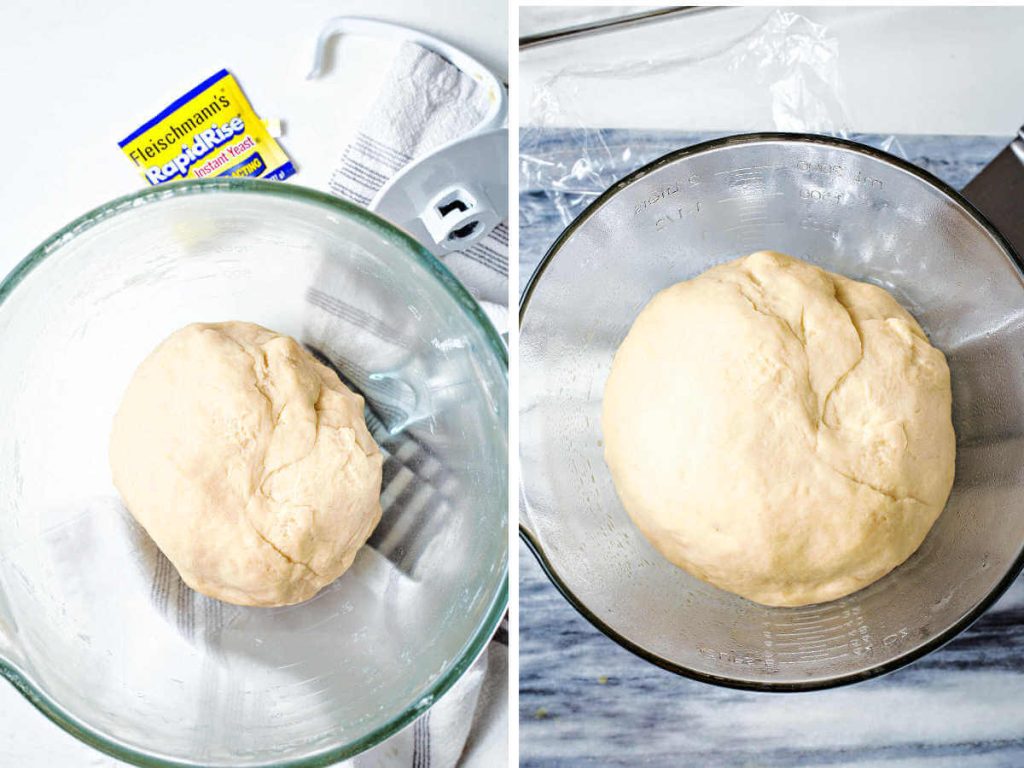
STEP 4 | Let the dough rise
Now that the dough is complete, it’s time to let it rise. So, move the dough from the stand mixer to a lightly oiled bowl. Then, cover the dough with plastic wrap.
Save This Recipe
Set the covered bowl in a warm place for a little over 30 minutes or until it looks like it has doubled in size.
STEP 5 | Form the rolls
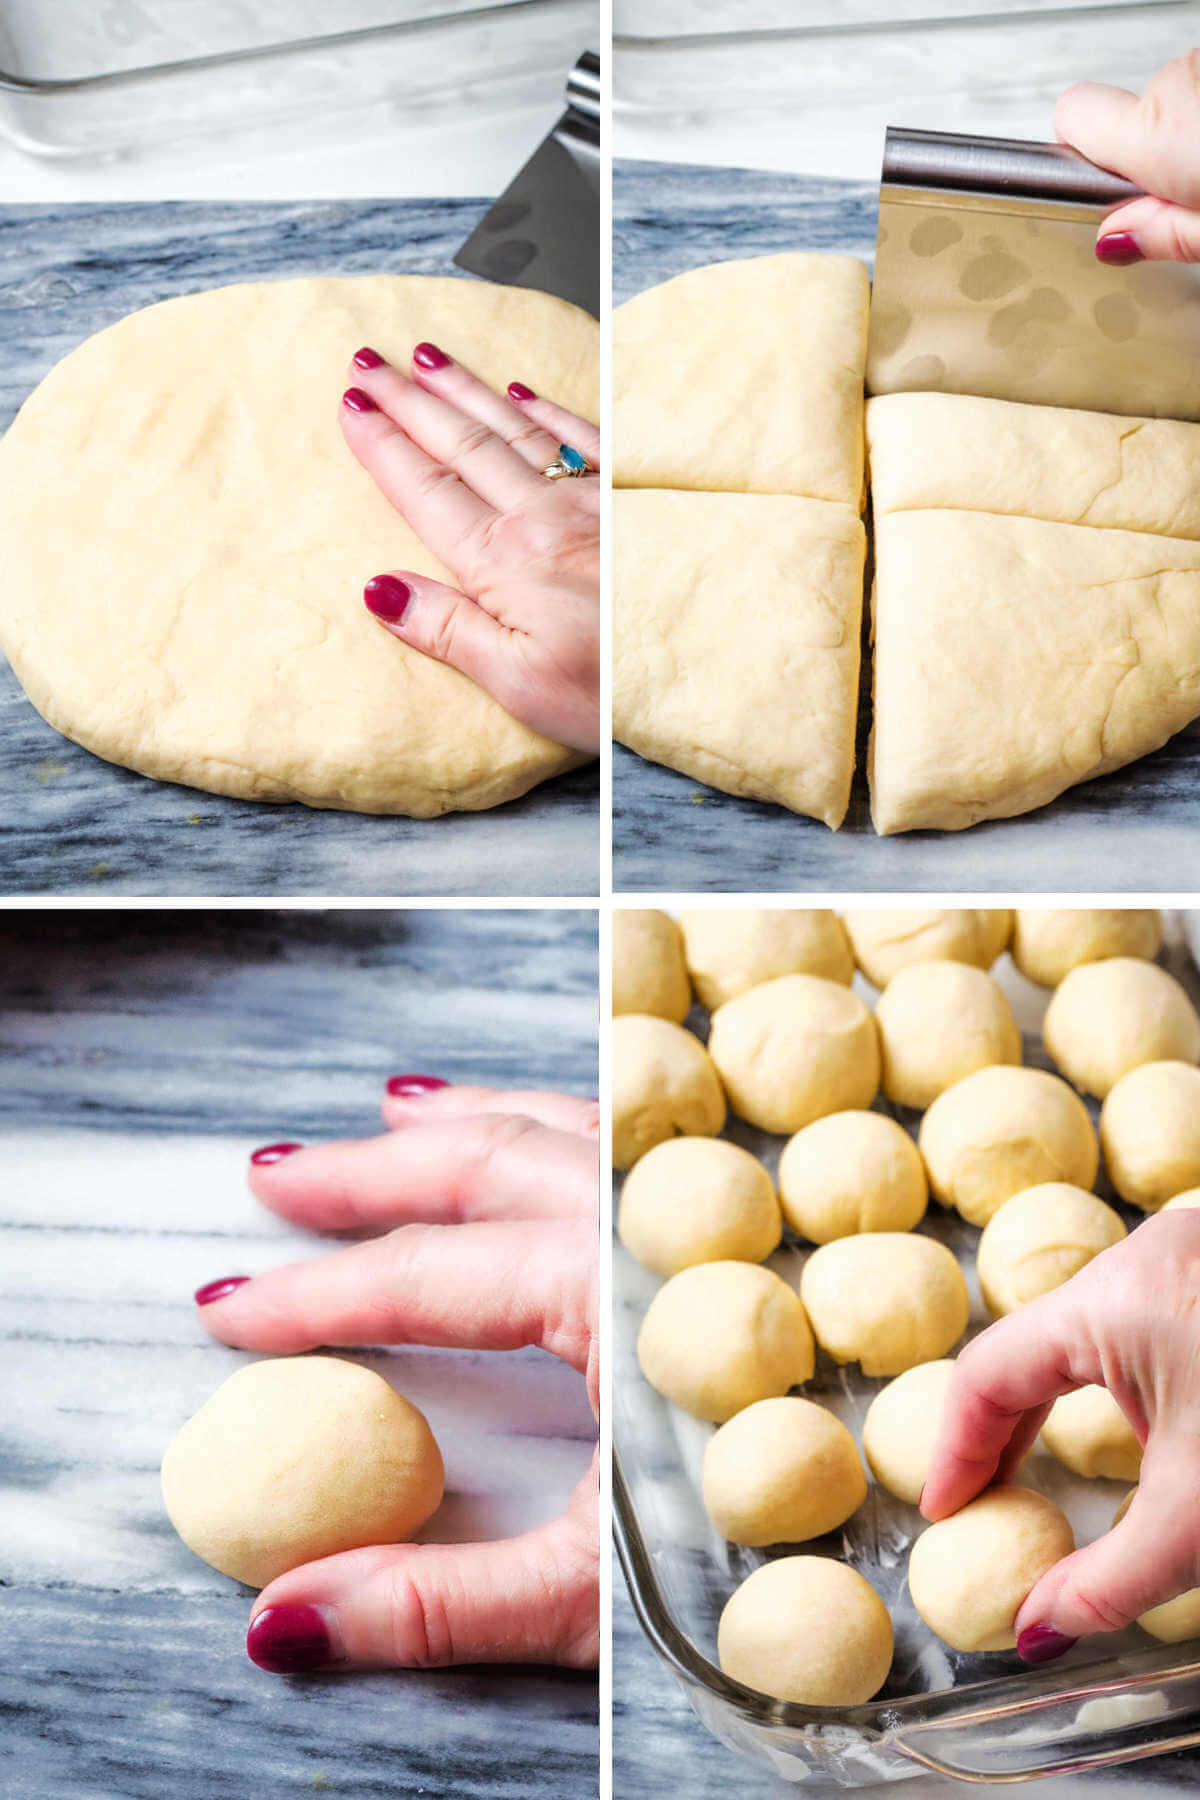
In the meantime, prep the kitchen counter or another clean surface with a light layer of all-purpose flour. After the dough rises, empty it onto the floured surface and lightly pat it into a rectangle. You want the flattened dinner roll dough to be about ¾ inch thick.
Then, slice the dough into 24 pieces using a bench scraper. If you don’t have a bench scraper at home, no problem—use any cutting utensil.
Now, roll the dough slices into smooth balls. Lightly butter a pan to keep the rolls from sticking to the bottom and arrange the rolls.
Leave some space between each roll to make room for them to rise. However, you don’t have to worry about setting them too far apart, as you might with cookies.
STEP 6 | Allow the rolls to rise
Again, allow the dinner rolls to rise before placing the pan in the oven. Place the pan in a warm location and let the dough rise for around one hour.
They have finished rising when each roll looks to have doubled in size.
STEP 7 | Bake
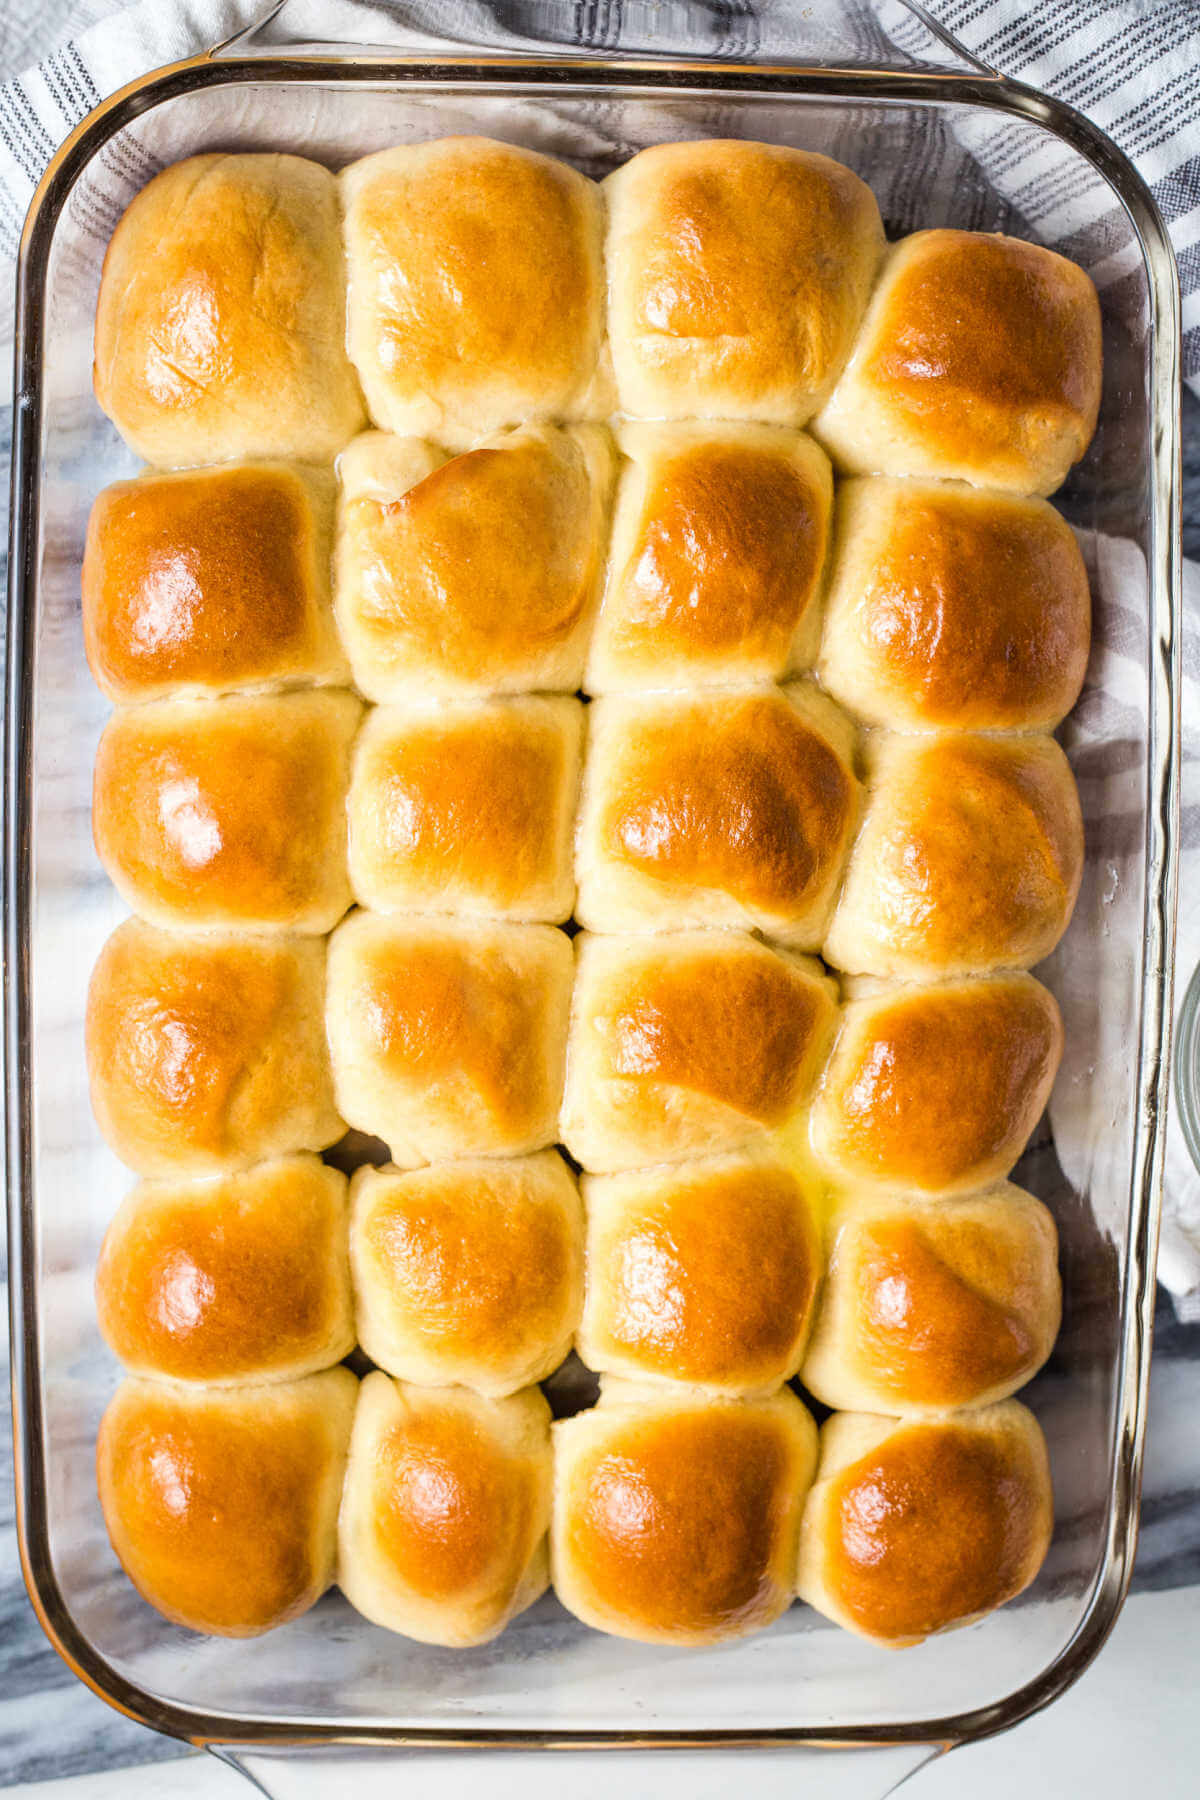
Towards the end of waiting for the rolls to rise, set the oven to 375 degrees so it can preheat and will be ready for baking! Then, slip the pan of dinner rolls into the oven and bake the rolls for about 20 minutes.
They should be a beautiful light golden brown color when they finish baking.
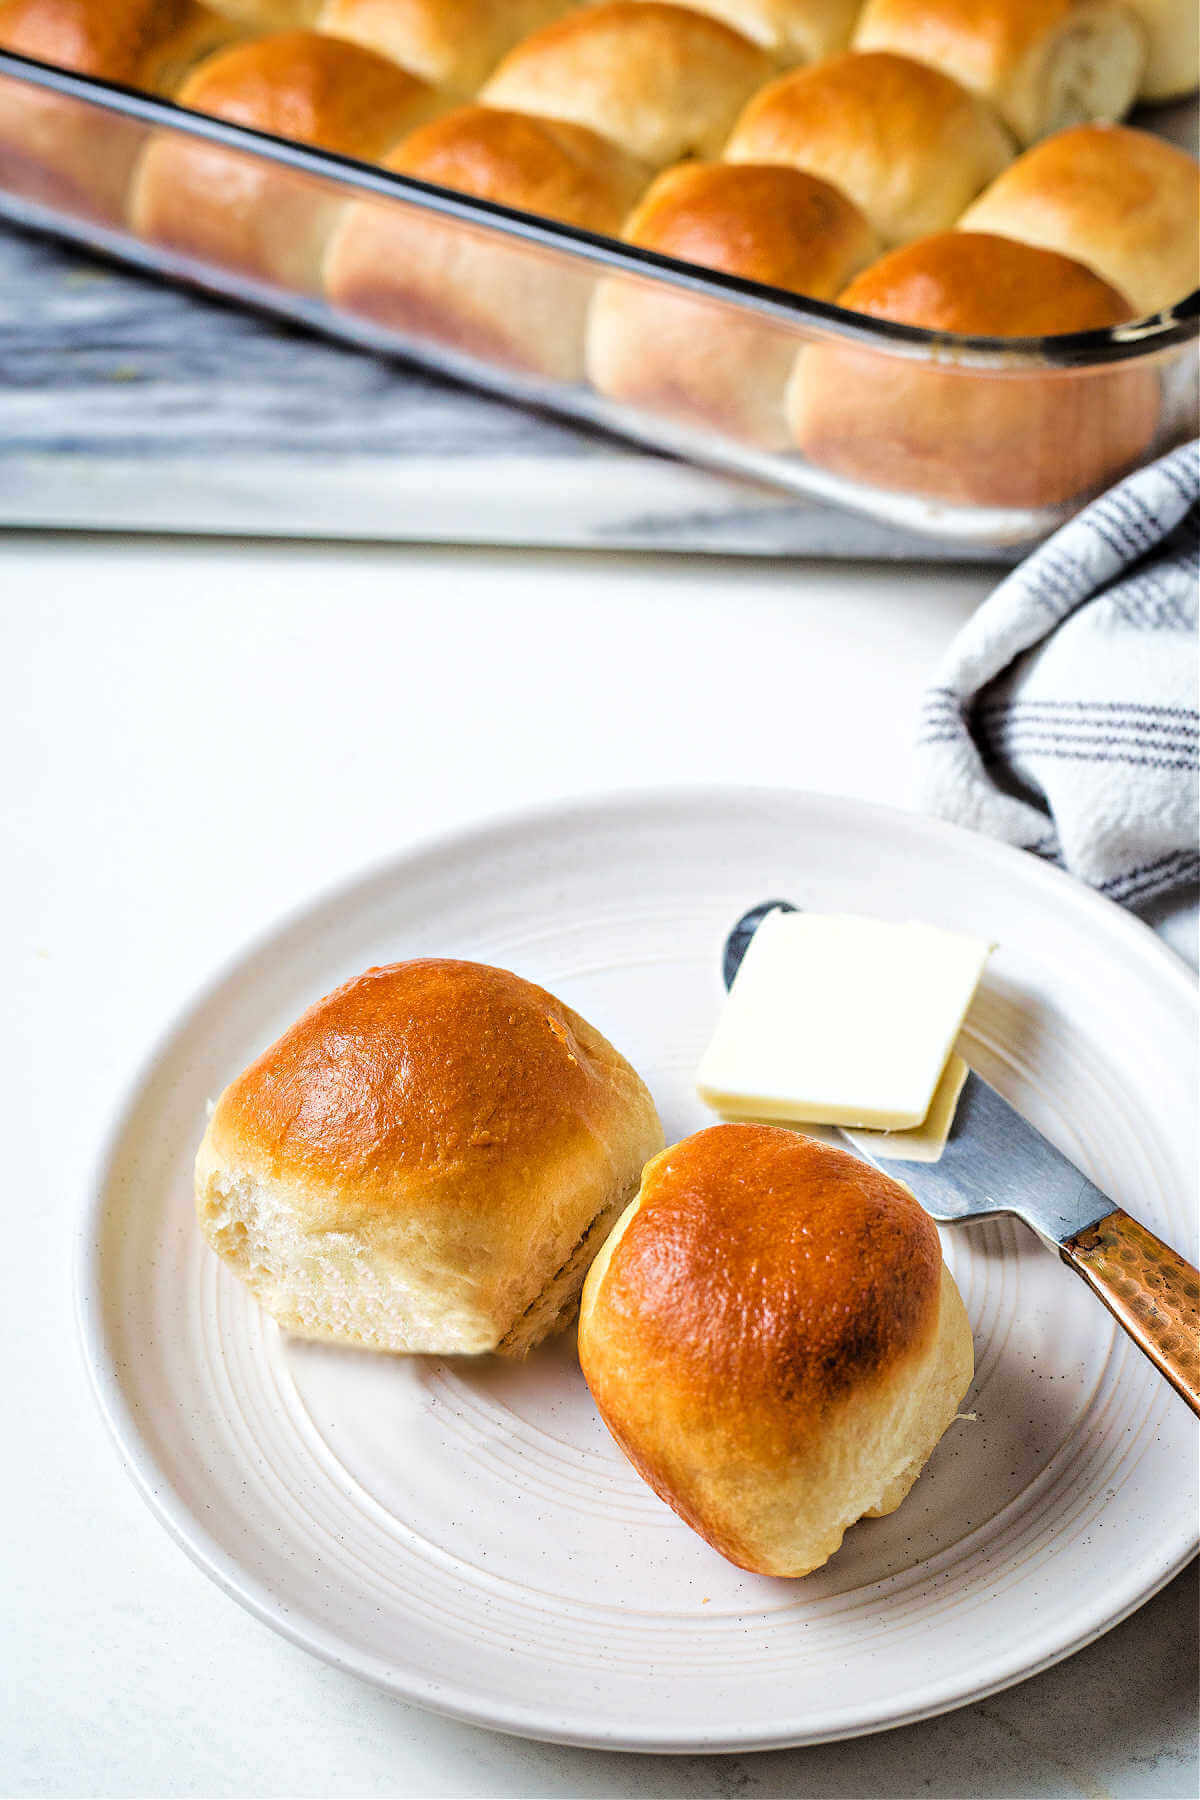
STEP 8 | Bush with butter and serve!
Just one more simple step, and this recipe is complete! Right before the rolls are ready to be removed from the oven, melt some butter on the stovetop or in the microwave and grab a pastry brush. Then, take the pan out of the oven and brush each roll with mouth-watering melted butter.
Be sure to add the butter right away! You want the rolls to be steamy-hot so they absorb the butter nicely.
Frequently asked questions
If you don’t have a stand mixer with a dough hook, you can still make these tasty dinner rolls—it just may take a little more effort. In a large mixing bowl, complete STEP 1 through STEP 3 by manually stirring the ingredients together with a sturdy spoon.
Once all the ingredients are added, toss a light layer of flour onto the counter, and empty the dough on top. For about four minutes, knead the dough by hand until it is smooth and stretchy. Then, continue with the recipe as directed.
Let’s be honest; you’ll likely be left with a bread basket full of crumbs. However, if you have some leftovers, you can store them at room temperature in an airtight container for about five days.
Or place the rolls in a freezer bag and freeze them for up to six months. When ready to reheat, allow the rolls to thaw on the countertop or toast them in the oven.
YES! There are many creative ways to shape dinner rolls. Here are a few ideas to get you started:
Twisted — Roll the dough into a rope or “snake” shape about three to four inches long. Fold the rope in half and lightly wrap the two ends around one another to create a twist shape.
Daisy — Form the dough into a smooth ball, then flatten it into a ½-inch thick circle. Use scissors or a sharp knife to make small snips around the edges, creating the daisy petals.
Snail — Create a dough rope about five or six inches long. Then, wind the rope in a spiral on the surface and tuck the end underneath to keep the structure.
You can get really creative and make an assortment of differently-shaped rolls. Imagine how beautiful and unique the presentation would be!
Toppings
For this recipe, keep it simple with some melted butter brushed on top of the rolls. If you want something extra, top them with sesame seeds, dried rosemary, garlic butter, grated parmesan cheese, or sticky honey.
Behind the recipe: Classic Dinner Rolls
Traditionally, a dinner roll is a small, round loaf of bread. The recipe is thought to have originated in England during the late 1500s. Bakers across neighboring cities and towns created their own versions of the dinner roll.
In more recent years, bread sales have decreased in the United States. This is likely the result of trendy low-carb diets. If the average person were to indulge in bread, it was more often an artisanal loaf rather than a classic dinner roll.
However, the dinner roll has been gradually coming back in the last couple of years. More and more restaurants are incorporating dinner rolls back into their menus, perhaps to boost struggling bread sales.
Dinner Rolls
Equipment
Ingredients
- 1 cup milk
- 3 ¼ cups bread flour
- 1 pkg. instant yeast
- 3 tablespoons sugar
- 1 teaspoon kosher salt
- 7 tablespoons unsalted butter melted
- 1 large egg
Instructions
- Place the milk in a heat safe bowl and heat in the microwave (cooking in 30 second increments) until it reaches 110 degrees.
- Add 2 1/2 cups of the flour, yeast, sugar, salt, 5 tablespoons of the melted butter, egg, and the warmed milk to the bowl of a stand mixer. Attach the dough hook and combine on low speed until the flour is incorporated.
- Increase the speed to medium and mix for 2 minutes. Then, add the remaining flour and mix on low until incorporated. Again, increase the speed to medium and mix another 2 minutes, until the dough is soft and sticky and begins to pull away from the sides of the bowl.
- Transfer the dough to a lightly oiled bowl. Cover with plastic wrap and let rise for 30 – 40 minutes in a warm place, or until double in bulk.
- Turn the dough out onto a lightly floured surface and pat into a rectangle. Use a bench scraper to cut the dough into 24 pieces. Roll the dough into balls and place in a lightly buttered 9 x 13 inch pan.
- Let the rolls rise for 45 – 60 minutes in a warm place, or until doubled in bulk.
- While the rolls are rising, preheat the oven to 375 degrees. Bake the rolls for 20 minutes, until lightly golden brown.
- Remove the rolls from the oven and immediately brush with 2 tablespoons of melted butter.
Notes
- To ensure they are airy and fluffy, avoid letting the dough sit out too long. Right when it has risen enough to appear around double in size, proceed with the recipe. When bread dough is left to rise for longer than necessary, it actually starts to deflate.
- Use only minimal flour on the countertop when forming the dough balls. When excess flour is used, it can alter the texture of the dinner rolls once baked.
Nutrition
Life Love and Good Food does not claim to be a registered dietician or nutritionist. Nutritional information shared on this site is only an estimate. We recommend running the ingredients through an online nutritional calculator if you need to verify any information.