Vanilla Cookies
This post may contain affiliate links. Please read my disclosure policy.
Vanilla bean seeds add an elegant touch to this classic cutout sugar cookies recipe!
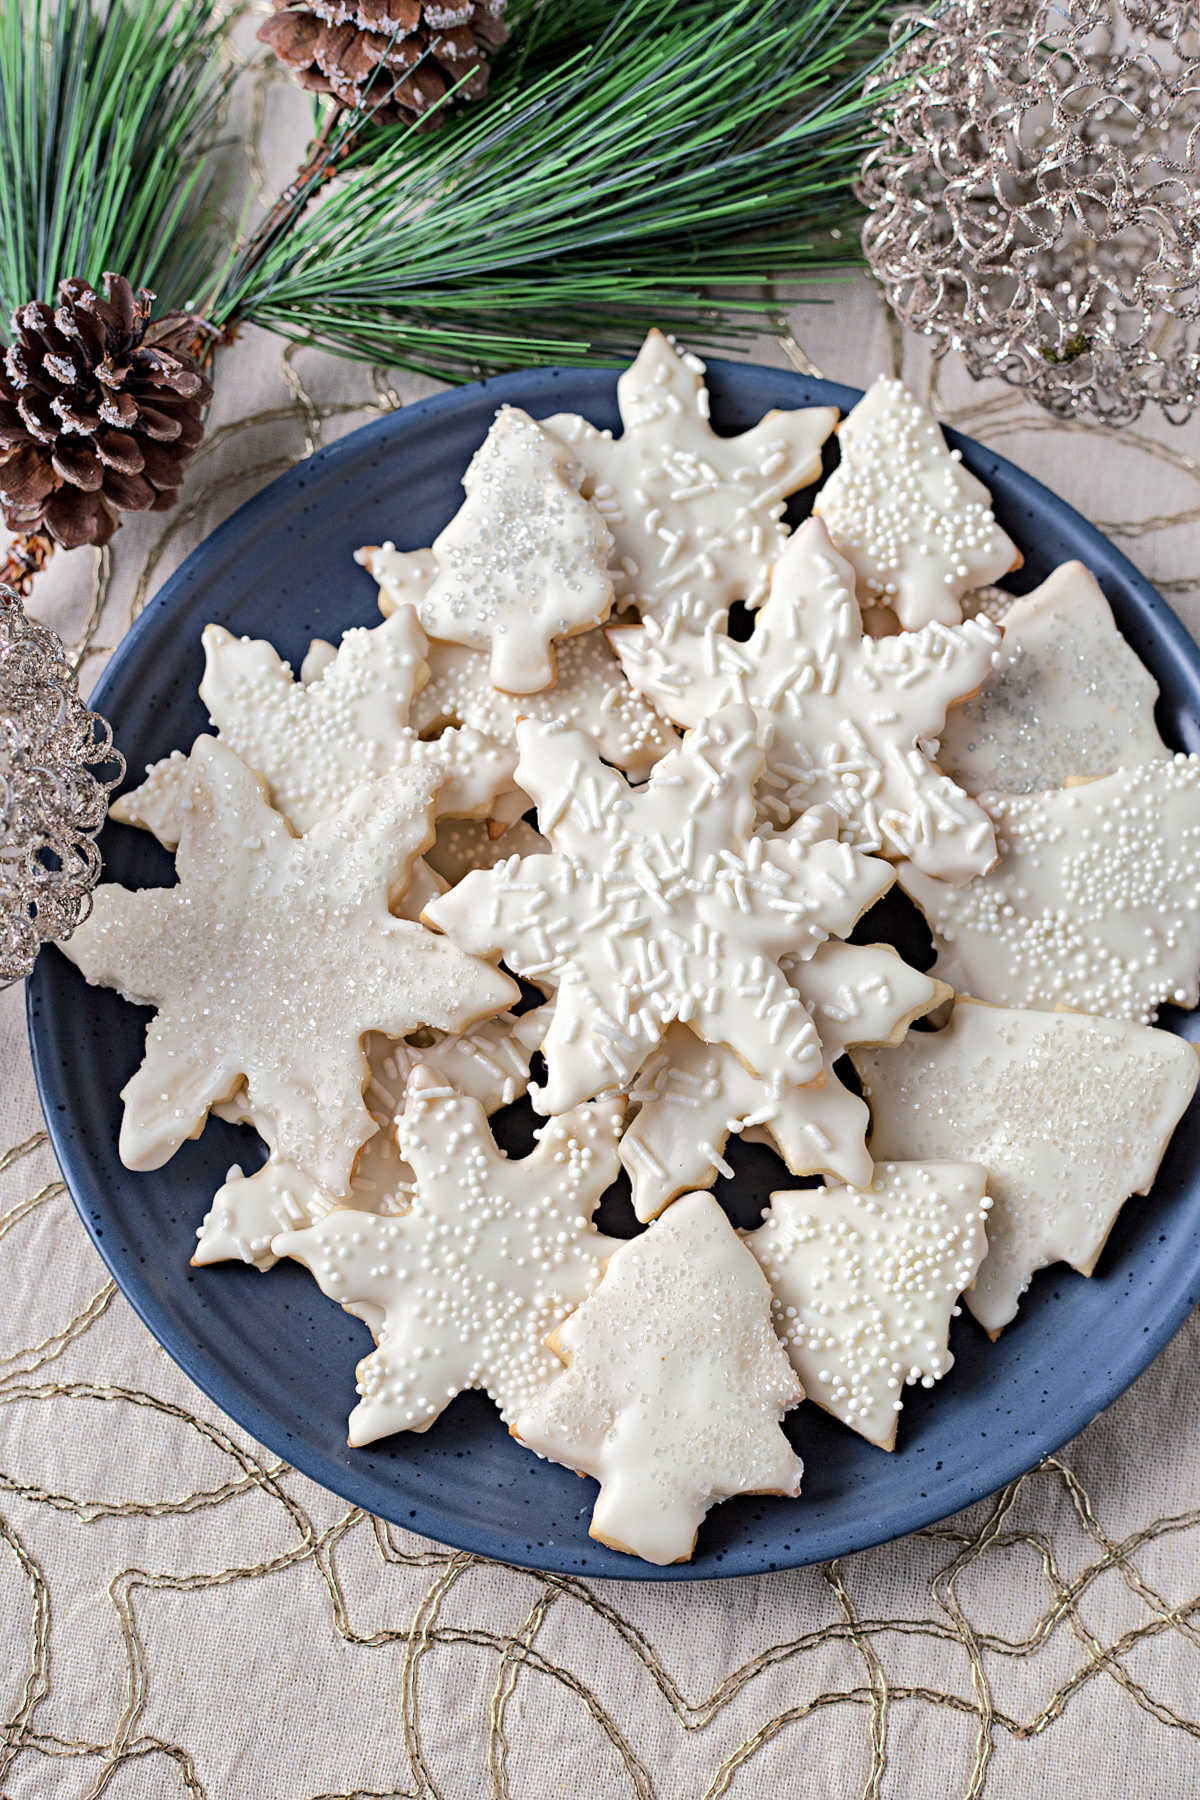
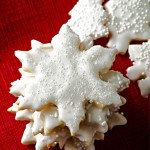
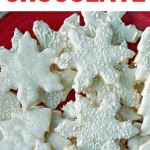
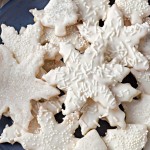
These vanilla cookies shimmer with white chocolate glaze and sugar crystals. Make them ahead of time to relieve some last-minute holiday stress!
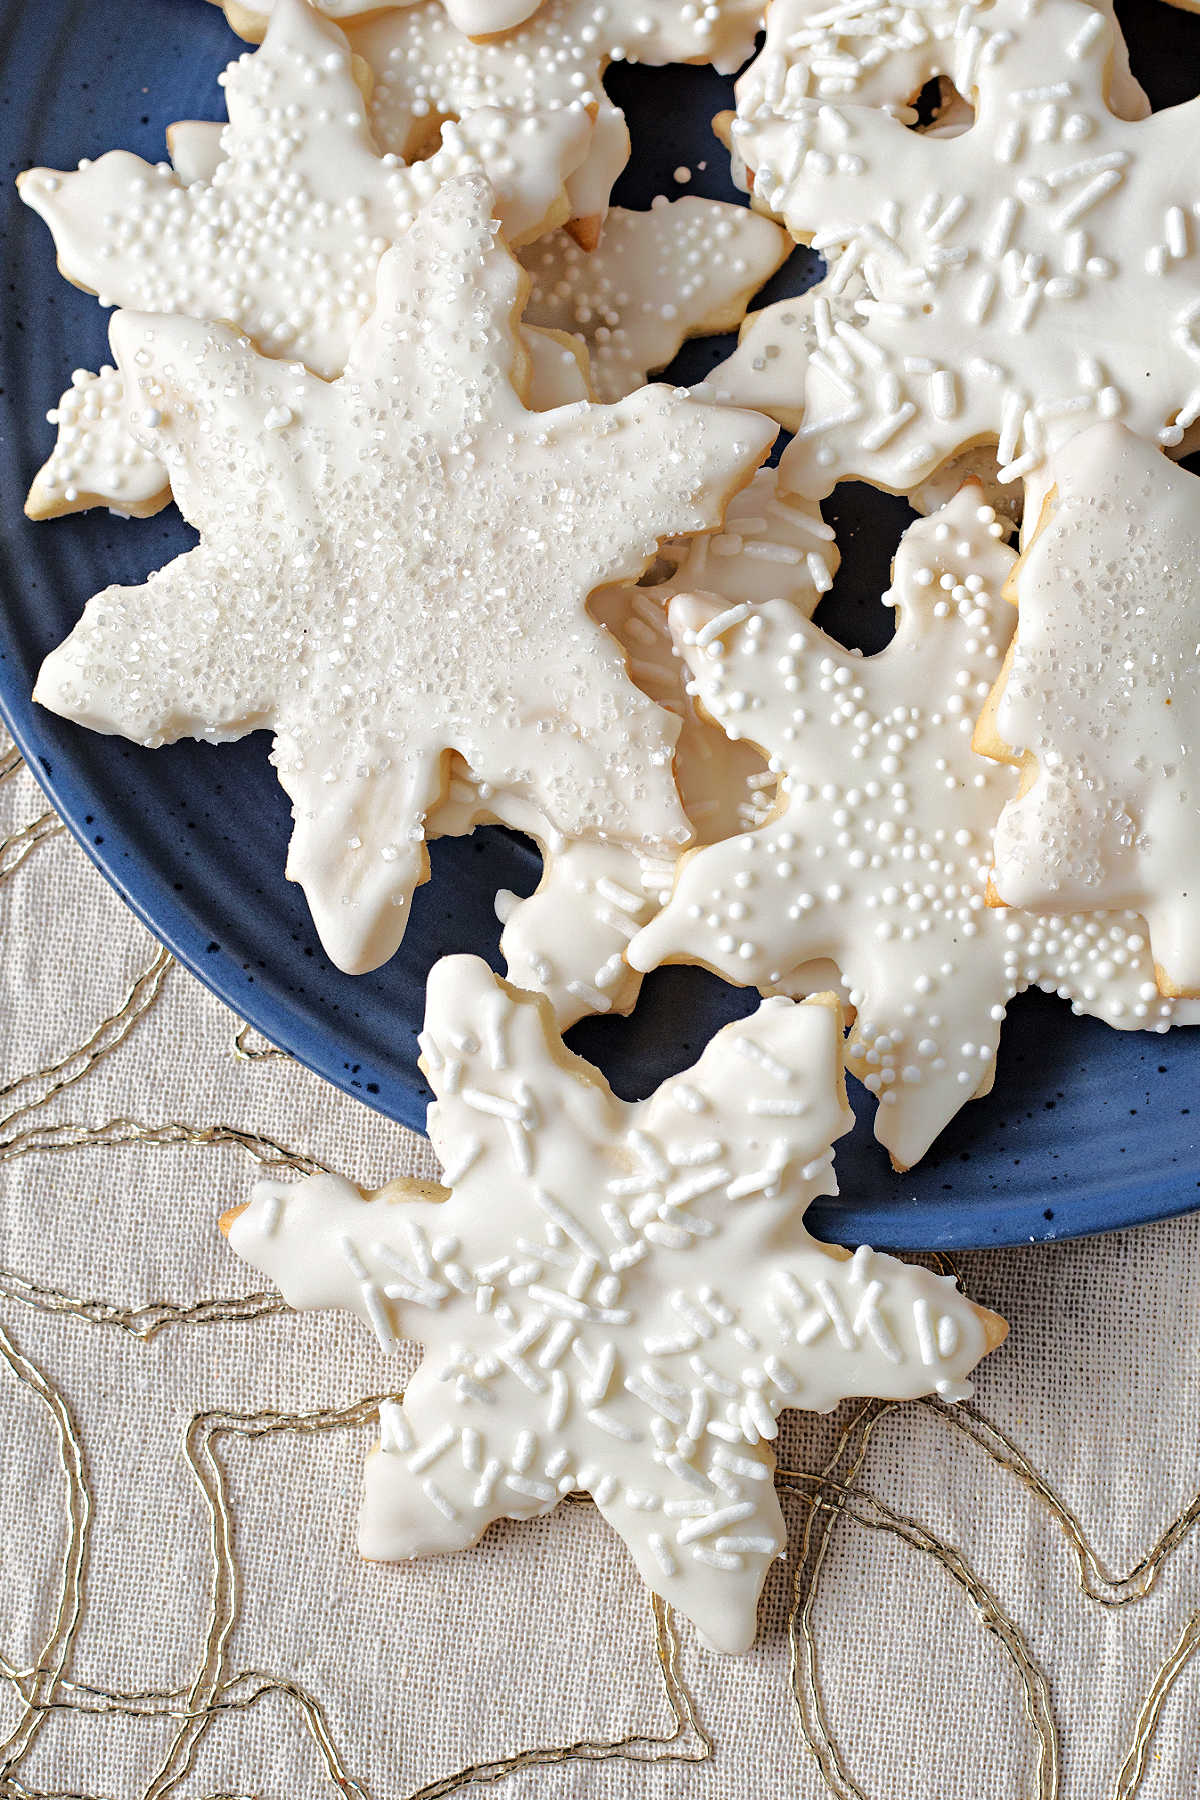
The holidays seem to sneak up earlier and earlier each year, which is why I always try to get a jump on my to-do list as soon as the weather starts to change! When you’re knee-deep in planning gatherings and getting your holiday shopping done, you can relive a bit of stress by baking and freezing these vanilla cookies a couple of weeks ahead of time.
This cutout sugar cookies recipe is one of my family’s all-time favorites, and the simple design works for any occasion. The secret to all that delicious flavor is those tiny little vanilla bean seeds!
Whip these up with some thumbprints and ginger molasses treats, and you’ll have one less thing to tackle when the time comes.
Key ingredients & substitutions for Vanilla Cookies
- Vanilla bean seeds — Carefully split open a vanilla bean and gently scrape out the seeds with the tip of a sharp knife.
- Butter — Use unsalted sticks, or omit the additional salt if salted sticks are all you have on hand. And whatever you do — avoid margarine! The oils melt at a lower temperature and will cause your shapes to spread.
- Egg — Room temperature ingredients are key to this dough coming together smoothly. Allow both the butter and egg to sit out on the counter for at least 30 minutes before starting this cutout sugar cookies recipe.
- Flour — Any all-purpose blend will do, but I find that King Arthur is superior when it comes to texture and how easy the dough is to work with!
- White chocolate glaze — Adding a little shortening to melted morsels creates the perfect consistency for glazing each shape. It also helps the icing set up hard so it won’t be damaged when stacked.
Special supplies needed
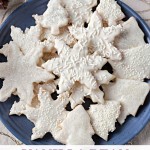
- I chose to make multiple sizes of both stars and Christmas trees and especially loved using these Cuisipro nesting cookie cutters. They’re easy to grip and the dough releases perfectly with nice, clean edges.
- This Bright White decorating sugar from India Tree adds just the right amount of glamor. Feel free to try out different colors to match your style!
How to make this cutout sugar cookies recipe?
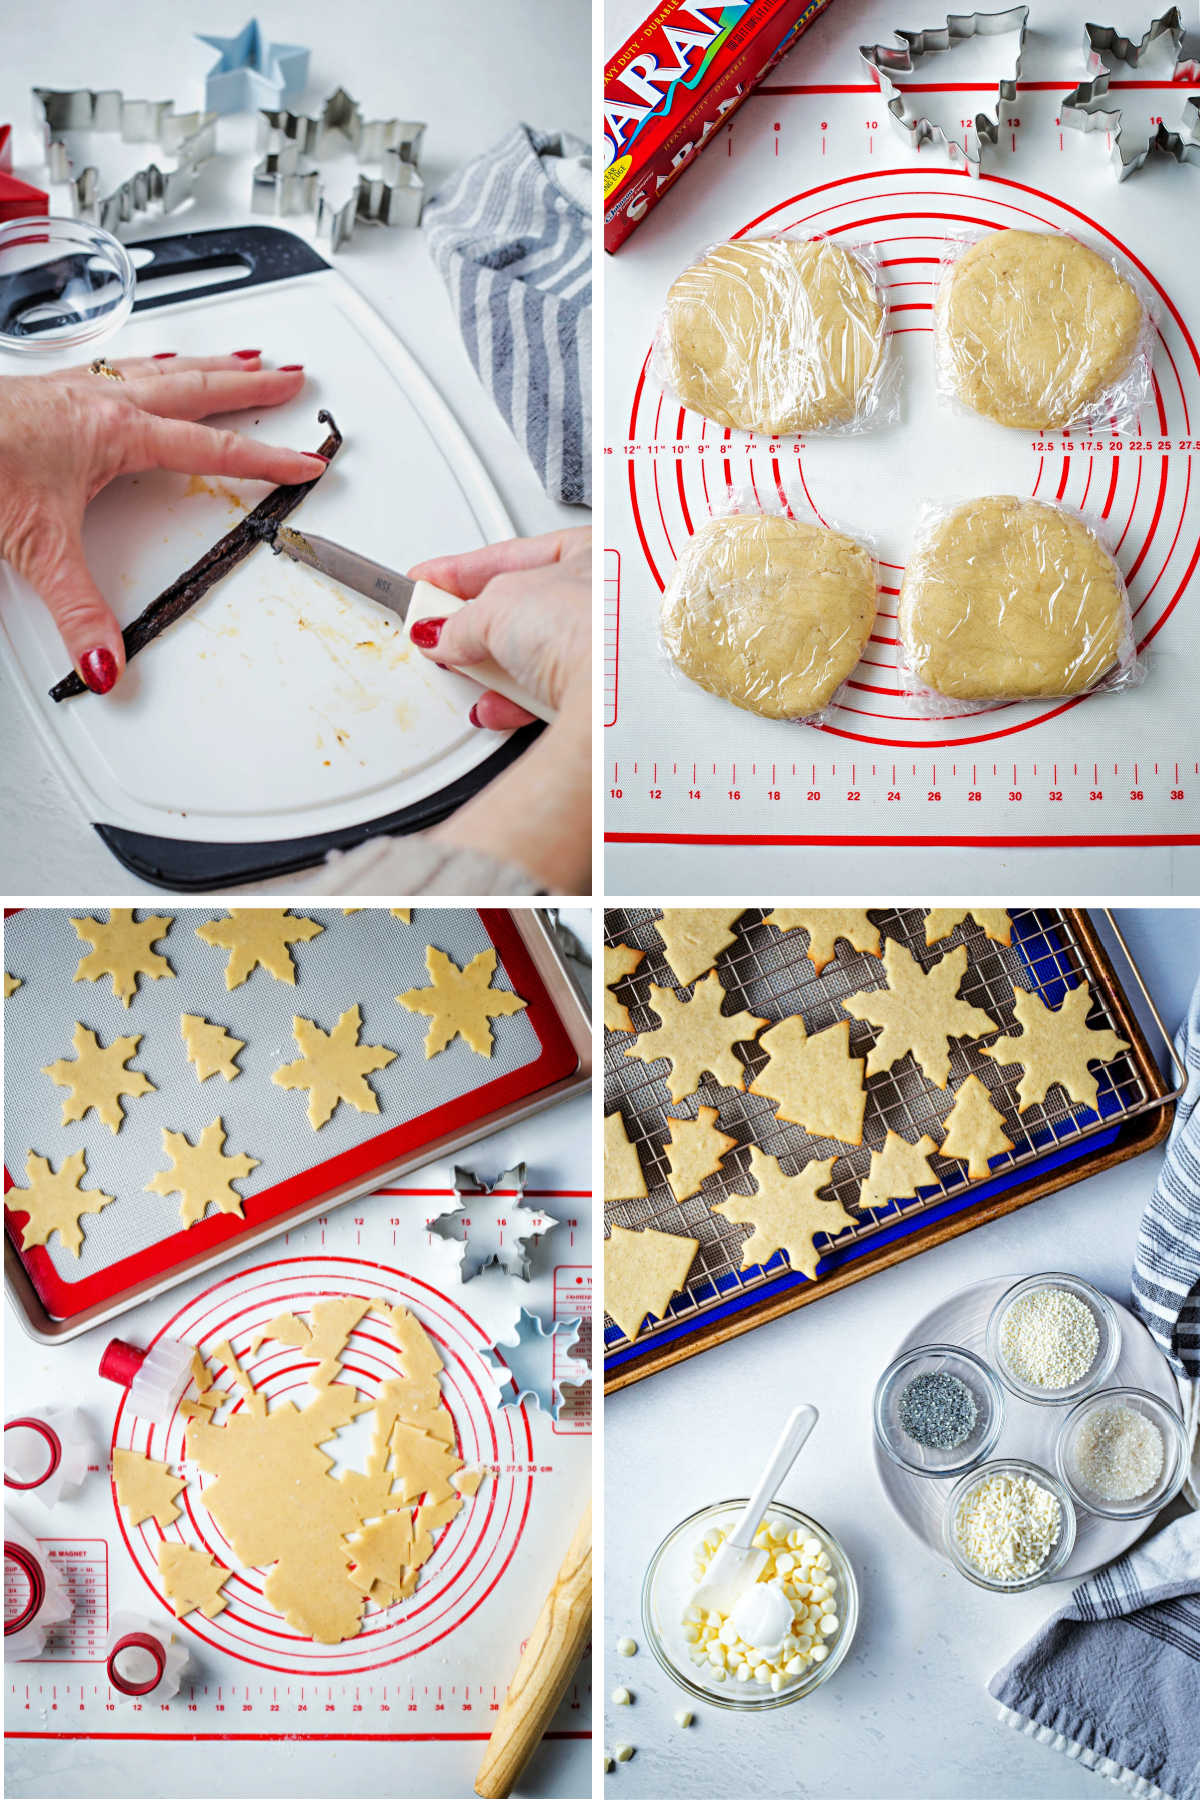
STEP 1 | Form the dough
Cream the butter, then add in the sugar and vanilla bean seeds. Once light and fluffy, mix in the egg and extract.
Whisk the salt into the flour, then beat into the butter mixture a little at a time until no more streaks remain.
STEP 2 | Chill
Divide the dough into four even pieces and shape into discs. Wrap each one in plastic and refrigerate for at least an hour.
STEP 3 | Roll out and cut into shapes
On a lightly floured surface, roll out each disc and cut out whatever shapes you’d like with cookie cutters – 3-inch or 4-inch sizes work best.
STEP 4 | Bake
Lightly grease your baking sheets or line them with parchment. Place the shapes on the pans, then bake until the edges start to brown.
Cool for a minute on the pans to help them set, then transfer to wire racks to finish cooling.
STEP 5 | Decorate
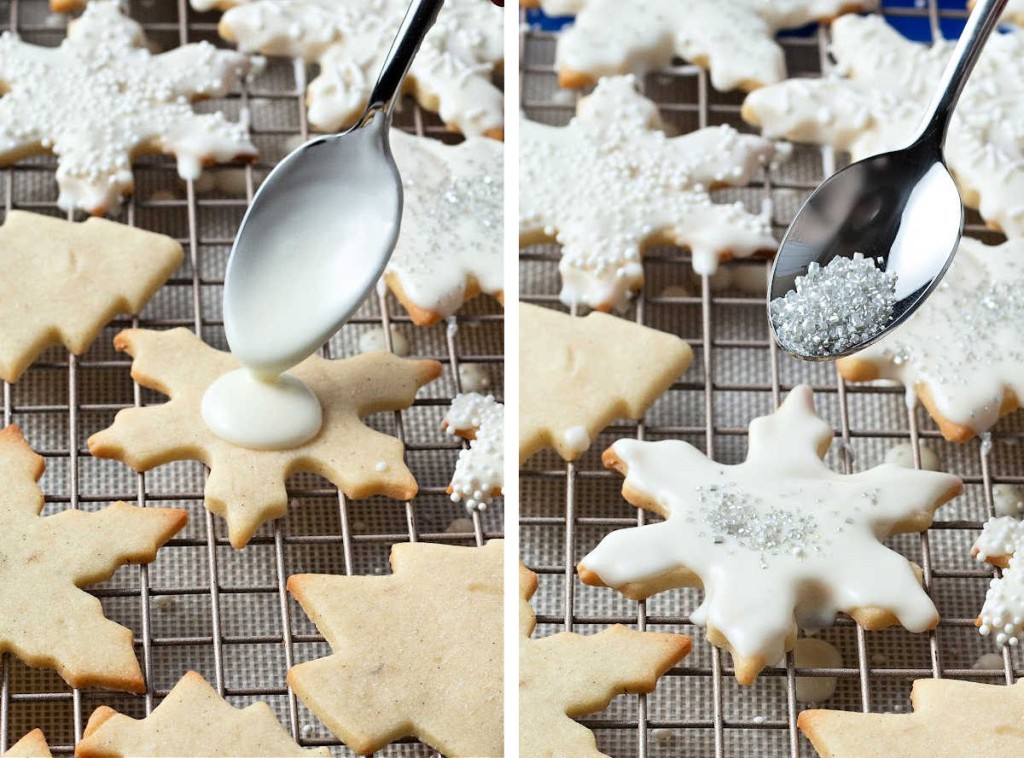
Melt the white chocolate chips with shortening, then pour the mixture over each shape one at a time. Tilt in a circular motion so the glaze spreads evenly to all of the edges. Sprinkle with sanding sugar immediately.
Repeat until all of the shapes are decorated. Allow each glazed cookie to dry completely before storing in an airtight container.
tip
- Place a wire rack over a baking sheet lined with wax paper when decorating your vanilla cookies. It will catch all of the glaze drips and excess sprinkles, making clean up a bit easier.
Frequently asked questions
Gently place the decorated treats in a gallon size ziplock freezer bag once they have fully dried. Gently squeeze out the excess air before sealing, being careful not to crush them.
Place the bag flat in the freezer and store for up to two weeks. These will thaw at room temperature in just about an hour.
Absolutely! This recipe will yield around xx treats, so adjust the amounts up or down as needed.
Since these are fairly dense, I think the texture might be a bit strange. You could also mix some dried fruits into one of the dough discs and try it!
Serving suggestions
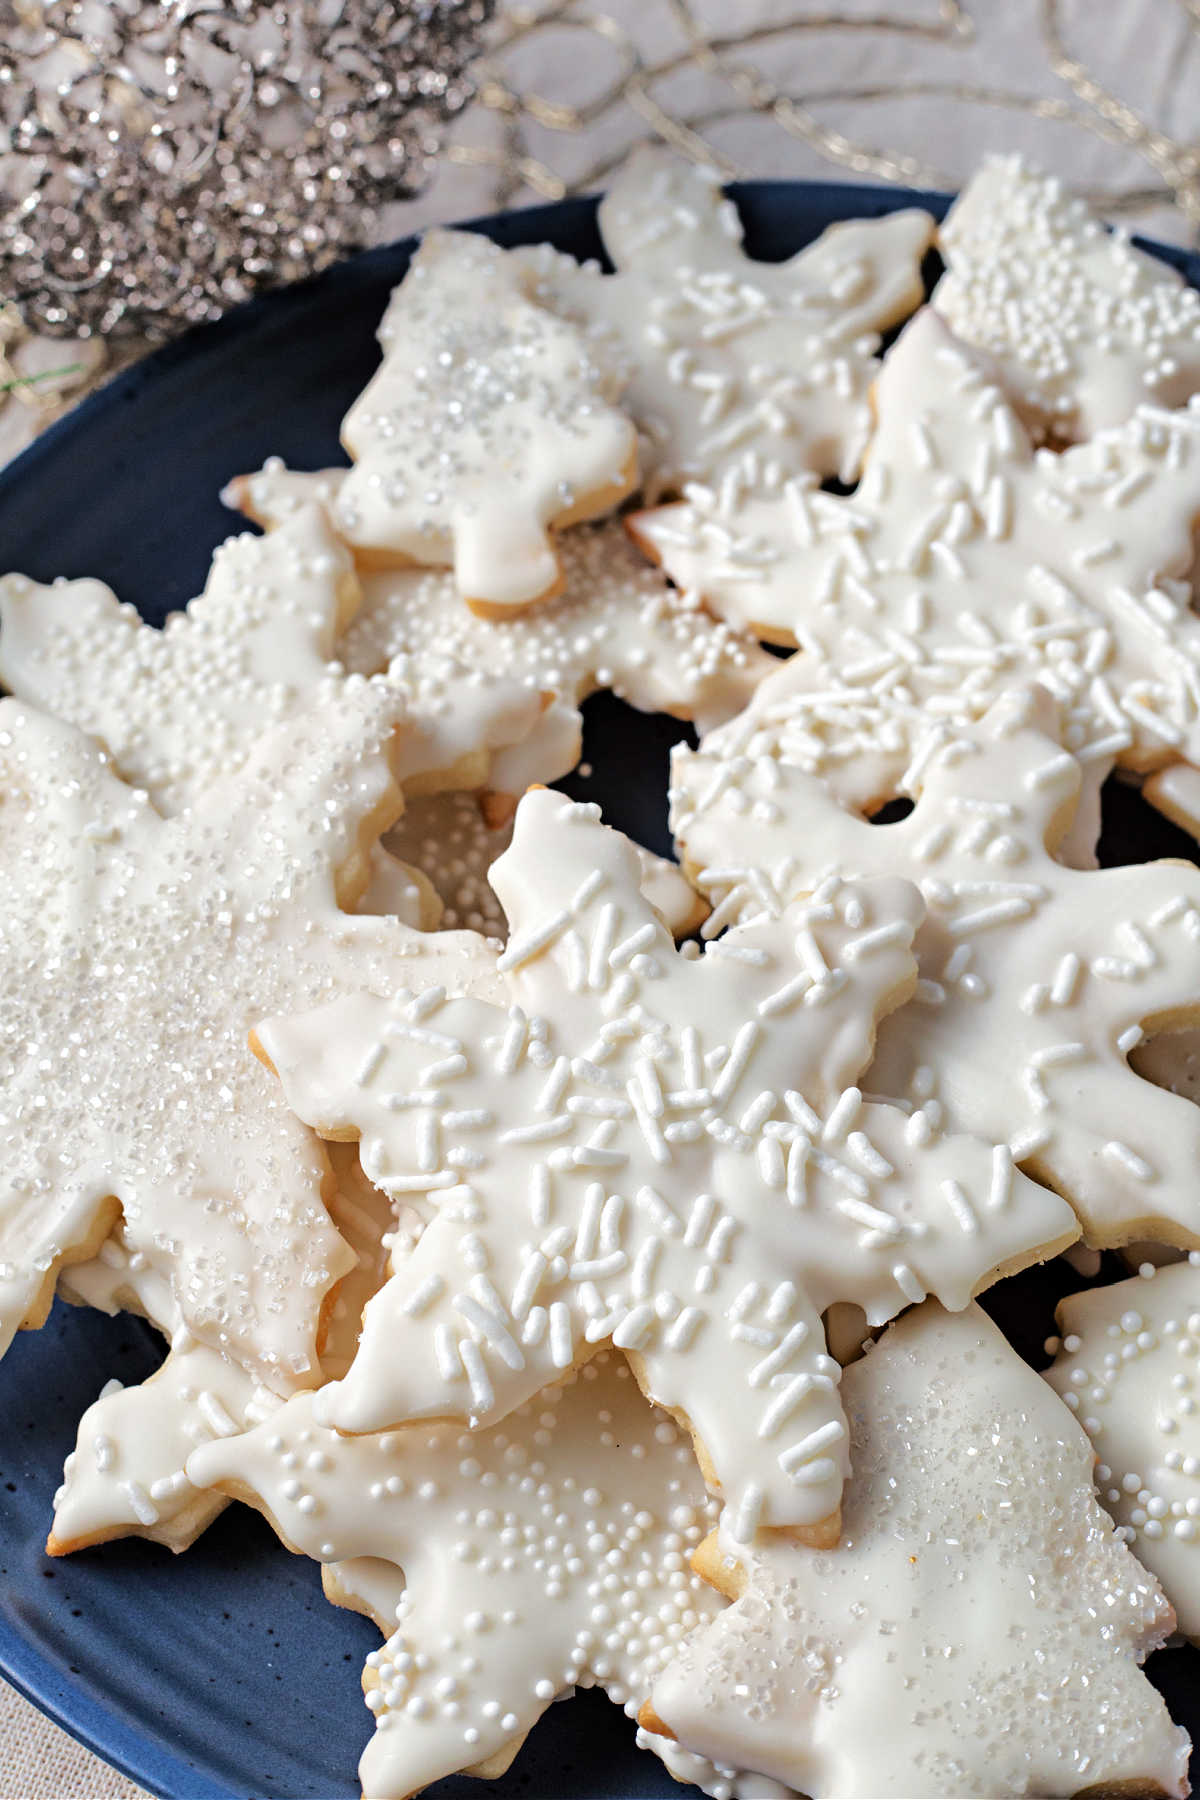
Share these as homemade gifts and classroom treats, or bundle them up for cookie swaps! You can even set them out with your Christmas desserts and enjoy them right on through the New Year.
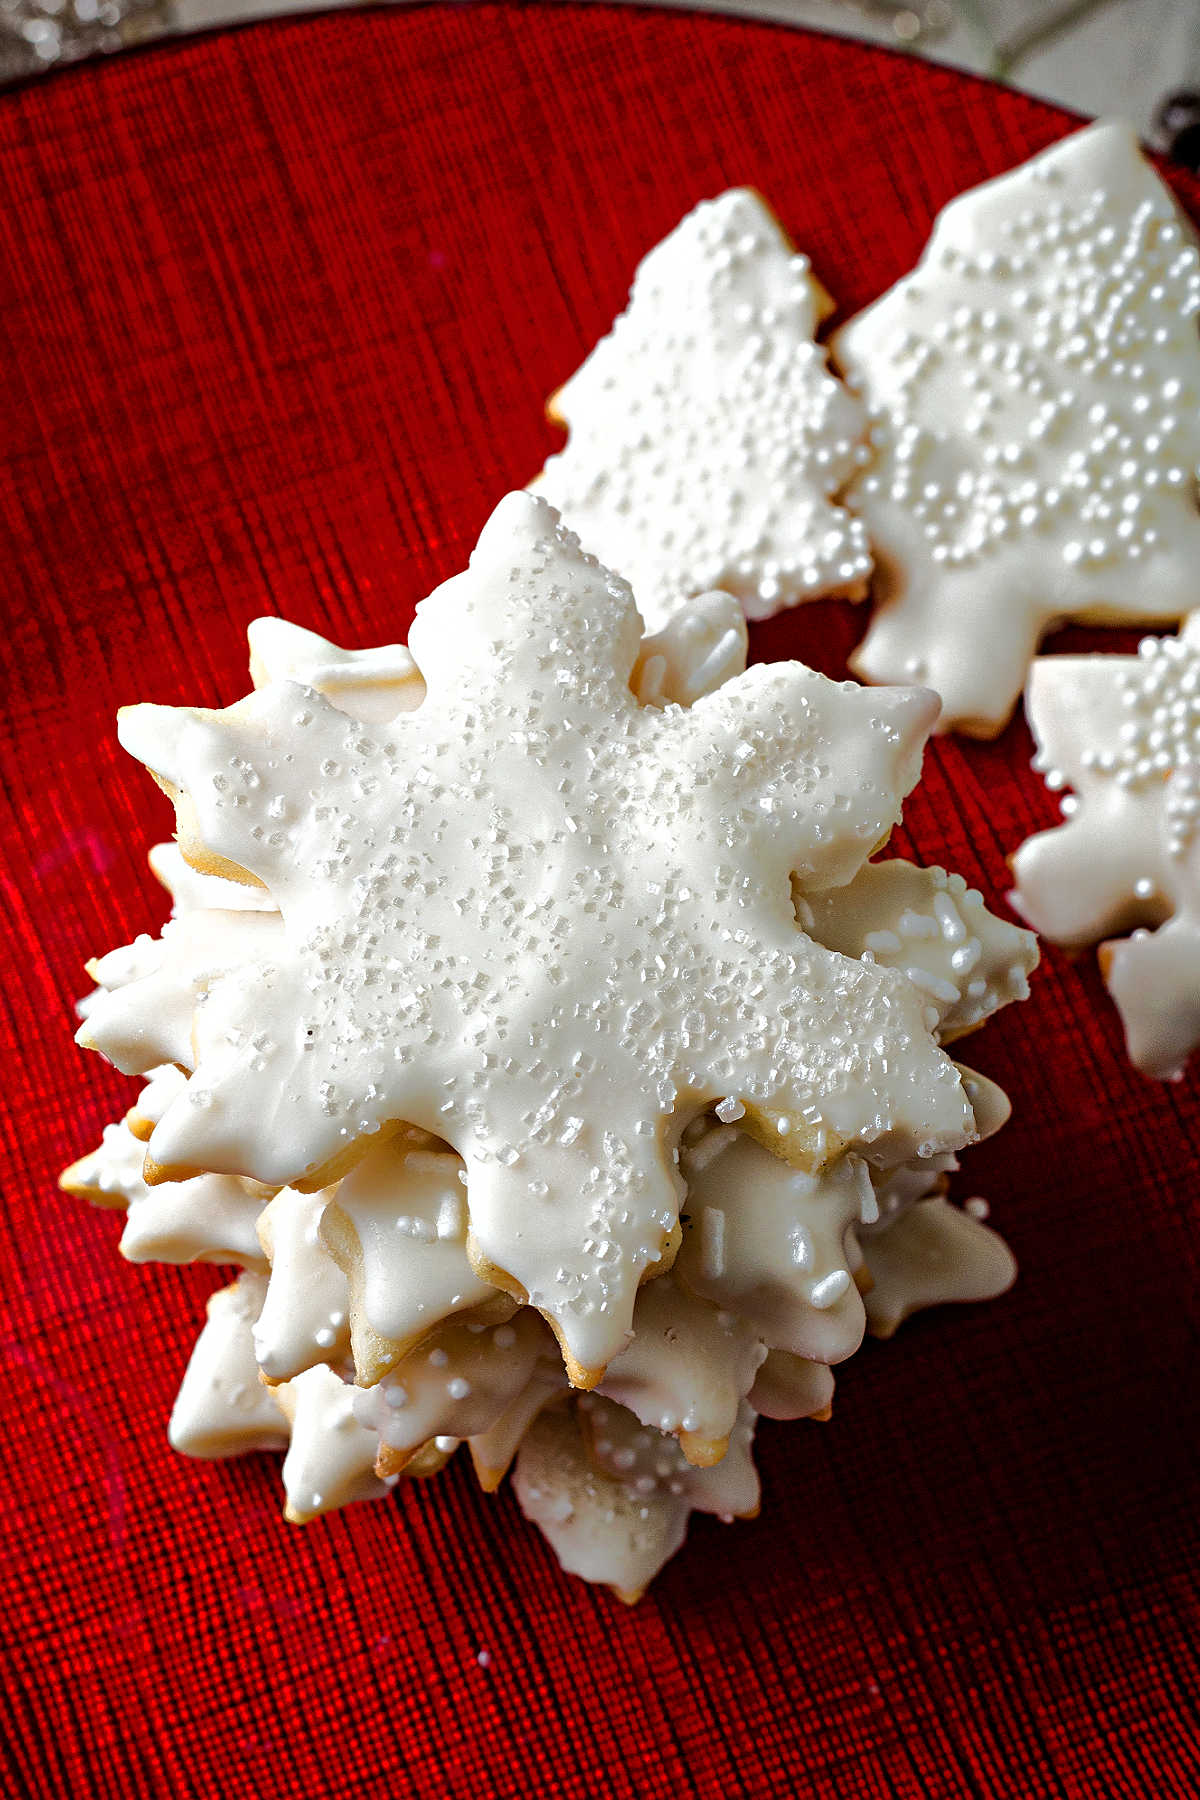
If you like, alternately stack these vanilla cookies from large to small to create a cookie tree! To use it as a decoration on your dessert table, add a little melted chocolate between each layer and allow it to dry completely to secure the treats in place.
Vanilla Bean Sugar Cookies
Ingredients
- 1 vanilla bean
- ¾ cup unsalted butter softened
- ¾ cup sugar
- 1 large egg lightly beaten
- ½ teaspoon vanilla extract
- 2 ¼ cups all-purpose flour
- ¼ teaspoon salt
- 1 12 oz. package white chocolate morsels divided
- Shortening
- Sparkling white sugar
Instructions
Cookies
- Use a sharp paring knife to cut the vanilla bean in half lengthwise. With the tip of the knife, carefully scrape out the seeds and set aside.
- In a large bowl, beat the butter until creamy. Add the sugar and vanilla bean seeds and continue beating until light and fluffy. Next, add the egg and vanilla extract, mixing well.
- In a separate bowl, whisk together the flour and salt; then gradually add to the butter mixture and beat until smooth. Divide the dough into four parts, shape into discs, and wrap in plastic wrap. Chill the dough for at least 1 hour or overnight.
- When ready to bake the cookies, preheat the oven to 350 degrees. Line baking sheets with parchment paper.'
- On a lightly floured surface, roll each disc to 1/4" thickness. Cut with 3" and 4" cookie cutters and place on the prepared cookie sheets.
- Bake for 8 to 10 minutes or until the edges are lightly browned. Cool for 1 minute on the cookie sheets; then transfer to wire racks to cool completely.
Glaze
- To a small microwave-safe bowl, add 1/2 cup of the white chocolate morsels and 1 tablespoon shortening. Melt morsels according to package directions (about 45 seconds) stirring until smooth.
- Spoon the white chocolate glaze over each cookie, allowing it to drip over the edges. Immediately sprinkle the tops with sparkling sugar.
- Repeat procedure with remaining white morsels, shortening, and sugar until all cookies are decorated. Let dry completely before storing.
Notes
- Place a wire rack over a baking sheet lined with wax paper when decorating your vanilla cookies. It will catch all of the glaze drips and excess sprinkles, making clean up a bit easier.
Nutrition
Life Love and Good Food does not claim to be a registered dietician or nutritionist. Nutritional information shared on this site is only an estimate. We recommend running the ingredients through an online nutritional calculator if you need to verify any information.





Those cookie trees are lovely, Sheila! Wouldn’t they be gorgeous as centerpieces or at place settings on a holiday table?! The sparkling sugar is like snow in the sunlight! Edible decorations are my favorite. 🙂
These are absolutely beautiful! Can’t wait for Christmas time to get to baking all these spectacular recipes! Do you think you could add currants to these?
Thanks, Chelsea! I’m not sure that currants would work as these are fairly dense cookies. I’m thinking the texture might be a little strange. If you’re a currant fan, though, you could easily add a few currants to part of the dough and experiment (especially since the recipe suggests dividing the dough into four discs which are wrapped in plastic wrap, and chilled before rolling and cutting out the cookies). If you try this, I’d be very interested in hearing how they turn out!
These look beautiful! I would have never thought to ice them with white chocolate, what a great idea. I really love the cutter from Katom, they are so easy to use.