Impossible Pie Recipe (No-Crust Coconut Pie)


This post may contain affiliate links. Please read my disclosure policy.
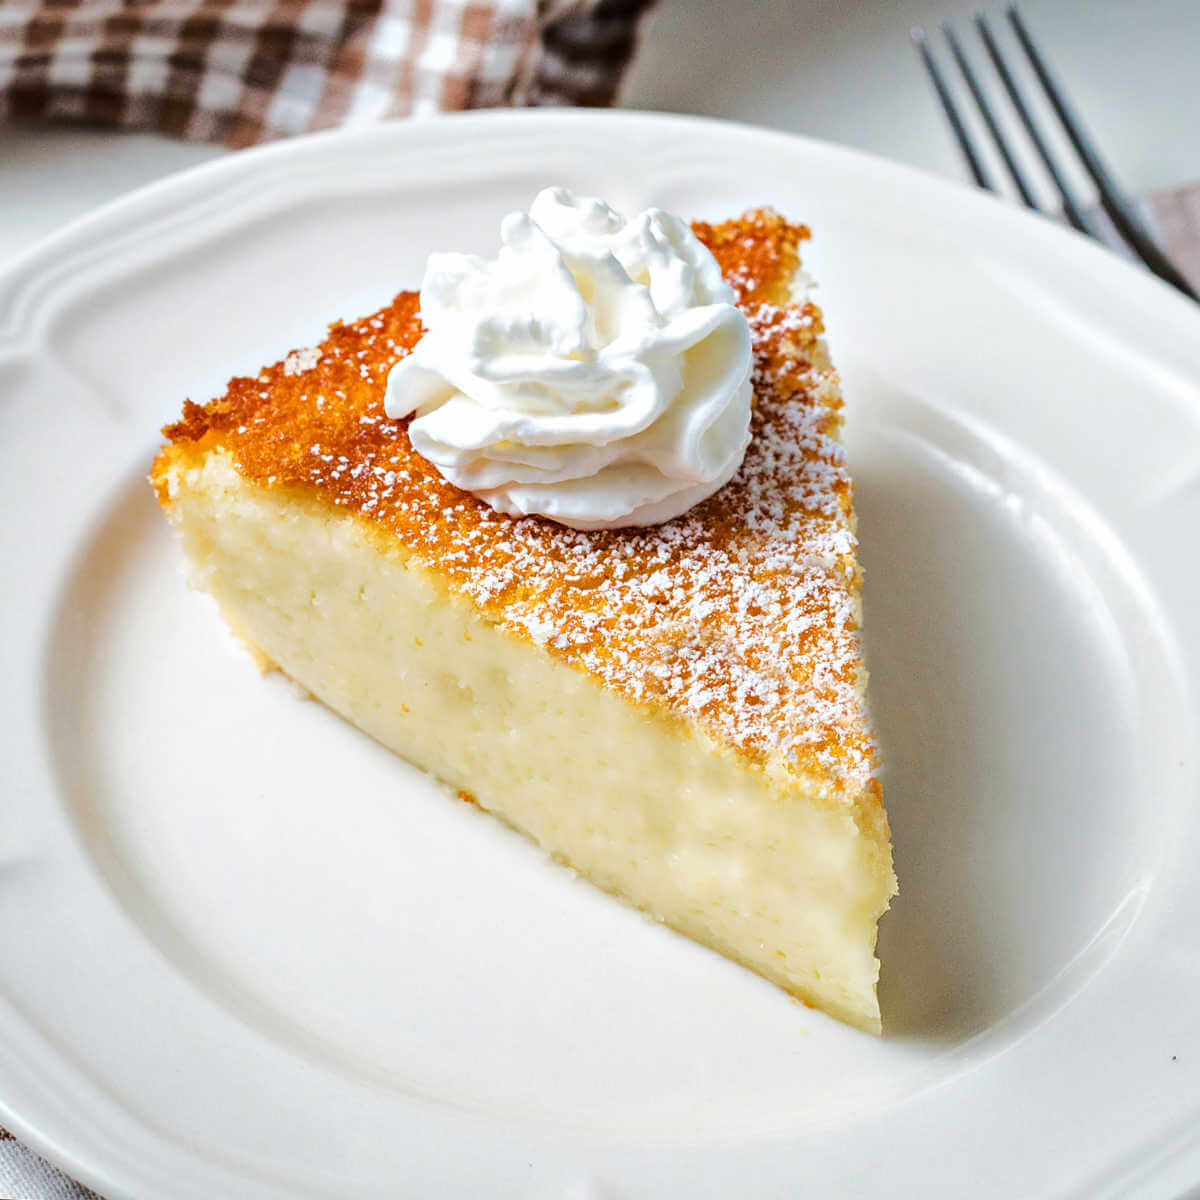
Impossible Pie is a classic coconut custard pie that creates its own crust as it bakes. Everything comes together in a blender, then the batter transforms in the oven into a soft, creamy center with a lightly golden top. It’s a simple dessert that’s perfect when you need something homemade with minimal prep.
I reach for this Impossible Pie recipe when I need a last-minute dessert but still want that homemade touch. It’s the kind of pie you can mix up quickly, slide into the oven, and trust it will turn out just right every time.
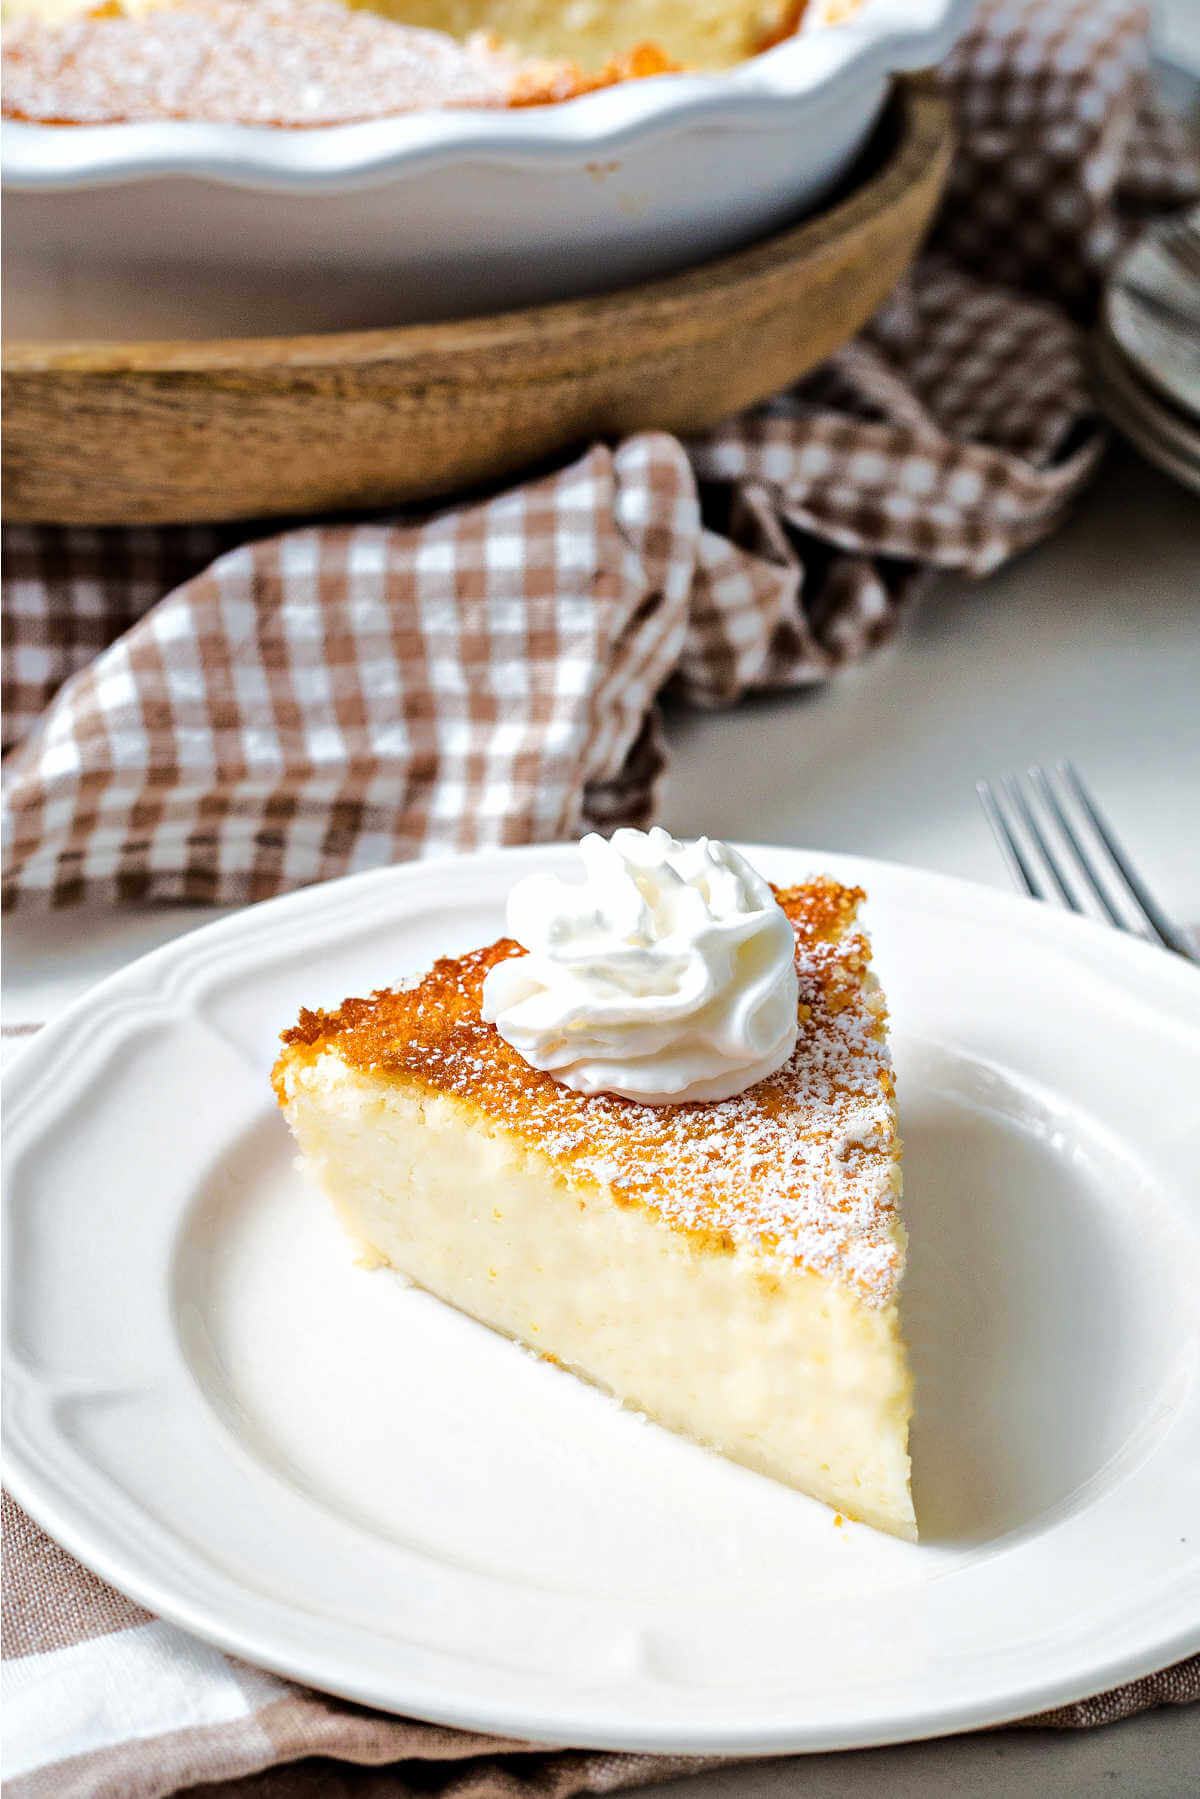
I especially love it on days when I don’t feel like dealing with pie crust but still want something a little special. As it bakes, the batter separates into layers, creating a soft custard center with just enough structure to slice cleanly.
This old-fashioned pie isn’t flashy, but it’s dependable—and sometimes those are the recipes you find yourself making over and over.
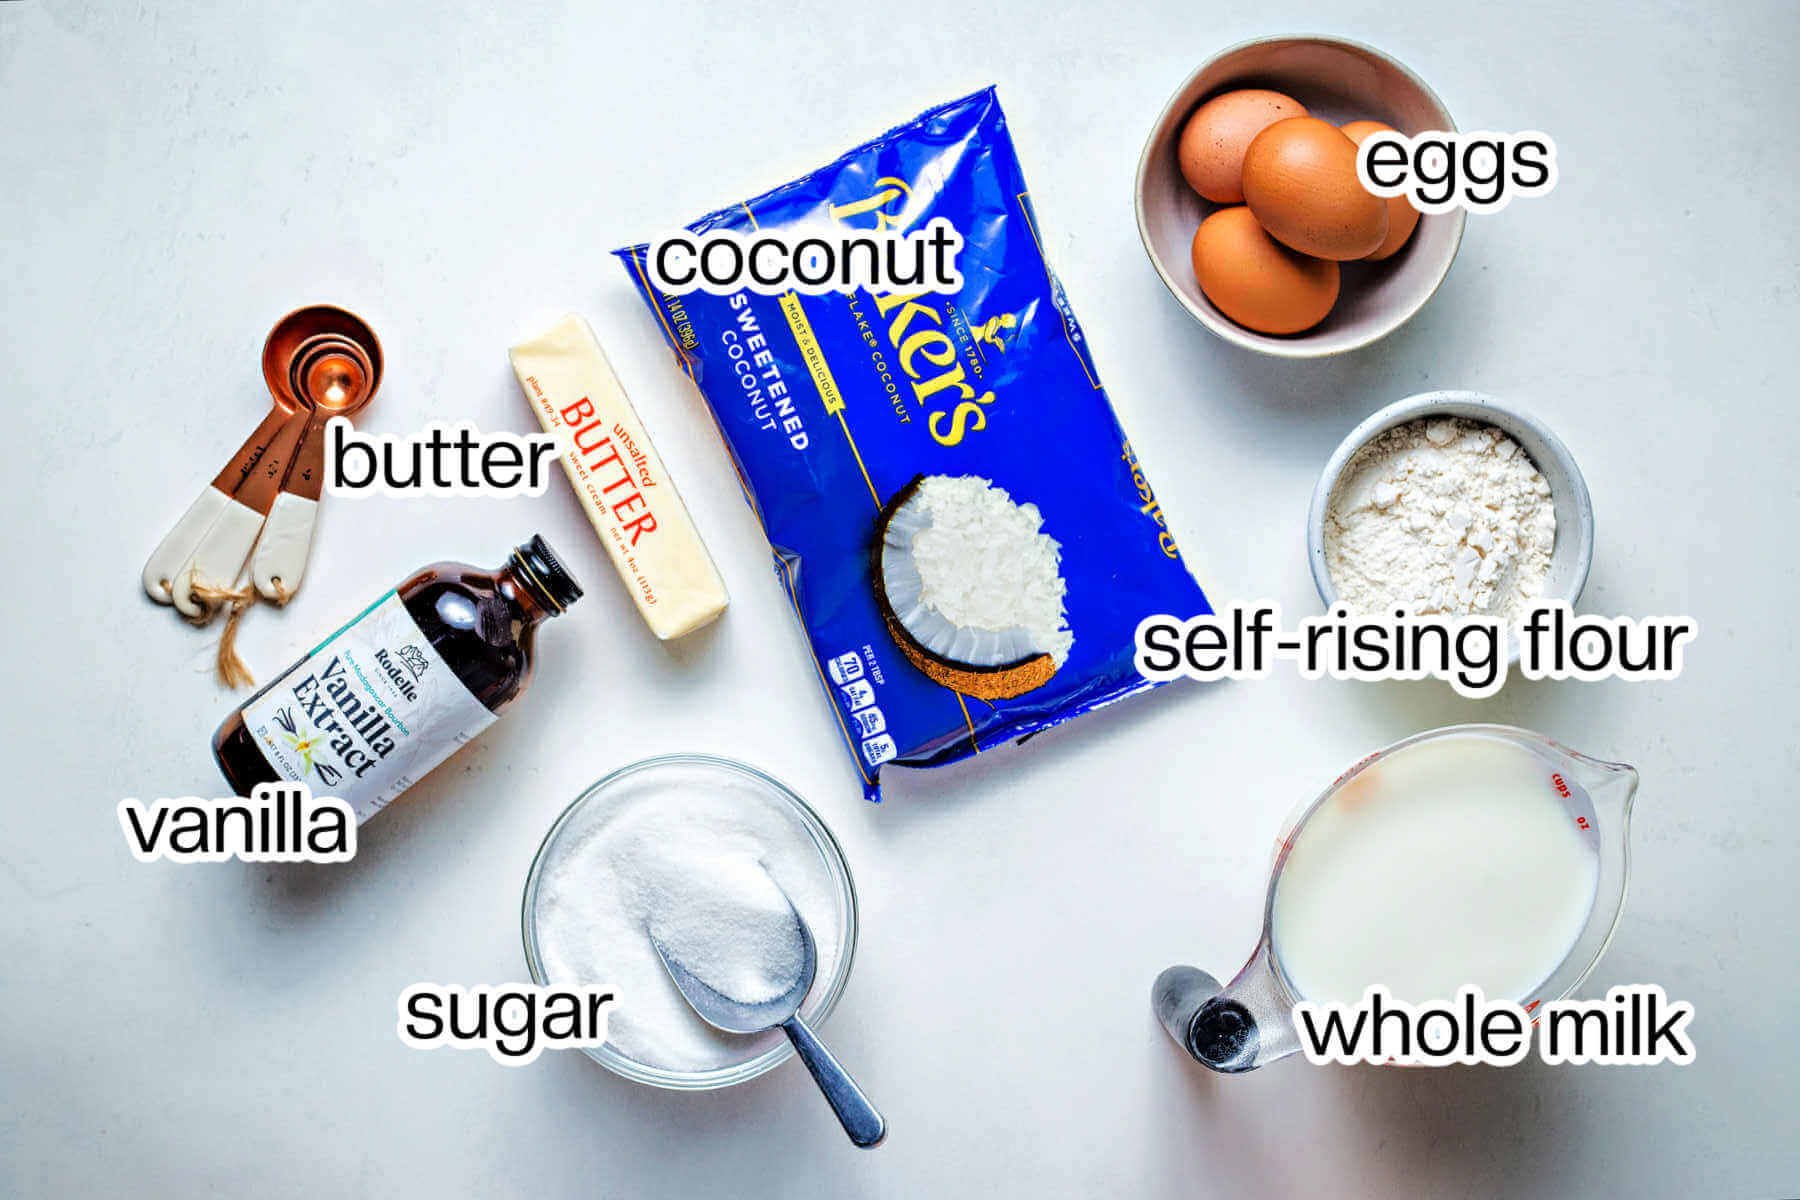
Ingredient Notes for No-Crust Coconut Pie
- Sugar — Granulated sugar gives the impossible pie just enough sweetness to compliment the sweetened coconut.
- Self-rising flour — To make this easy recipe even more straightforward, use self-rising flour that already includes baking powder and a bit of salt. If you rather, you can use all-purpose flour and add some baking powder to the recipe.
- Eggs — Eggs are essential for this custard-like pie filling. I like to use large, grade-A eggs.
- Unsalted butter — Unsalted butter is typically best for baked goods. However, you can use salted butter for this recipe if preferred. Salt may actually enhance the sweeter flavors.
- Milk — Use whole milk for the creamiest and richest flavor.
- Sweetened shredded coconut — I suggest using sweetened shredded coconut for this creamy pie filling. However, if you desire a less sweet and milder pie, try using unsweetened coconut.
- Vanilla — Just a few drops of vanilla extract will boost the flavors of the milk and coconut and bring this pie to the next level. If you’d rather, you may use bourbon vanilla for additional flavor.
Variations and Substitutions
- Lemon Impossible Pie. For a bright summery taste, add some lemon juice and zest and serve this pie chilled. Or, add orange juice, orange zest, and nutmeg for an orange impossible pie full of fall flavor.
- Adjust the sweetness. If you prefer a less sweet dessert, reduce the sugar slightly or use unsweetened coconut for a more balanced flavor. If desired, you can use brown sugar in place of the granulated sugar for a rich molasses flavor.
- Skip the coconut. For a smoother, more traditional custard texture, you can leave out the coconut entirely if you’re not a fan.
- Try a different milk. Whole milk gives the richest texture, but you can substitute 2% if needed. For a dairy-free option, try canned coconut milk for even more coconut flavor.
- Make it a crusted pie. If you prefer a more traditional presentation, pour the batter into an unbaked pie crust.
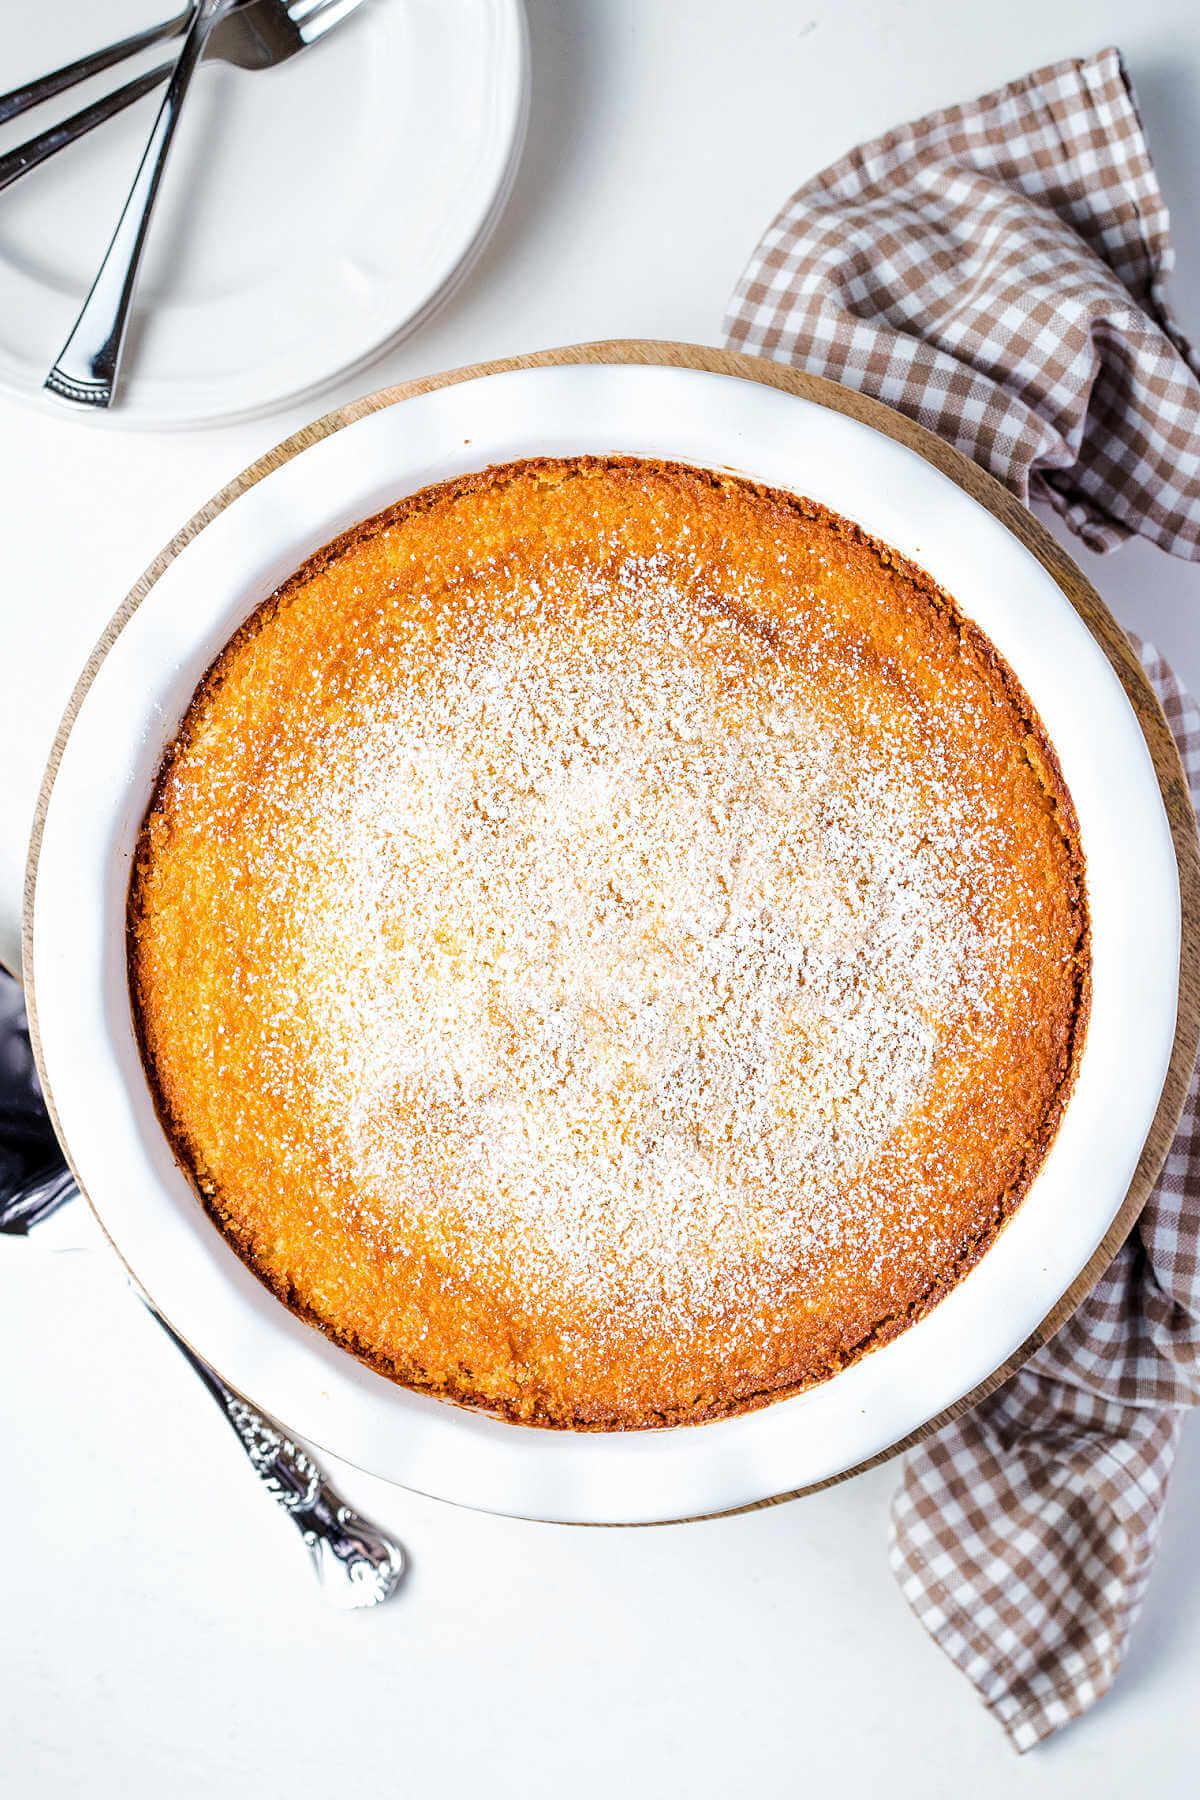
- Serve it your way. Top slices with whipped cream, fresh berries, or a light dusting of powdered sugar for a delicious finishing touch.
How to make Old-fashioned Impossible Coconut Pie
This old-fashioned pie comes together quickly with just a blender and a pie plate.
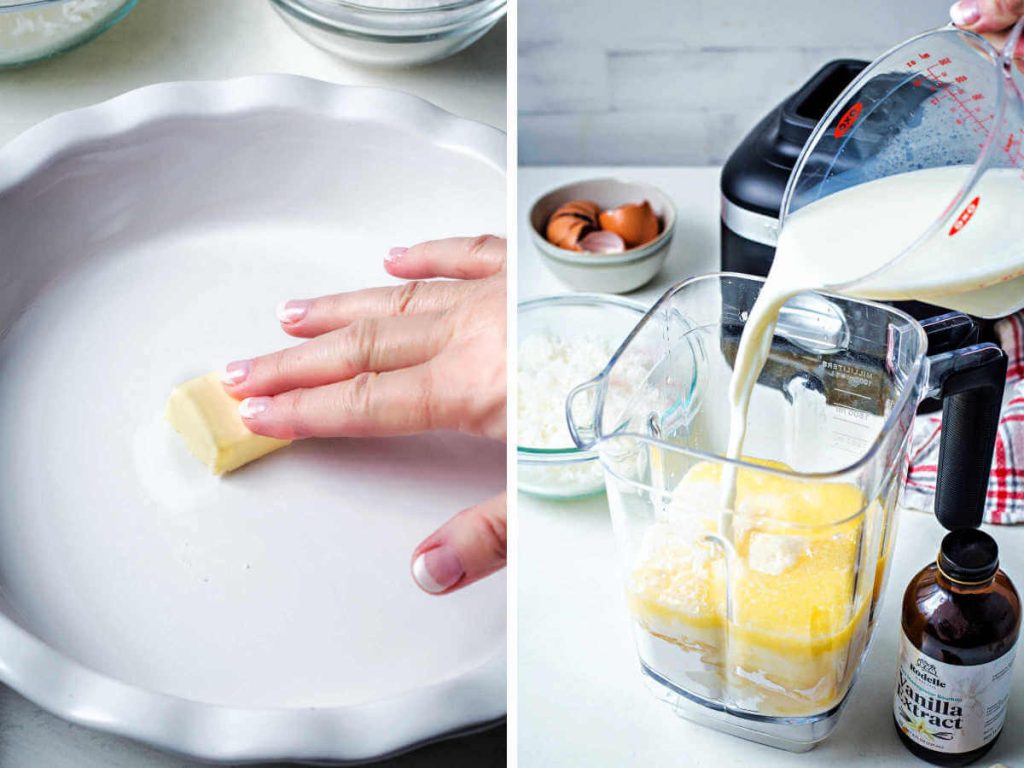
PREHEAT AND PREP. Start by preheating the oven and greasing a deep dish pie plate with a pat of butter.
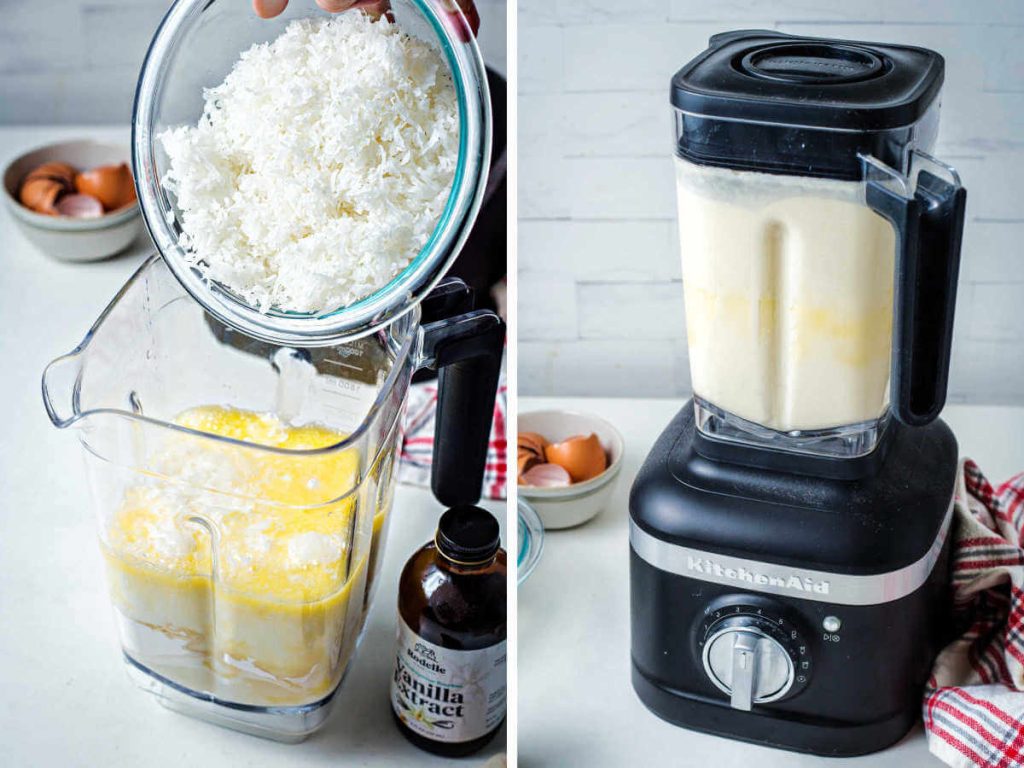
ADD FILLING INGREDIENTS TO BLENDER. Measure out and add the sugar, flour, eggs, melted butter, milk, coconut, and vanilla to the bowl of a blender. Yes, all together at one time! Then, cover the blender pitcher with the lid and blend the mixture until it has a smooth and creamy texture. (This simple blender method is similar to recipes like my Cherry Clafoutis or other custard-style desserts that come together in minutes.)
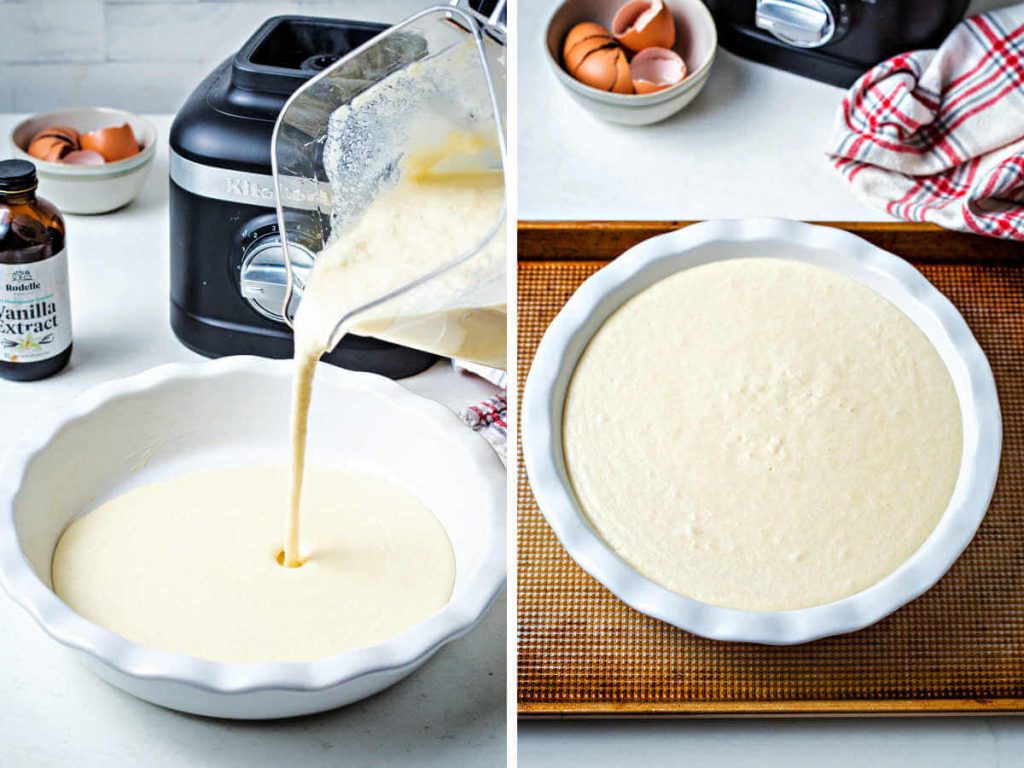
POUR INTO PIE PLATE AND BAKE. Pour the pie filling into the buttered pie plate and bake on a lower rack for about 1 hour. You’ll know your impossible pie is finished when it is firm to the touch and has a beautiful golden color.
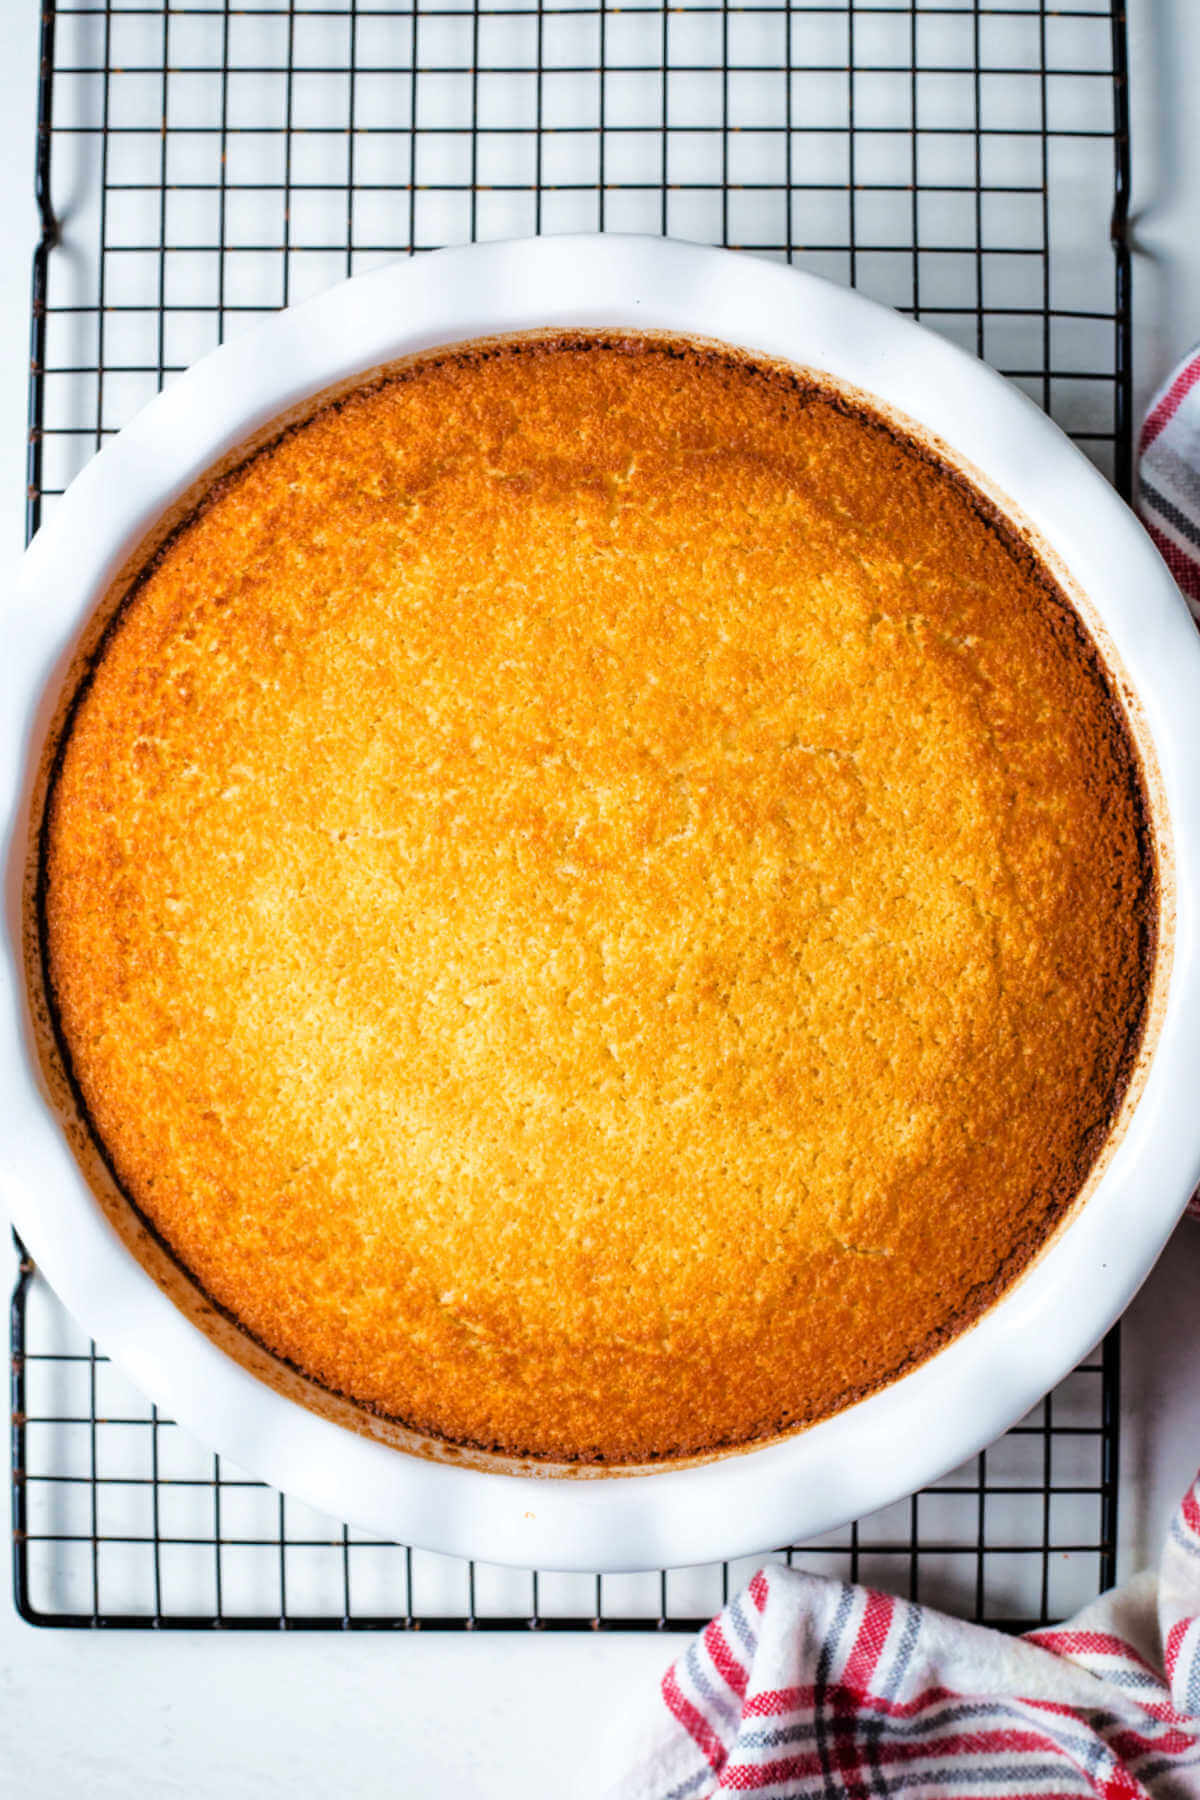
COOL ON A WIRE RACK. Once the pie is finished baking, transfer it to a wire rack, allowing the pie to cool completely before slicing. This might be the most difficult part, as it looks and smells so good! Don’t be tempted to dig in just yet; it needs time to set up properly.

Recipe Success Tips
Storage Tips
- Store leftovers covered with plastic wrap in the refrigerator for up to 3 days.
- When you’re ready to serve, remove from the refrigerator and enjoy the impossible pie chilled or leave it out and allow it to come to room temperature.
Frequently Asked Questions
The pie is ready when the center is set and no longer jiggly. A knife inserted near the center should come out mostly clean, and the top should be lightly golden. If the center still looks wet, give it a few more minutes in the oven.
If your pie didn’t set, it may have needed more baking time, or your oven temperature could be slightly off. Be sure to bake until the center is set, and allow the pie to cool completely before slicing so it can finish firming up.
Freezing is not recommended, as the custard texture can become watery once thawed. For best results, enjoy this pie fresh or refrigerated.
Absolutely! To make ahead of time, simply store the whole pie in an airtight container or covered tightly with plastic wrap in the refrigerator for up to 3 days.
More Easy Pie Recipes to Try Next
Creamy and No-Bake Favorites
No Crust and Custard Pies
What to Serve with Impossible Pie
Garnish slices of Impossible Pie with sifted powdered sugar, toasted coconut, berries, or sweetened whipped cream. For a coconut-themed dessert spread, pair it with my Crispy Coconut Balls and Mini Coconut Key Lime Pies.

Love this recipe? Bookmark it for the future!
Simply tap the heart symbol located in the lower right corner of your screen, and the recipe will be securely stored in your own recipe box.

Impossible Pie
Equipment
- Blender
Ingredients
- 1 cup sugar
- ½ cup self-rising flour
- 4 large eggs
- 8 tablespoons unsalted butter melted, plus more for greasing
- 2 cups milk
- 2 cups sweetened shredded coconut
- 1 ½ teaspoons vanilla
Instructions
- Preheat the oven to 350 degrees. Grease a deep dish pie plate with a pat of butter.
- Add the sugar, flour, eggs, butter, milk, coconut, and vanilla to the bowl of a blender. Cover with the lid and blend until smooth.
- Pour the pie filling into the buttered pie plate. Bake on lower rack for 1 hour or until firm to the touch and golden.
- Transfer the pie plate to a wire rack and allow to cool completely before slicing.
- Garnish with sifted powdered sugar, toasted coconut, or sweetened whipped cream, if desired. This pie is best served at room temperature.
Notes
- Store leftovers in the refrigerator for up to 3 days. Bring to room temperature before serving.
- For a warmer holiday twist on this traditional pie, sprinkle in some ground nutmeg.
- Remember to use melted butter for the pie filling. There are many ways to melt butter. Perhaps the easiest way is to heat it in the microwave for just 5 to ten seconds at a time, stirring it as you go. Just be careful not to burn the butter.
Nutrition
Life Love and Good Food does not claim to be a registered dietician or nutritionist. Nutritional information shared on this site is only an estimate. We recommend running the ingredients through an online nutritional calculator if you need to verify any information.

how much baking soda do i need to use since I’m using ALL PURPOSE FLOUR.
Thanks,
Linda
Linda, the rule of thumb is for every cup of self-rising flour, substitute 1 cup of all-purpose flour, 1 teaspoon baking powder, 1/2 teaspoon salt, and 1/4 teaspoon baking soda. Since this recipe only calls for 1/2 cup flour, then you will need 1/4 teaspoon salt and 1/8 teaspoon baking soda added to your all-purpose flour.