Peppery Grilled Okra
This post may contain affiliate links. Please read my disclosure policy.
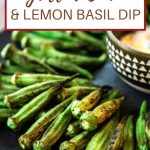
This grilled okra recipe can be cooked on skewers or in a grill pan and is ready in less than five minutes, start to finish! Grilled okra has a unique roasted flavor that pairs beautifully with a tangy, citrus herb dip. Enjoy some as an appetizer or easy dinner side.
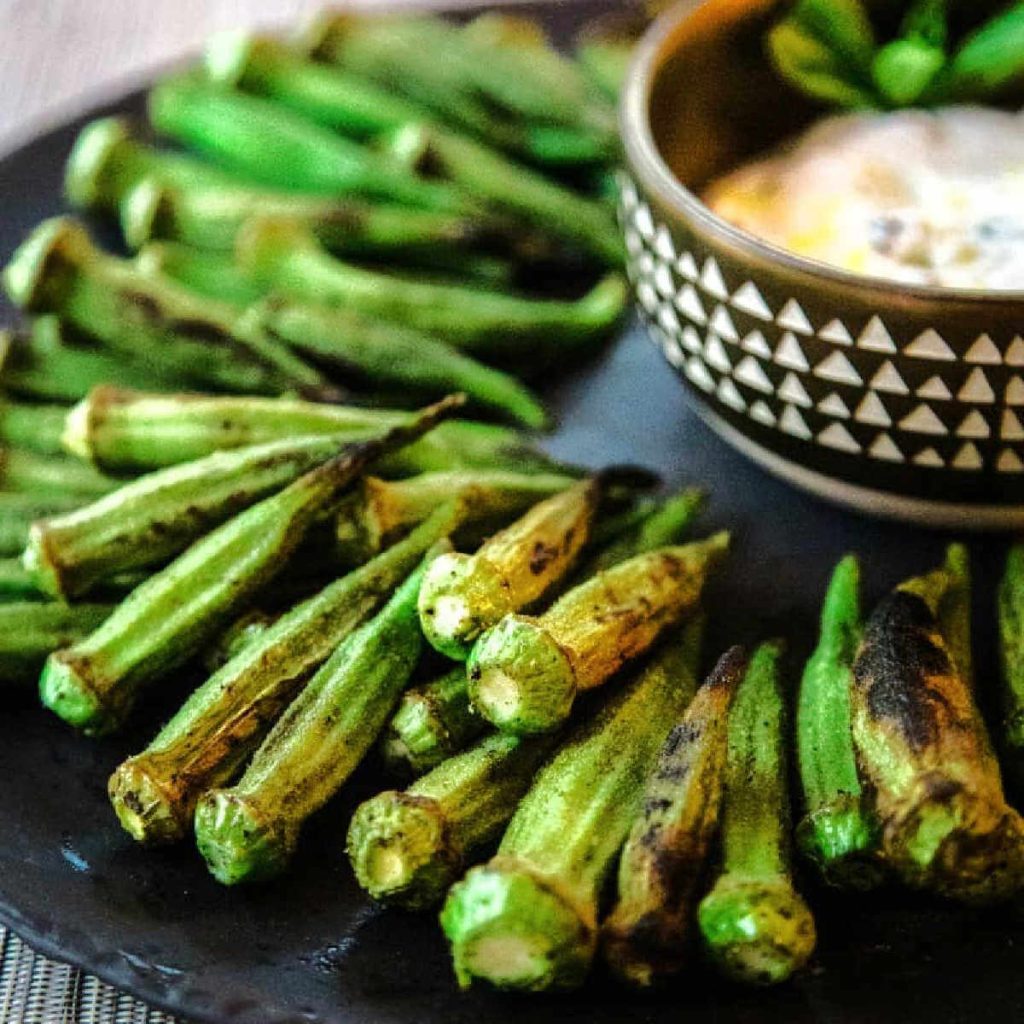
Tender-crisp pods are seasoned with black pepper and slightly charred, then served with a creamy and light Greek yogurt dipping sauce flavored with fresh lemon and basil.
Why you’ll love this Grilled Okra Recipe!
Peppery grilled okra with a tangy lemon-basil dipping sauce is a unique roasted okra recipe that can be served as an appetizer or summer side at any of your outdoor dinner parties.
It’s fresh, light, and guilt-free, so eat up and enjoy!
Key ingredients and substitutions
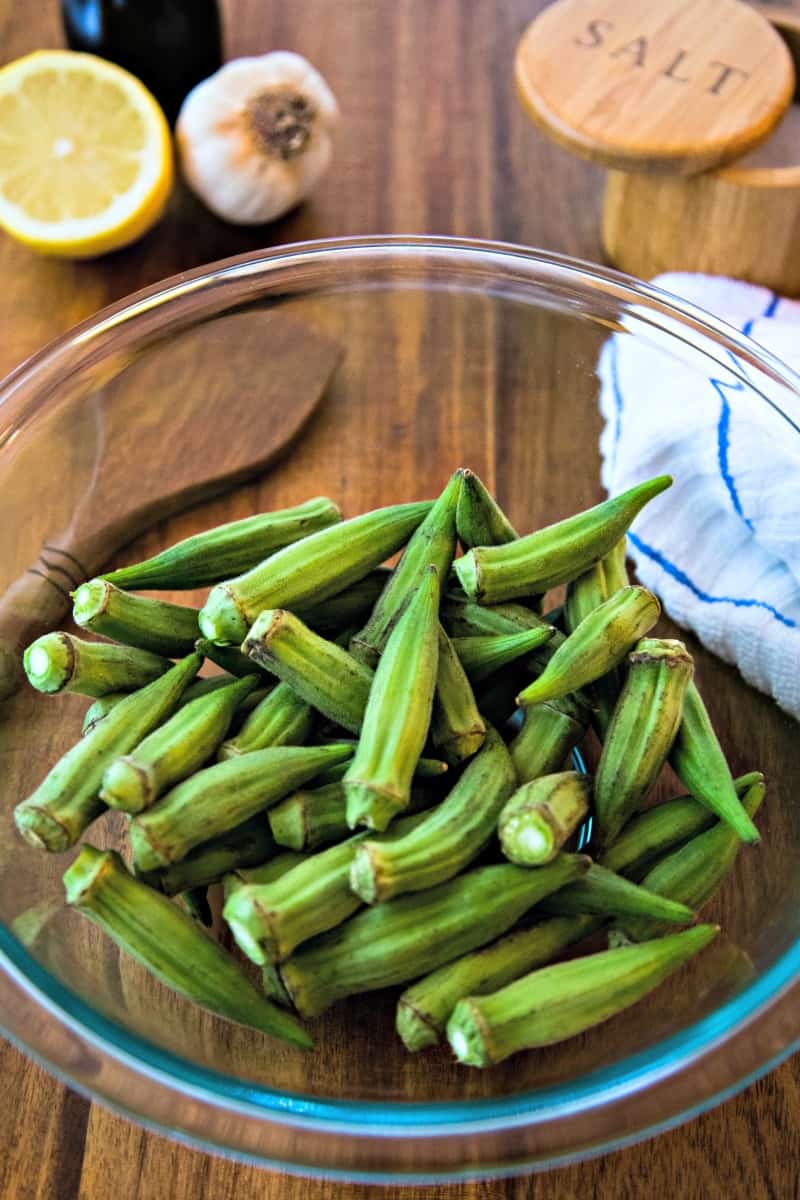
- Okra — These should be easy to find in any produce section or farmers market if locally grown. If you are unfamiliar with this vegetable, it is shaped similar to chile peppers but has ridges around the outside instead of a smooth surface.
- Greek yogurt — For a similar texture, I would recommend using creme fraiche since it isn’t as tangy as sour cream. Otherwise, plain yogurt is the next best choice, but the dipping sauce will have a thinner consistency.
How to grill okra
This delightful flavor combination will get you right in the mood for summer!
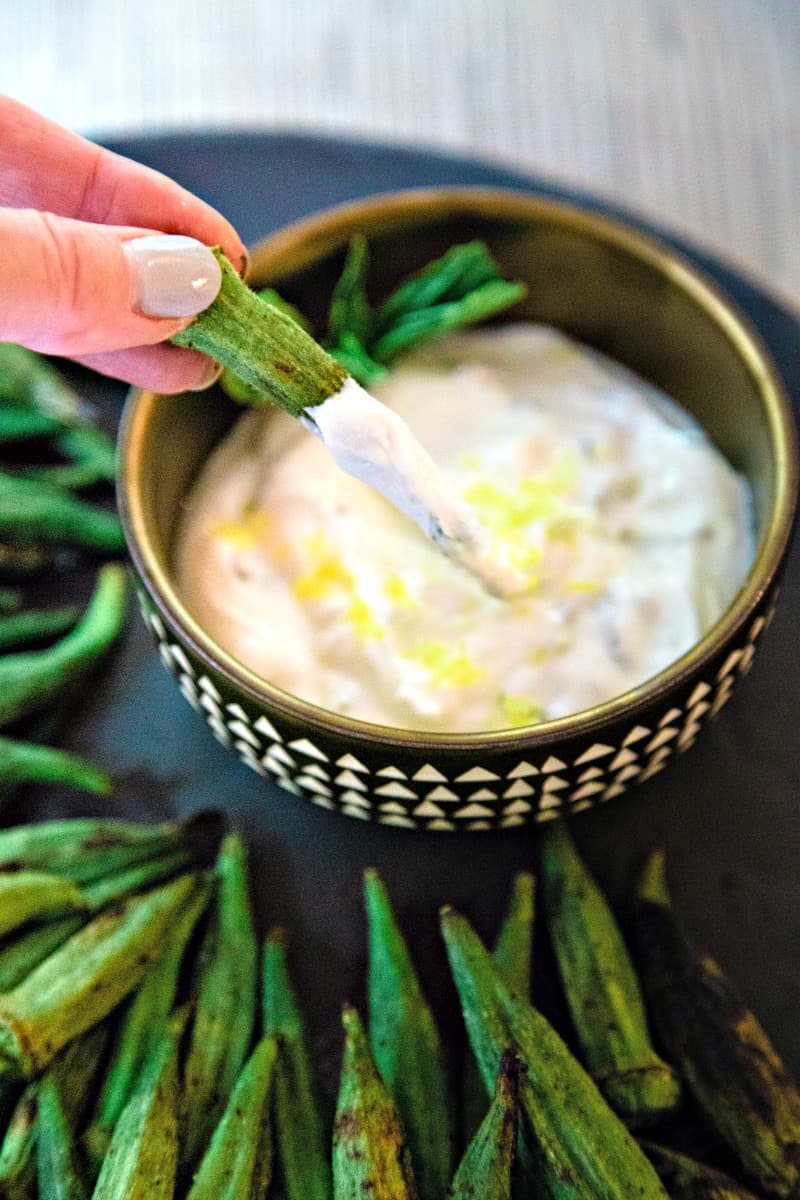
STEP 1 | Make the dipping sauce
Mix everything together in a small bowl until smooth and well combined. Cover and chill until you are ready to serve.
The longer this sits, the more the flavors will meld together, which means you could easily make it the night before.
STEP 2 | Season vegetables
These have a lovely, natural roasted flavor when done, so all you need is a little bit of oil, salt, and pepper.
Long wooden skewers will prevent any pods from falling through the grates and don’t retain heat like metal ones do. Plus, you will be able to flip several at once!
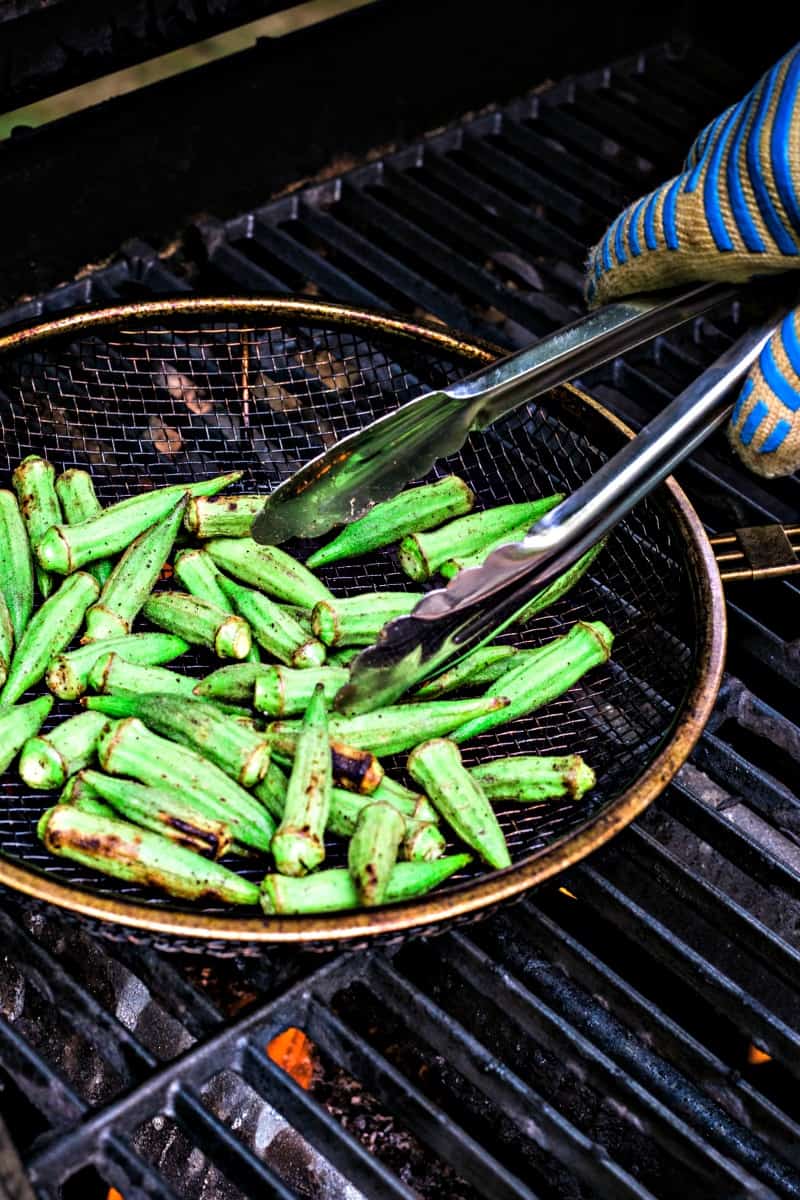
STEP 3 | Cook until tender
If you forgot to clean the grates last time, give them a good scrub while the grill preheats to avoid flare ups.
Keep the lid closed to get the veggies nice and tender, only opening it when it’s time to flip them over.
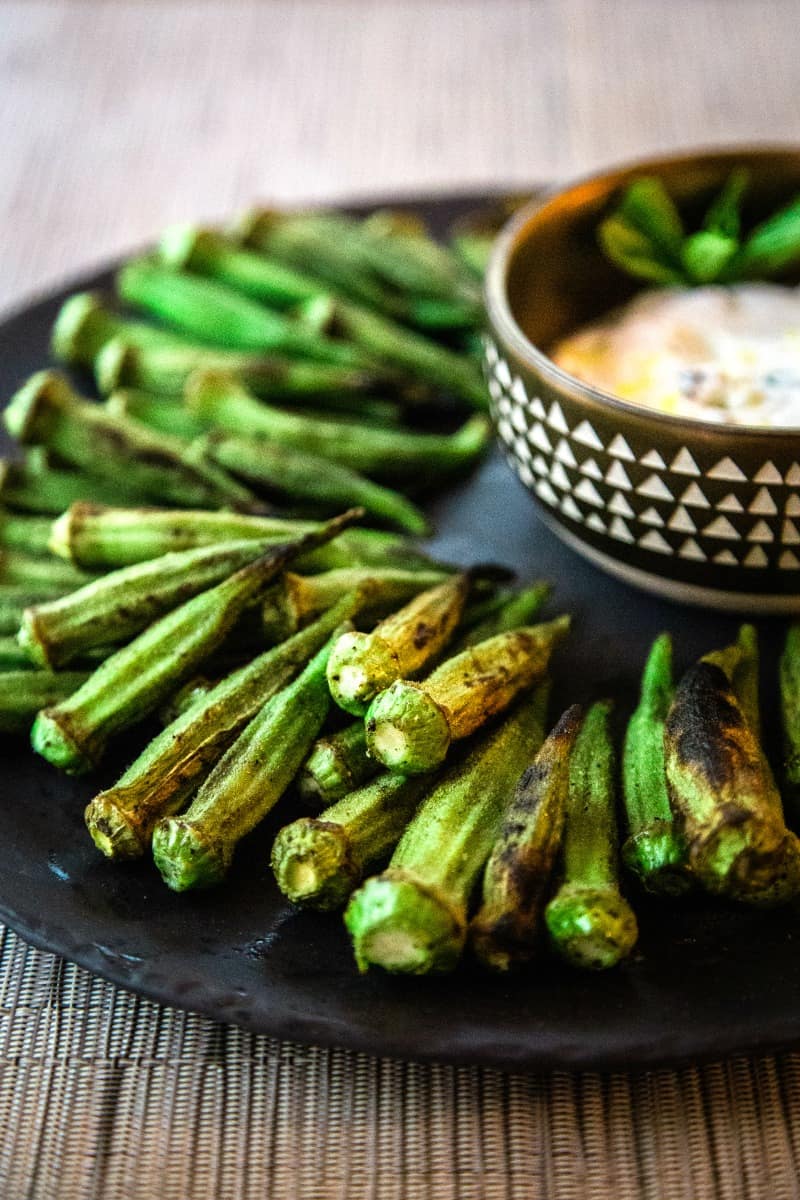
STEP 4 | Serve
These pods cook up really fast and cool just as quickly, so you’ll want to serve them right away for the best flavor.
Transfer them straight to a serving platter and add the dipping sauce from the fridge right in the center for easy access.
tips
- We like to use this wire mesh grilling skillet (or grill pan) every time we cook veggies, especially this grilled okra recipe. It keeps us from losing veggies through the grates, and the long handle makes it easier to give everything a good shake so it cooks evenly.
- Use heat-resistant gloves for better handling or tongs with a long handle to keep your hands protected from the flames.
Looking for a full meal? You will love my Country-Style Ribs with Sweet Potatoes and Chow Chow. It’s the perfect summertime meal that the whole family will enjoy.

Looking for more Summer grilling recipes?
Don’t be afraid to use your backyard appliance for more than just burgers and steaks. Try a delicious panzanella skewer salad or poblano rice. I even have recipes for corn on the cob two ways — spicy or coated in parmesan.
Storage and reheating tips
- Grilled okra is best eaten immediately — but if you do have leftovers, store in an airtight container in the refrigerator overnight.
- Extra dipping sauce may be stored in the refrigerator for 3 to 4 days.
- To reheat, place on a parchment paper-lined baking sheet and warm in a 350-degree oven until hot.
Frequently asked questions
To get the best results with this grilled okra recipe — and to avoid okra slime — be sure to rinse and thoroughly dry the veggies first.
Trim the ends, but only remove the very tips and keep the pod fully intact. You want to keep them as dry as possible since excess water will contribute to any sliminess.
Fast and hot are the keys to success. It only takes 4 to 5 minutes at around 400 to 450 degrees for these to come out perfectly crisp tender.
Lower temperatures can cause moisture to build up, giving it that unpleasant texture by the time it’s tender enough to eat.
When choosing your vegetables at the market, check each pod thoroughly and avoid any that have brown spots or are shriveled. Larger okra tends to be tough, so stick with small or medium sized pods.
Serving suggestions
Delicious all on its own, this dish makes a great appetizer for guests to munch on while you finish up the main course.
Toss a few more garden veggies on at the same time — tomatoes, green beans, and eggplant are all just as easy to grill and would pair nicely with the lemon basil dip.
Also, this grilled okra recipe can easily be adjusted based on how many people you are feeding. Reduce the amount by half for a quick snack or triple it for a large cookout.
Love this recipe? Bookmark it for the future!
Simply tap the heart symbol located in the lower right corner of your screen, and the recipe will be securely stored in your own recipe box.

Peppery Grilled Okra
Ingredients
Dipping Sauce
- 1 cup Greek yogurt
- 1 tablespoon fresh basil , chopped (3 large leaves)
- 1 tablespoon lemon juice
- ¼ teaspoon minced garlic
- ¼ teaspoon sugar
- ¼ teaspoon salt
- ⅛ teaspoon black pepper
Grilled Okra
- 1 lb. fresh okra trimmed
- 1 tablespoon olive oil
- ½ teaspoon salt
- ½ teaspoon black pepper
- Garnish: freshly ground pepper
Instructions
- Combine Greek yogurt with all other dipping sauce ingredients in a small bowl. Cover and chill until ready to serve.
- Preheat grill to 400° to 450° (high) heat.
- Toss together okra, olive oil, salt and pepper in a large bowl. Skewer on wooden picks, if desired, or place in mesh grill pan.
- Grill okra, covered with grill lid, over 400° to 450° (high) heat 2 to 3 minutes on each side or until tender.
- Transfer okra to a serving dish, and serve with dipping sauce. Garnish, if desired.
Notes
Nutrition
Life Love and Good Food does not claim to be a registered dietician or nutritionist. Nutritional information shared on this site is only an estimate. We recommend running the ingredients through an online nutritional calculator if you need to verify any information.

