Red Velvet Cake Mix Brownies with Cream Cheese Frosting
This post may contain affiliate links. Please read my disclosure policy.
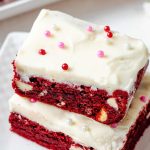
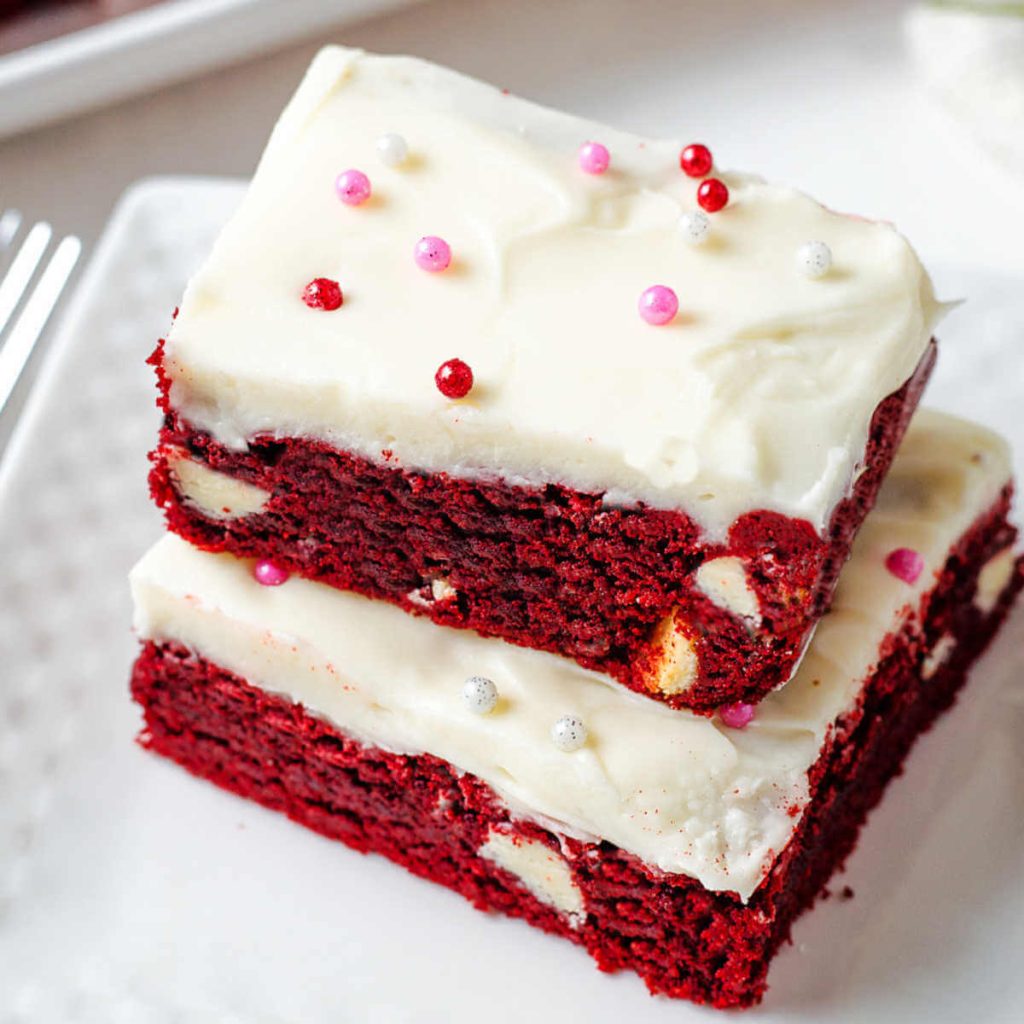
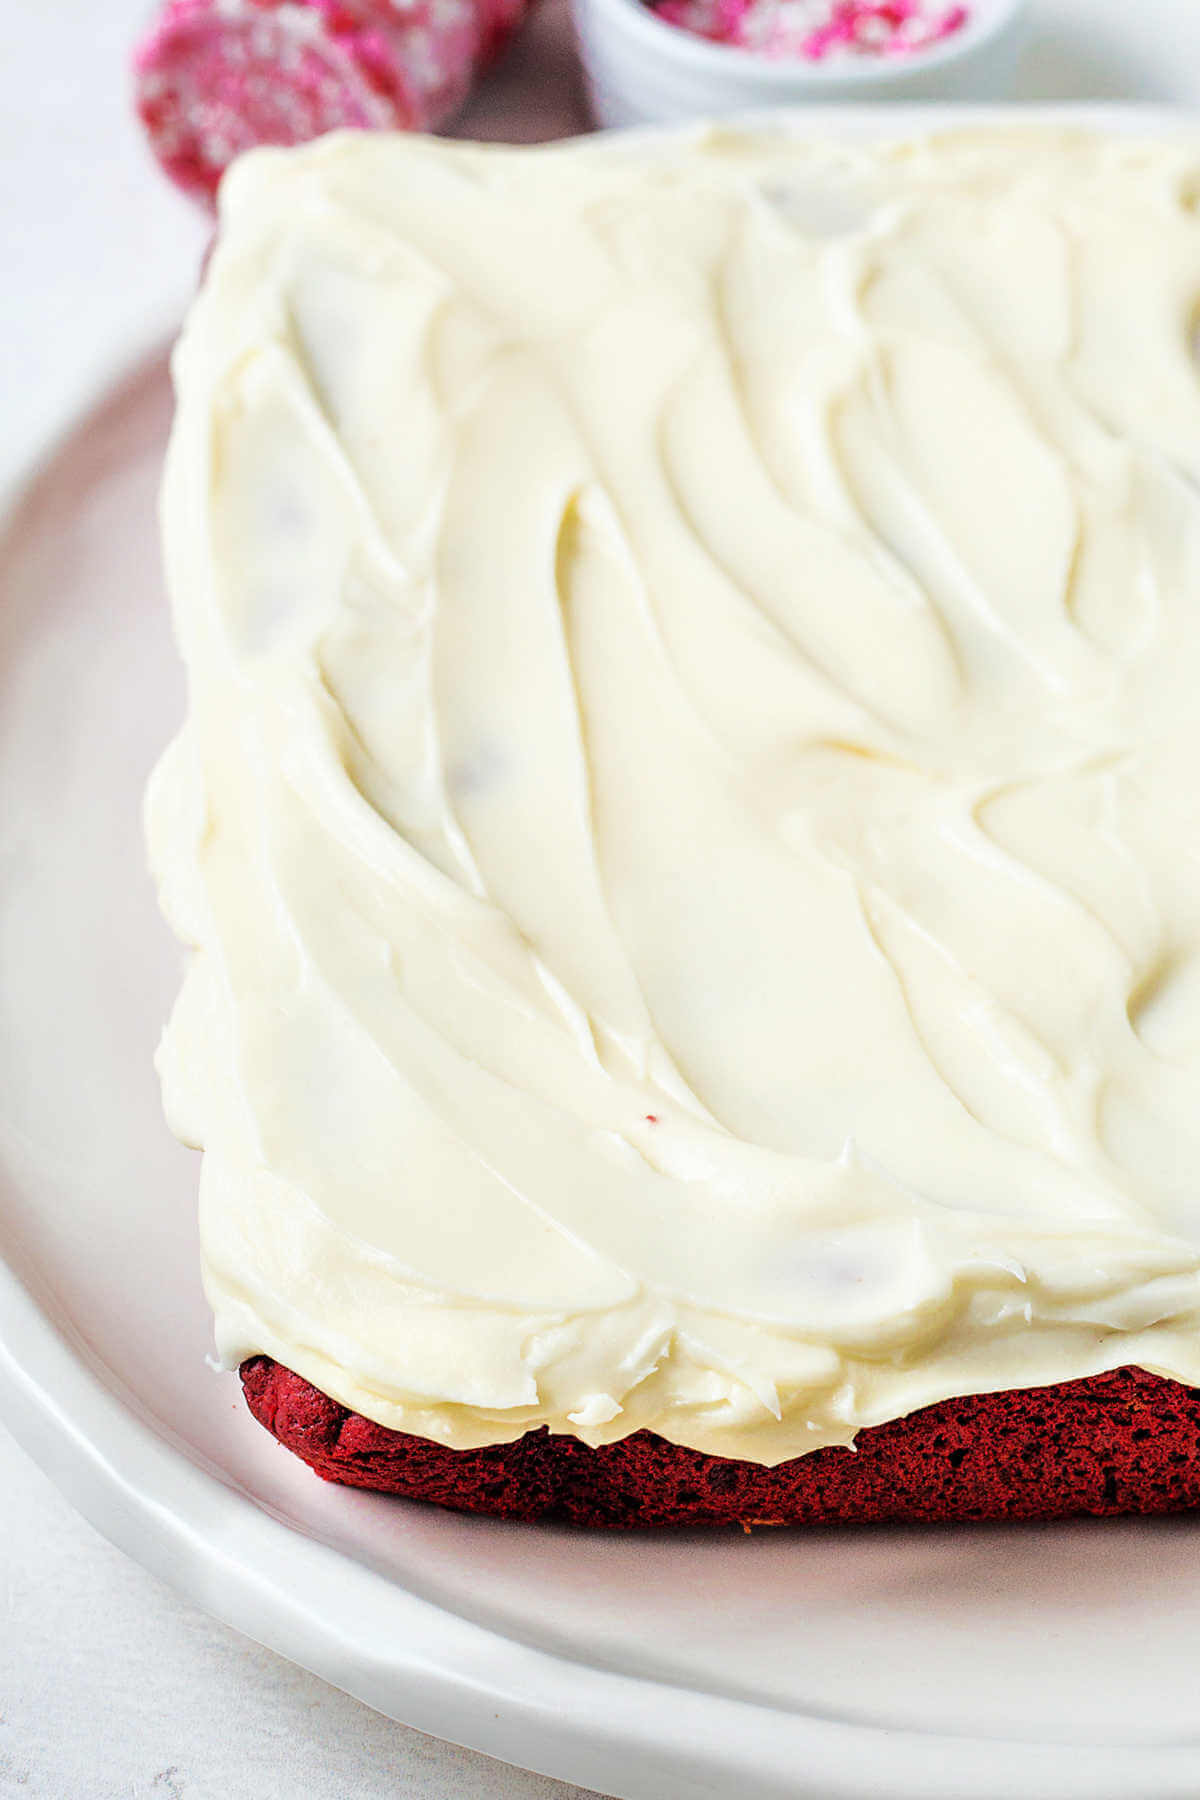
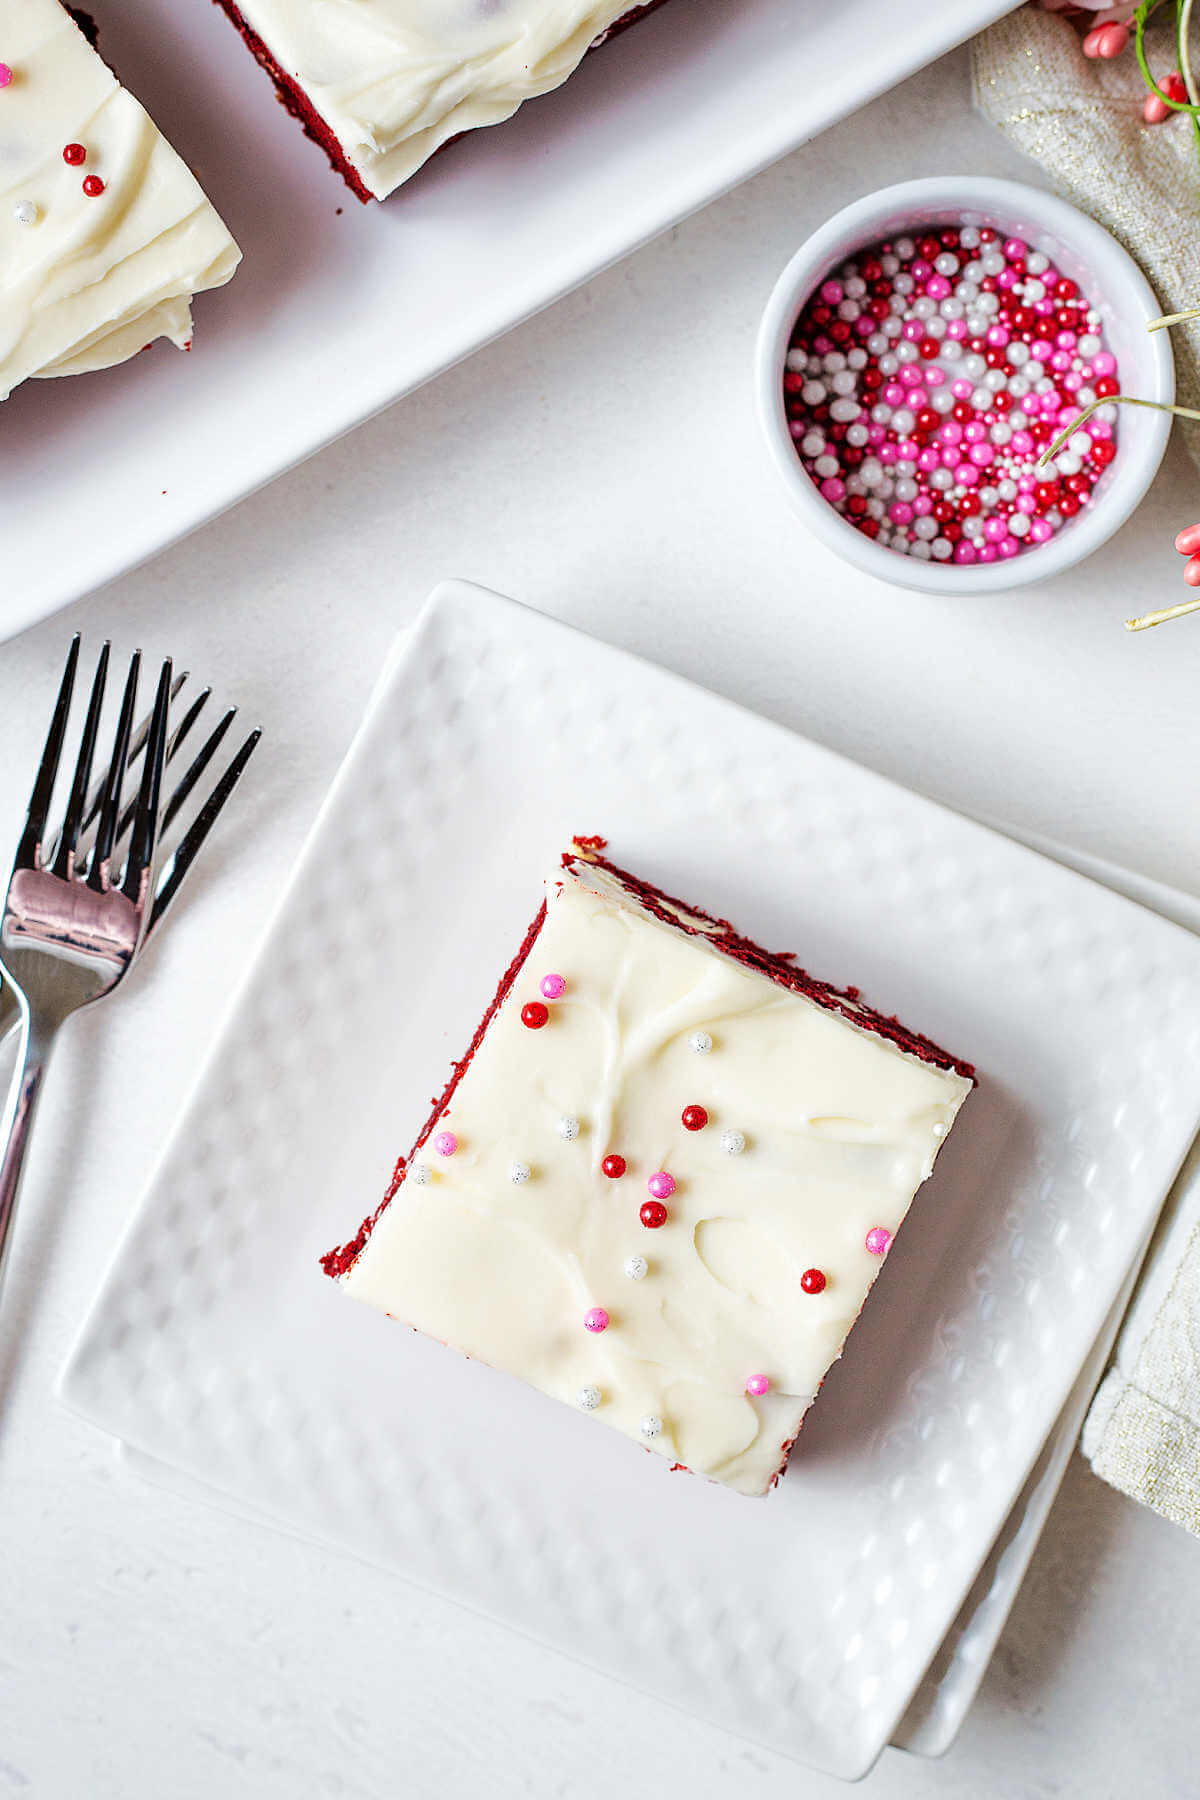
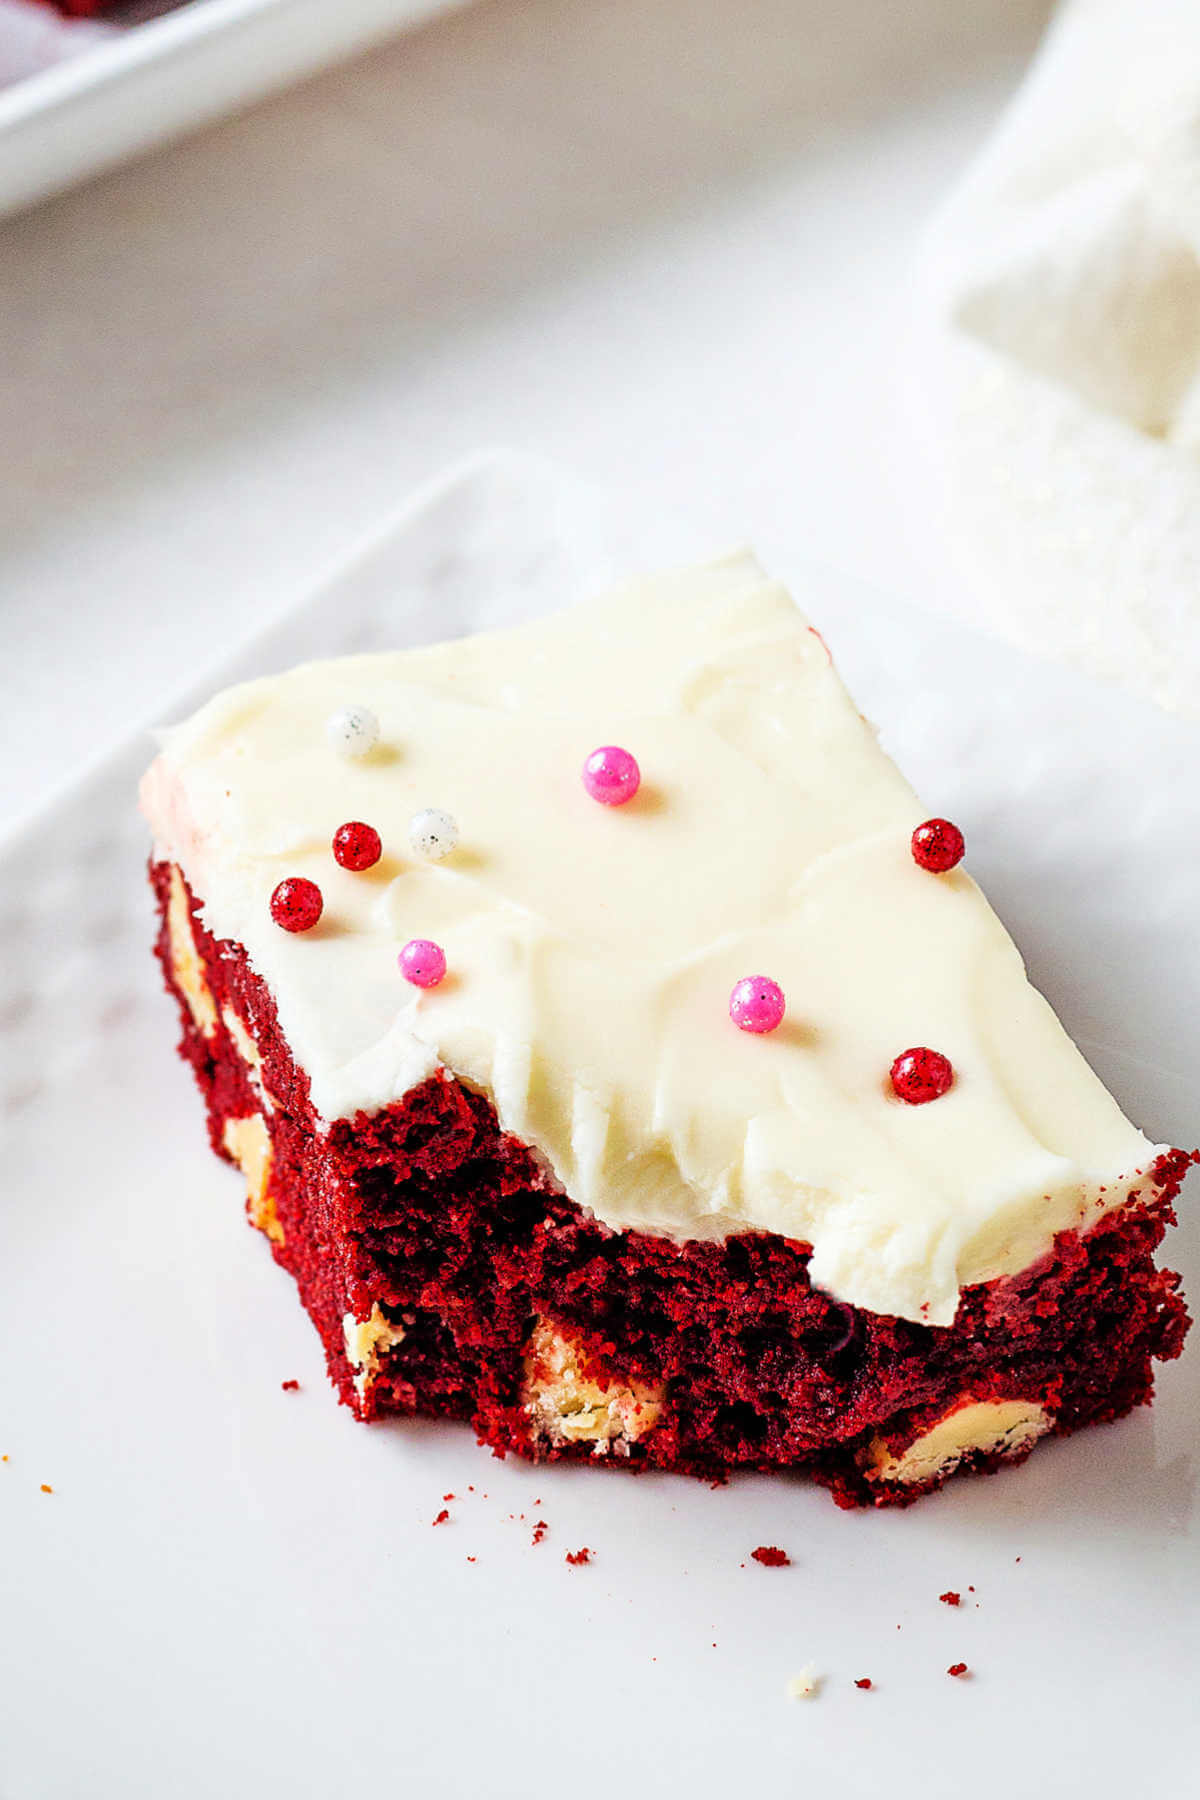
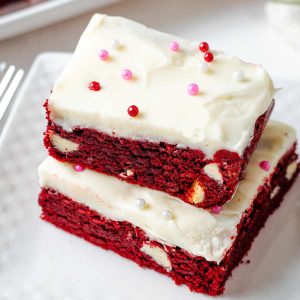
Red Velvet Brownies with Cream Cheese Frosting are rich and delicious with a beautiful red velvet color. My semi-homemade chocolatey brownies are sweet and tangy — a distinctive characteristic of red velvet desserts — only require a few basic ingredients and are a cinch to make!
Why you’ll love this Red Velvet Brownies recipe!
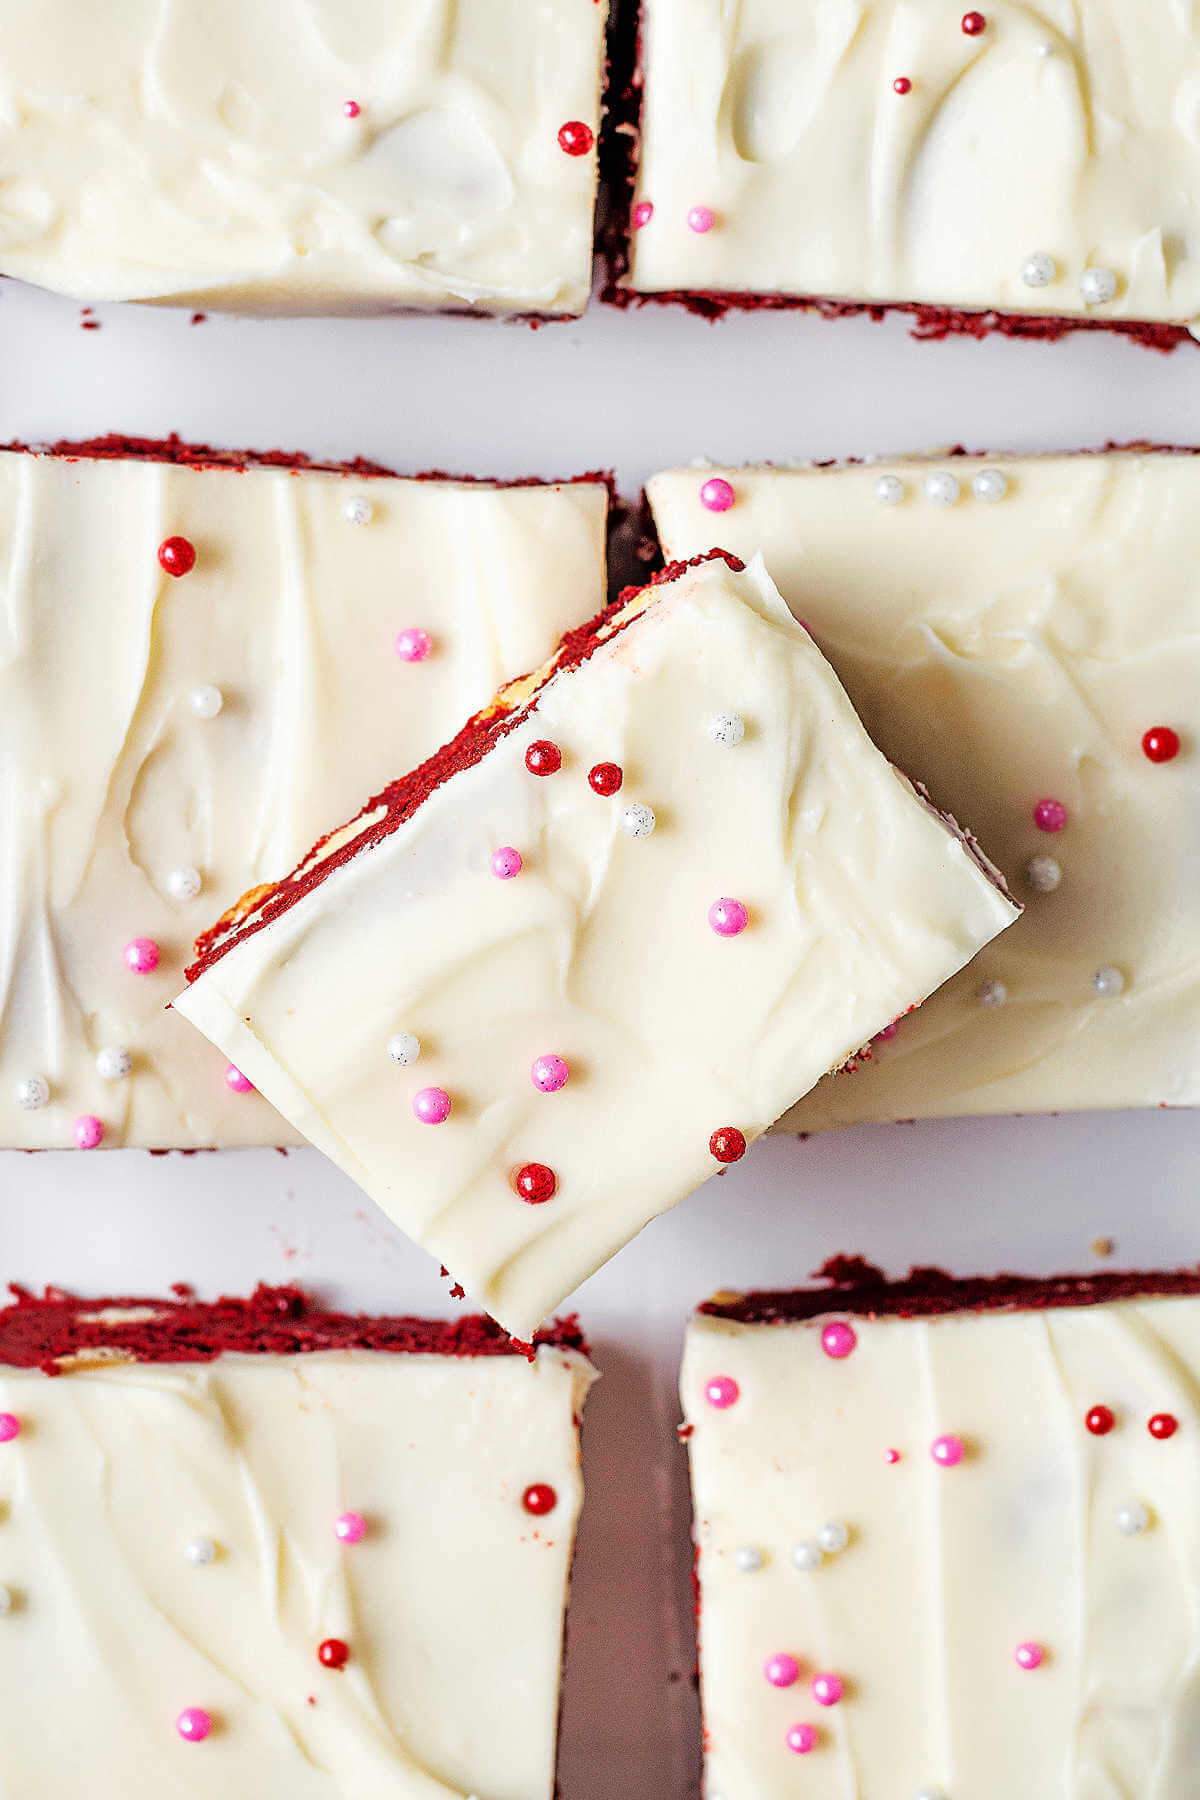
These pretty red and white cake mix brownies are perfect for Valentine’s Day — or any other time of the year, whether it’s a special occasion or a well-deserved weekend dessert.
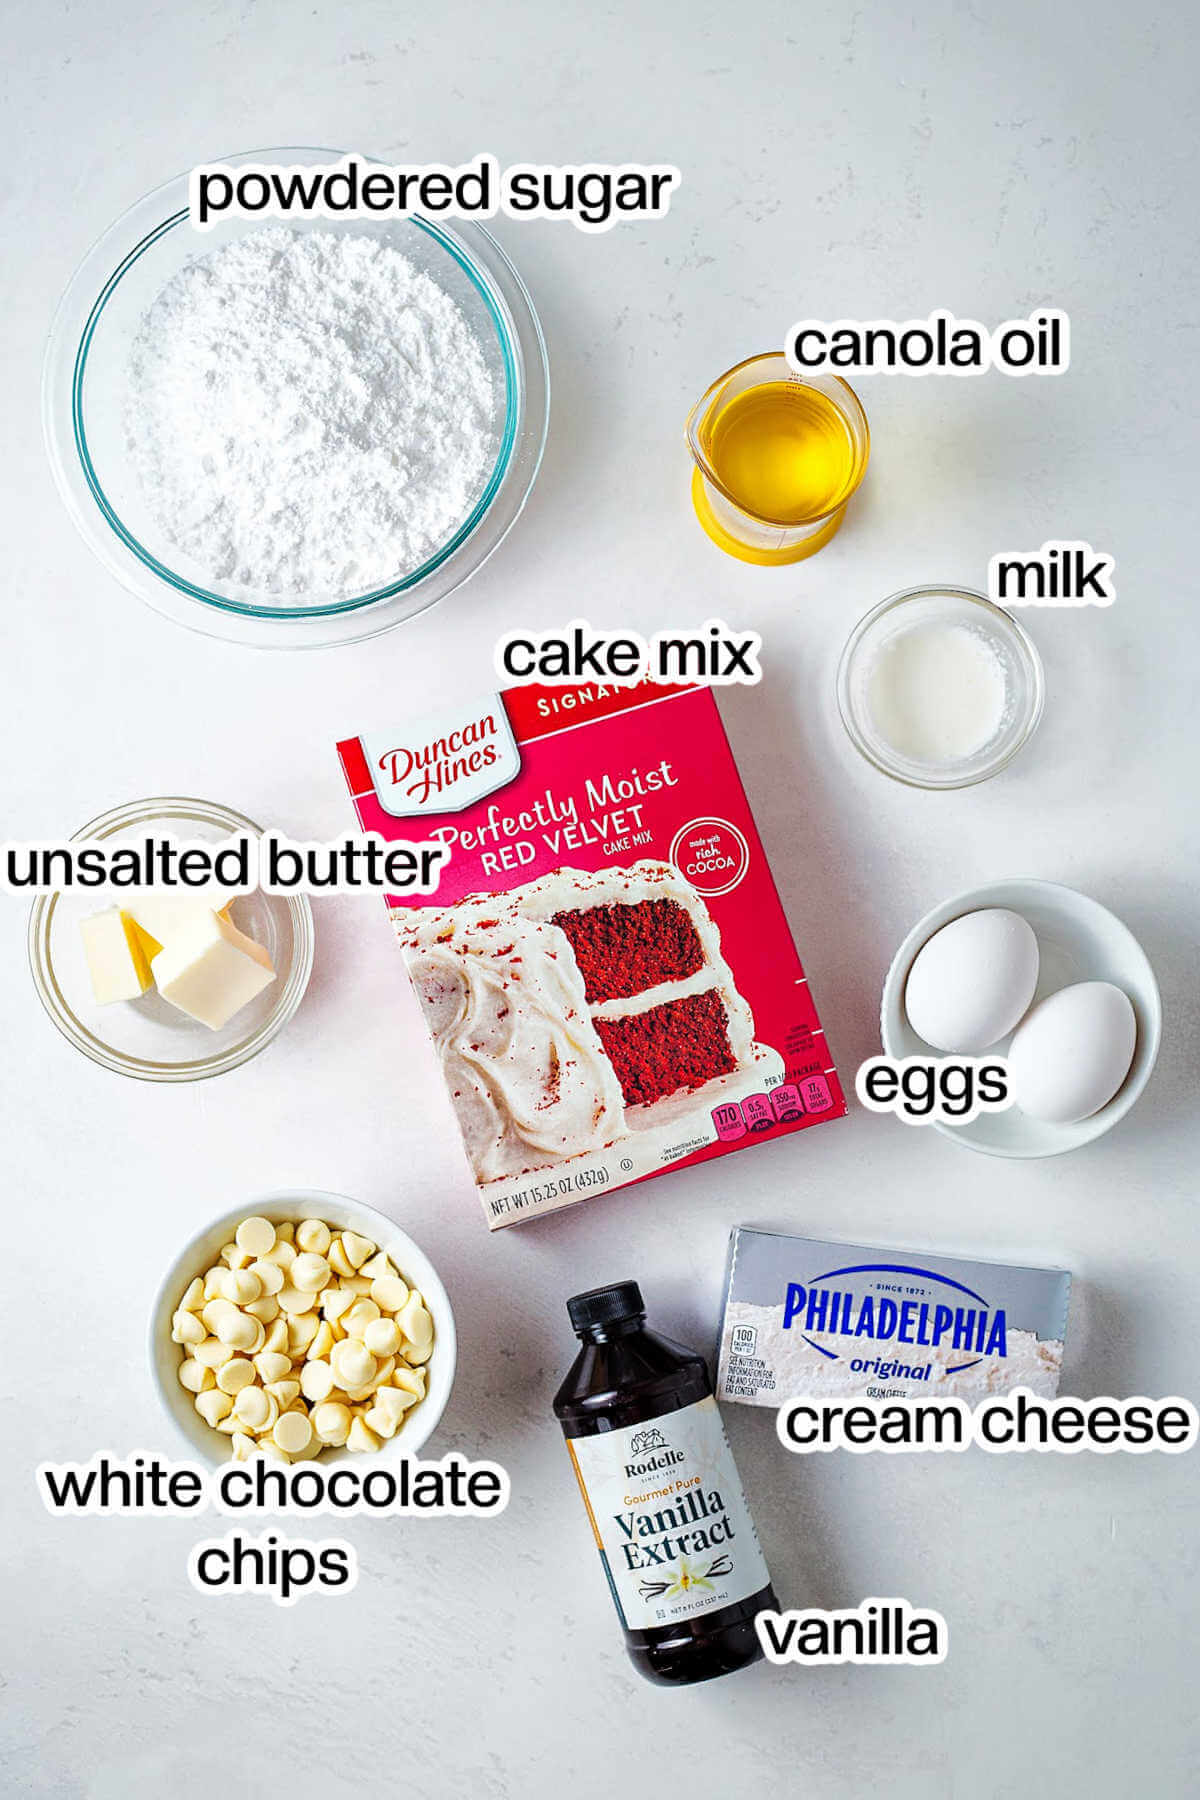
Ingredient notes
- Cake mix | Choose your favorite box of red velvet cake mix from the grocery store.
- Oil | Canola oil moistens the brownie batter. If preferred, use vegetable oil, avocado oil, or a similar alternative.
- Eggs | A couple of eggs help produce the desired texture of the brownies.
- Vanilla | Bring creamy notes with a bit of vanilla.
- White chocolate | Include white chocolate chips for creamy and sweet bits in every bite.
Cream Cheese Frosting
- Butter | Keep it creamy with unsalted butter — real butter will produce the best results.
- Cream cheese | Give the frosting a tangy and creamy flavor with cream cheese. Full-fat is best, but you can use low-fat if preferred.
- Powdered sugar | Mix powdered sugar for sweetness and fluffy cream cheese frosting.
- Milk | Make the frosting moist and creamy with milk. Whole milk works the best, but milk alternatives, like coconut milk or almond milk, will also do the trick.
- Vanilla | Deepen the creamy notes with vanilla extract.
How to make Cake Mix Brownies
Just pour your boxed cake mix into a bowl, mix with some essential ingredients, bake, and add the homemade cream cheese frosting!
STEP 1 | Prep for recipe
First, preheat the oven to 350 degrees F and line an 8×8-inch square pan with parchment paper or lightly coat it with cooking spray.
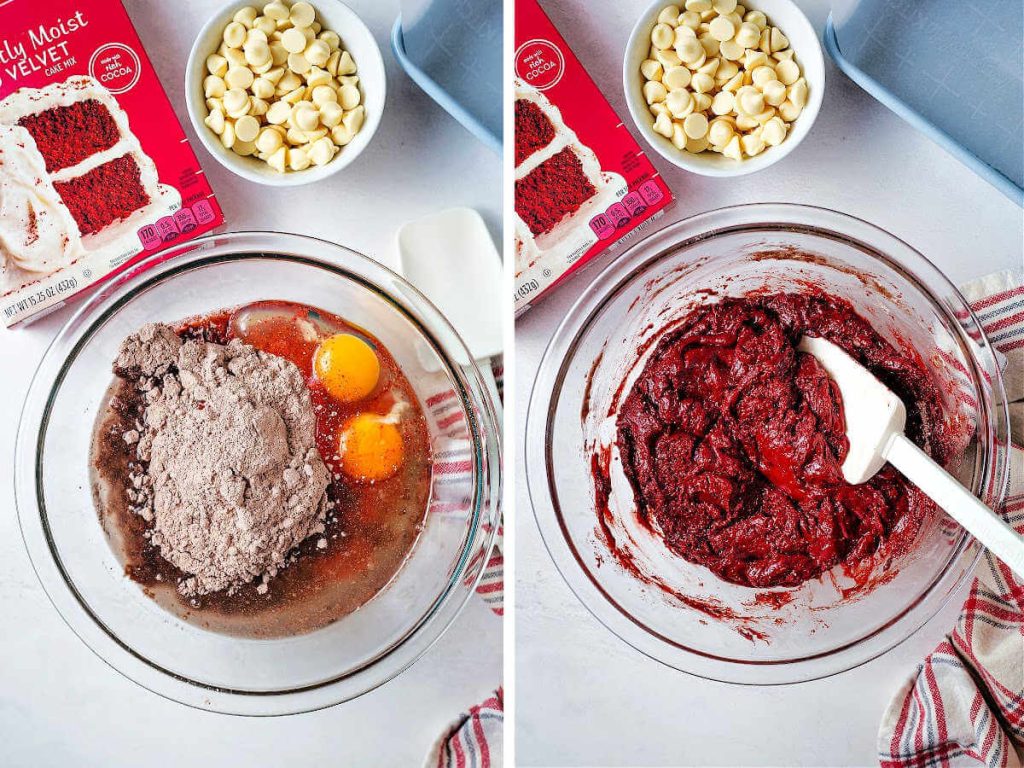
STEP 2 | Combine red velvet brownie batter
Next, empty the cake mix into a large bowl, then add the oil, eggs, and vanilla, stirring with a rubber spatula until well combined.
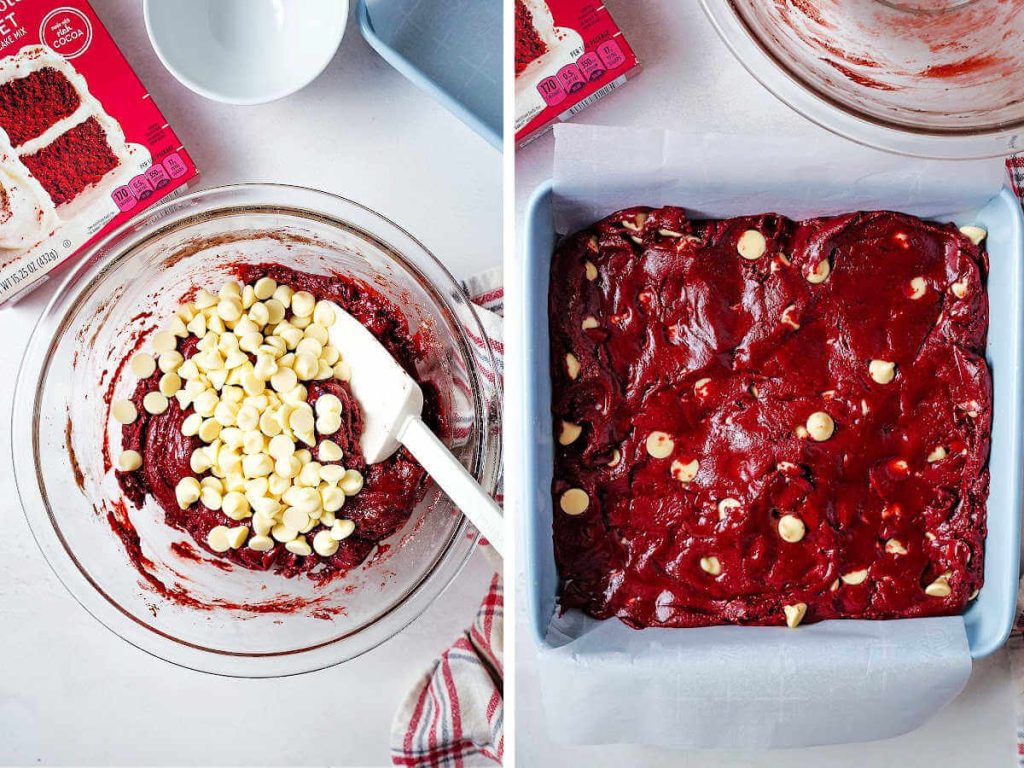
STEP 3 | Fold in chips and bake
Next, gently fold in the white chocolate chips. Then, slowly pour the batter into the prepared pan, spreading it evenly. Bake the brownies for 25 to 28 minutes, until they have a slightly crackly top.
Check to ensure they are done by inserting a toothpick in the center. When it comes out clean or with just a few crumbs, the brownies are finished baking.
STEP 4 | Cool
Transfer the pan to a cooling rack to cool completely before frosting. When cooled, you can easily remove them from the pan by lifting them with the parchment paper.
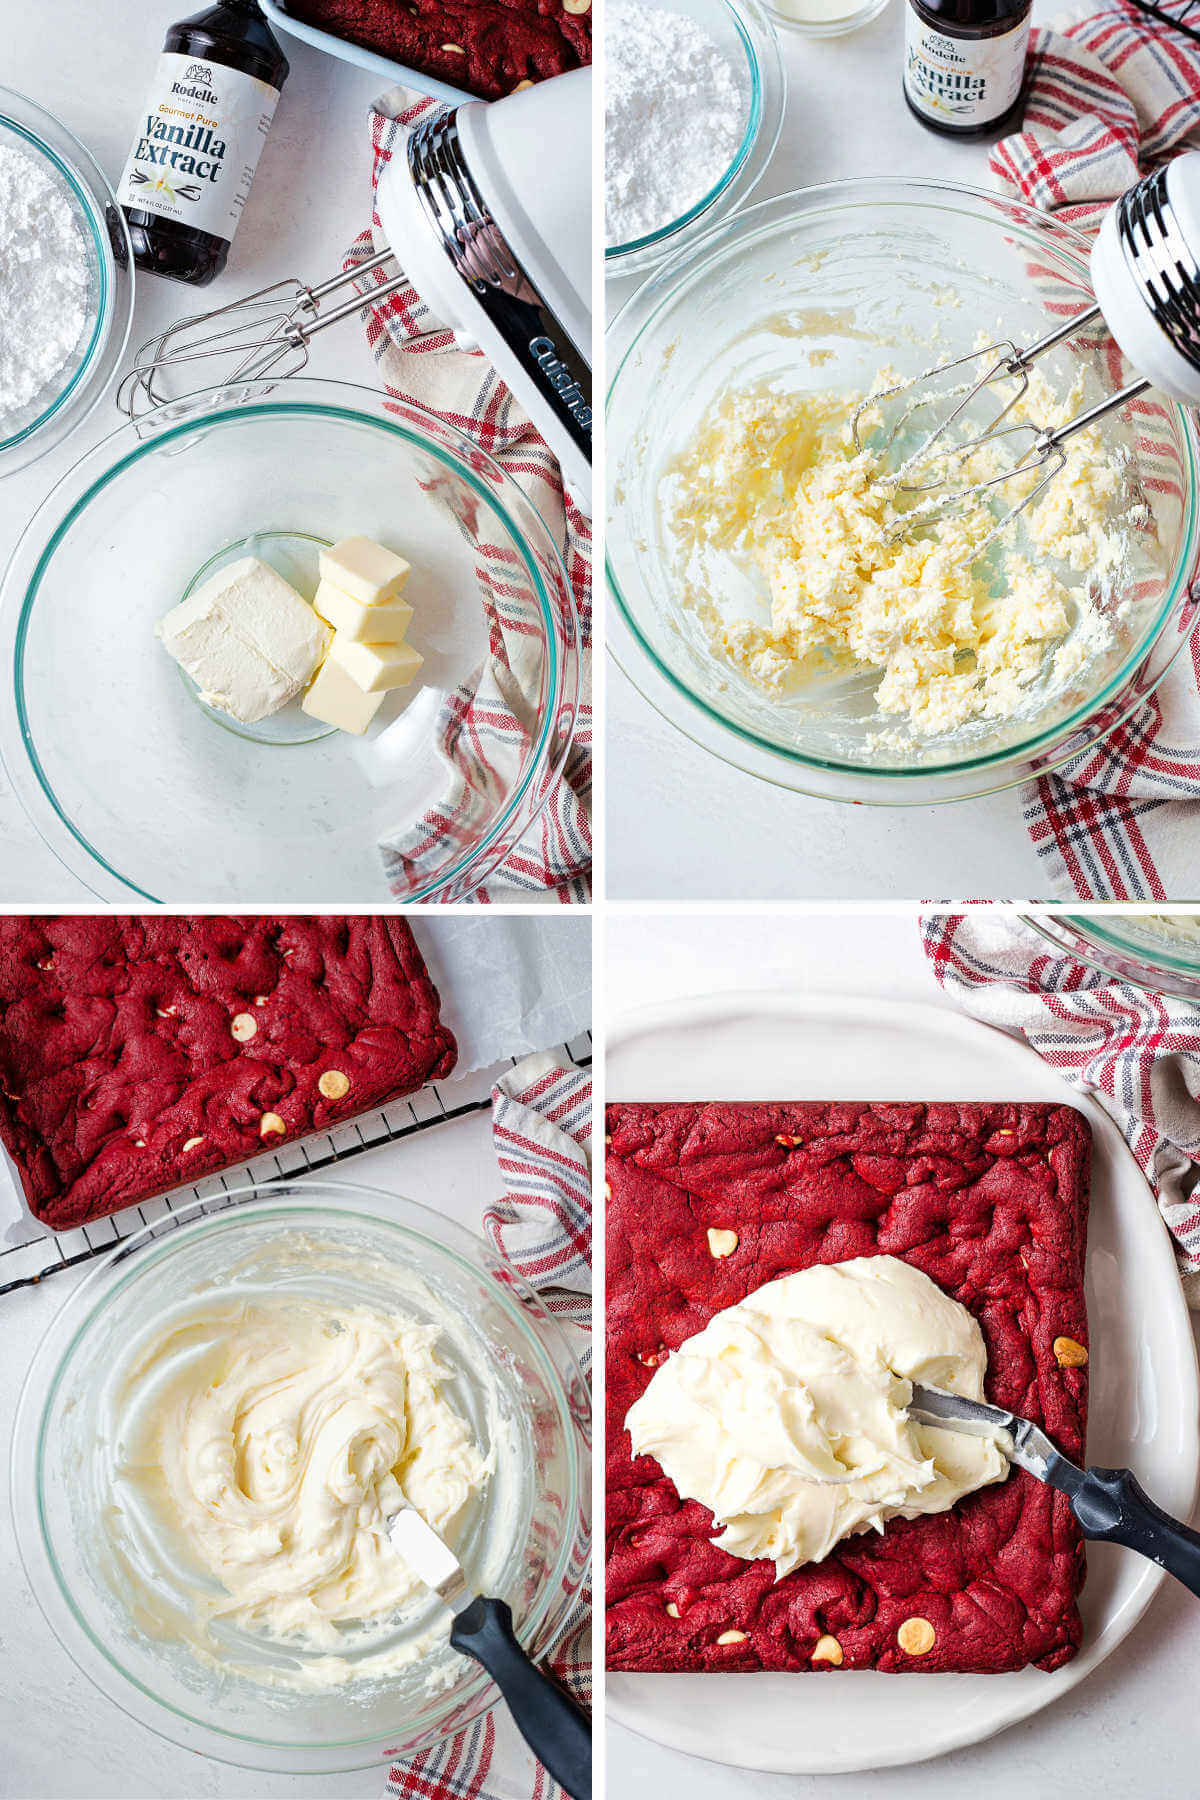
STEP 5 | Start making the frosting
Begin making this delicious cream cheese frosting by adding the butter and cream cheese to a large mixing bowl and beat with an electric hand mixer or stand mixer until smooth and creamy.
STEP 6 | Add the powdered sugar
While the mixer is turned off, add the powdered sugar all at once. Then, mix on low speed for about a minute, until incorporated.
STEP 7 | Complete the frosting, spread, and enjoy!
Next, add the milk and vanilla, mixing until smooth. Once the brownies are completely cooled, spread the frosting on top and serve!
tips
- If preferred, combine the ingredients with an electric mixer at medium speed.
- Remember to watch the edges to avoid overbaking.
- For the best results, the butter should be at room temperature, and cream cheese should be softened.
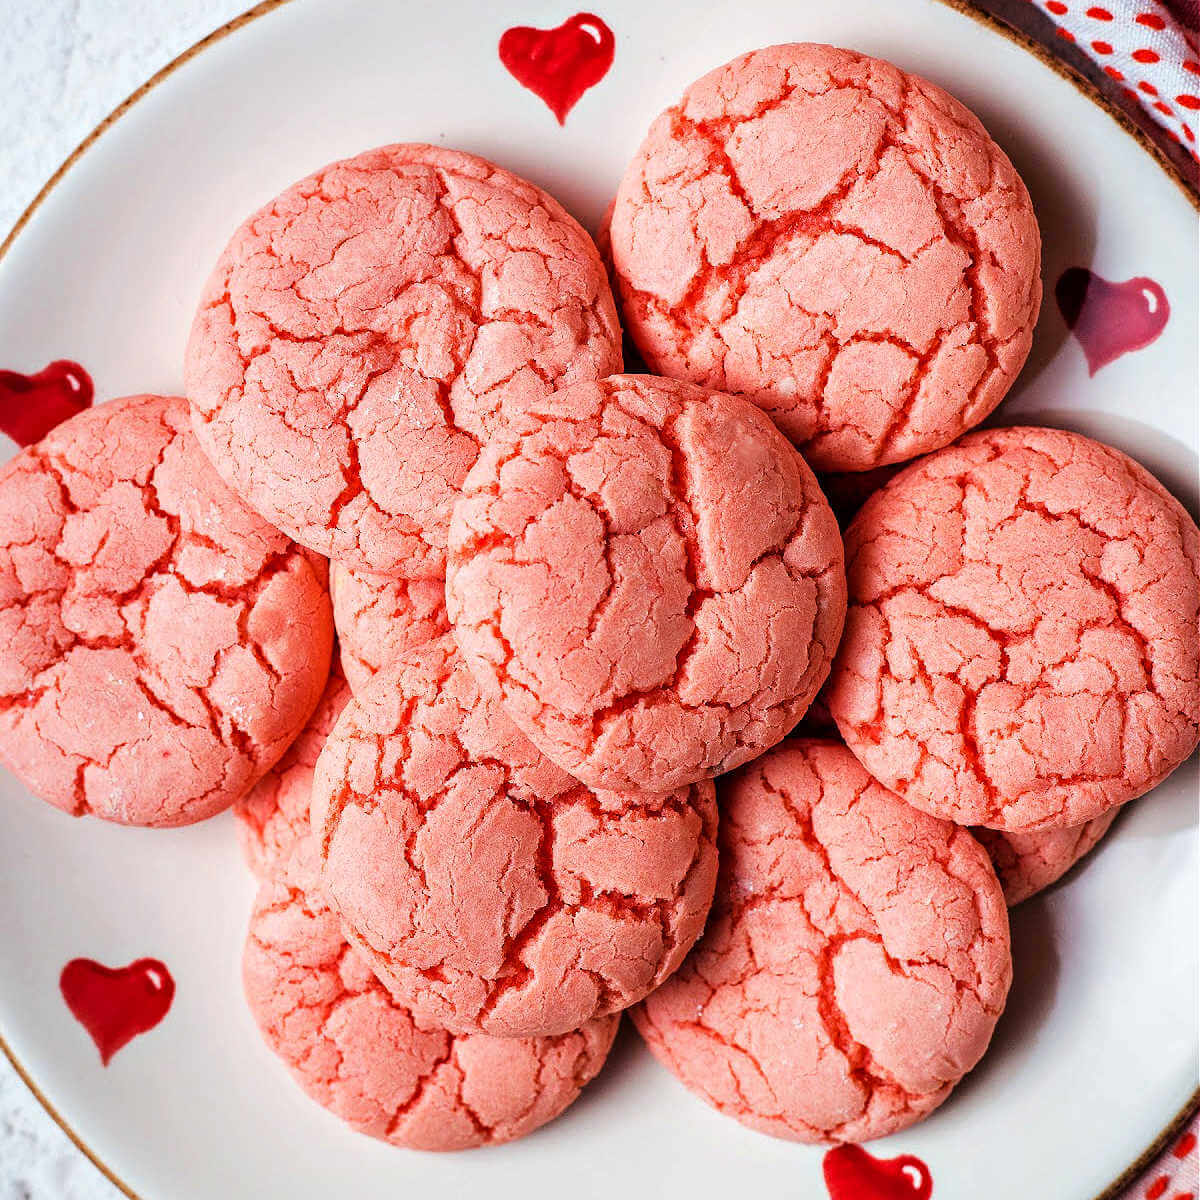
If you love the fun and festive color of this red velvet brownie recipe, try more of my favorite pink and red confections, like Strawberry Cake Mix Cookies, Homemade Strawberry Ice Cream, Strawberry Brownies, and chewy Raspberry Crumble Bars.
Variations and substitutions
- Red Velvet Cheesecake Brownies. Like my Pumpkin Cheesecake Brownies, you can add a swirl of cheesecake to make this dessert extra decadent. Just be sure to adjust the bake time accordingly.
- Other Frosting Options. Everyone knows that cream cheese frosting and red velvet are a classic duo. However, if that’s not your cup of tea, try my pretty pink buttercream frosting from this Cherry Cake recipe or my silky smooth Sour Cream Frosting.
- Gluten-Free Brownies. For gluten-free red velvet brownies, choose a GF cake mix — Easy!
- Use dark or semi-sweet chocolate chips instead of white chocolate chips for rich chocolate flavor.
Storage and reheating tips
- It’s not likely, but if you have leftover brownies, store them in an airtight container at room temperature for five to seven days without the icing. With the frosting, they need to be refrigerated in an airtight container or tightly wrapped with plastic wrap.
- You can also freeze this recipe by wrapping the brownies in plastic wrap, foil, and an airtight freezer bag. They will freeze well for two months. Thaw them in the fridge overnight to enjoy the following day.
Frequently asked questions
Chocolate cake is flavored with chocolate or cocoa powder, while red velvet includes cocoa powder but also has buttermilk and vinegar to bring a subtle tartness to the overall flavor.
Butter and oil serve a similar role in brownies. However, butter tends to yield richer and more flavorful results.
The difference between fudgy and cakey brownies is the fat-to-flour ratio. More fat, like oil, butter, or chocolate, produces a fudgier texture.
For clean edges and easy slicing, use a warm, sharp knife dipped into hot water and wiped after each cut. It’s also vital to let the brownies completely cool before slicing.
Looking for more of the Best Brownie Recipes?
Brownies are truly a love language. They’re perfect for Valentine’s Day but also great for other times of the year! Enjoy these Pumpkin Cheesecake Brownies during fall, or these Mint Fudge Brownies that taste like mint chocolate chip ice cream to brighten and refresh the hot summer! You must also try my Malted Mousse Brownies with chocolate malt powder in the brownie batter and the creamy topping.
What to serve with Red Velvet Brownies
I love serving the chewy brownies with a chilly scoop of homemade ice cream.
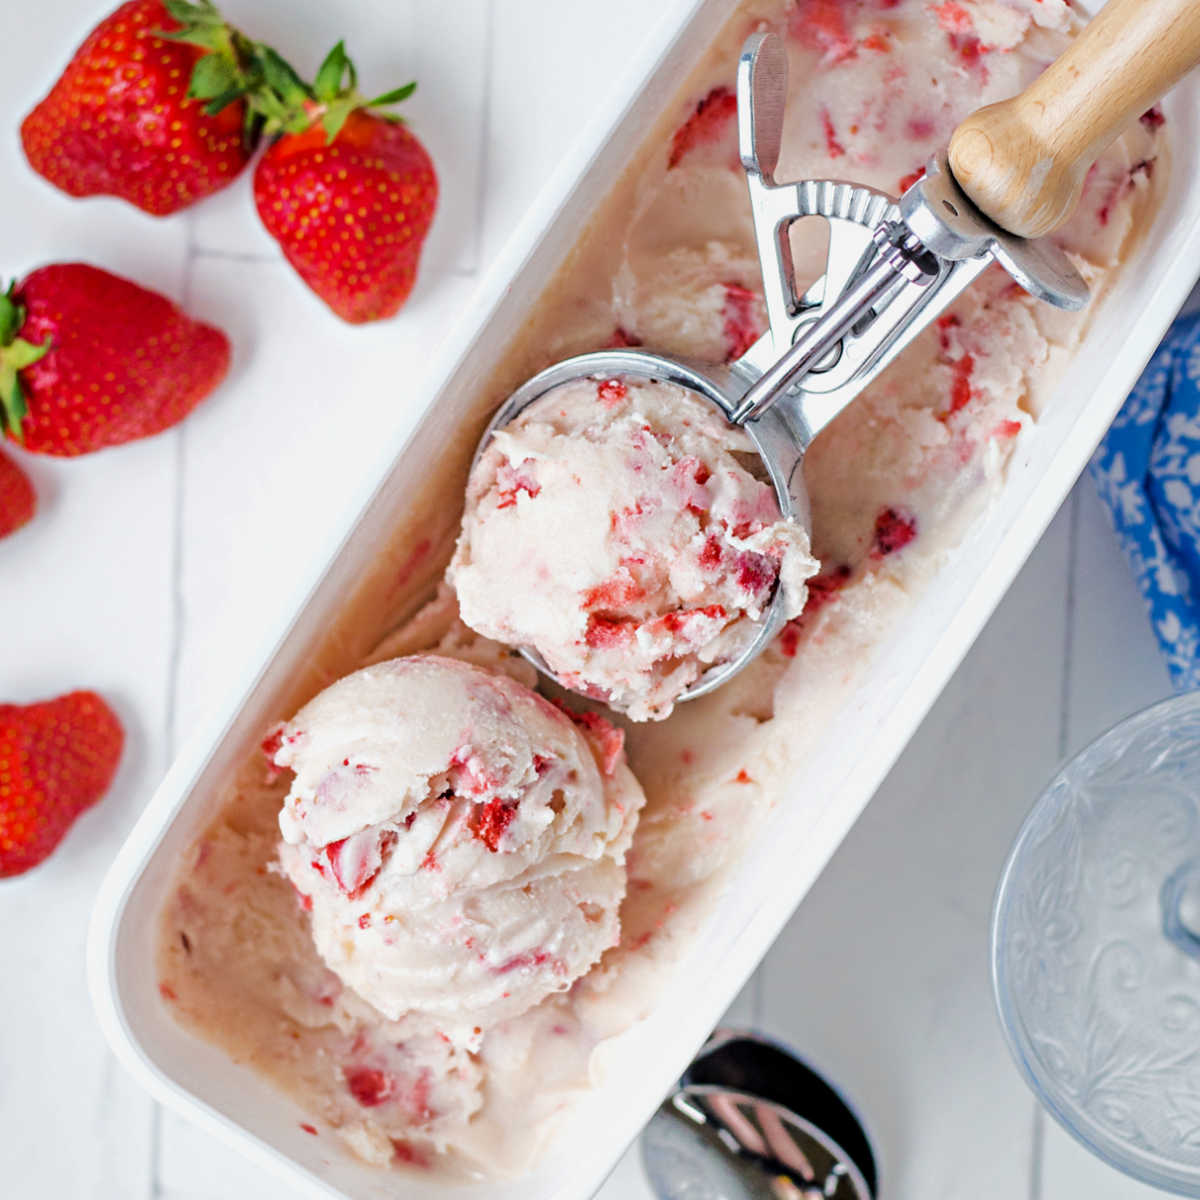
Try my Strawberry Ice Cream! These little red velvet desserts are also excellent when enjoyed with juicy White Chocolate Strawberries, a Valentine’s Day classic!
Love this recipe? Bookmark it for the future!
Simply tap the heart symbol located in the lower right corner of your screen, and the recipe will be securely stored in your own recipe box.
Red Velvet Cake Mix Brownies with Cream Cheese Frosting
Ingredients
- 1 15.25 oz. box red velvet cake mix
- ½ cup canola oil
- 2 large eggs
- 1 teaspoon vanilla extract
- 1 cup white chocolate chips
Cream Cheese Frosting
- ¼ cup unsalted butter room temperature
- 4 ounces cream cheese softened
- 2 cups powdered sugar
- 1 ½ teaspoons milk
- ½ teaspoon vanilla extract
Instructions
- Preheat the oven to 350 degrees F. Line an 8×8-inch baking pan with parchment paper or lightly coat with cooking spray.
- Empty the cake mix into a large bowl. Add the oil, eggs, and vanilla and stir with a rubber spatula until well combined. Fold in the white chocolate chips.
- Empty and gently spread the batter into the prepared pan. Bake for 25 – 28 minutes, until the top is crackly and a toothpick inserted in the center comes out clean. (Watch the edges, and don't overbake.)
- Transfer the pan to a wire rack and cool completely before frosting.
Cream Cheese Frosting
- Add the butter and cream cheese to a large mixing bowl and beat with an electric hand mixer or stand mixer until smooth and creamy.
- While the mixer is turned off, add the powdered sugar all at once, then mix on low speed until incorporated, about a minute.
- Add the milk and vanilla and mix until smooth. Spread the frosting on the cooled brownies and serve.
Notes
-
- If preferred, combine the ingredients with an electric mixer at medium speed.
- Remember to watch the edges to avoid overbaking.
- For the best results, the butter should be at room temperature, and cream cheese should be softened.
- Store leftovers in an airtight container at room temperature for five to seven days without the icing. With the frosting, they need to be refrigerated in an airtight container or tightly wrapped with plastic wrap.
- You can also freeze this recipe by wrapping the brownies in plastic wrap, foil, and an airtight freezer bag. They will freeze well for two months. Thaw them in the fridge overnight to enjoy the following day.
Nutrition
Life Love and Good Food does not claim to be a registered dietician or nutritionist. Nutritional information shared on this site is only an estimate. We recommend running the ingredients through an online nutritional calculator if you need to verify any information.


