Individual Cherry Pot Pies with Flaky Pie Crust
This post may contain affiliate links. Please read my disclosure policy.
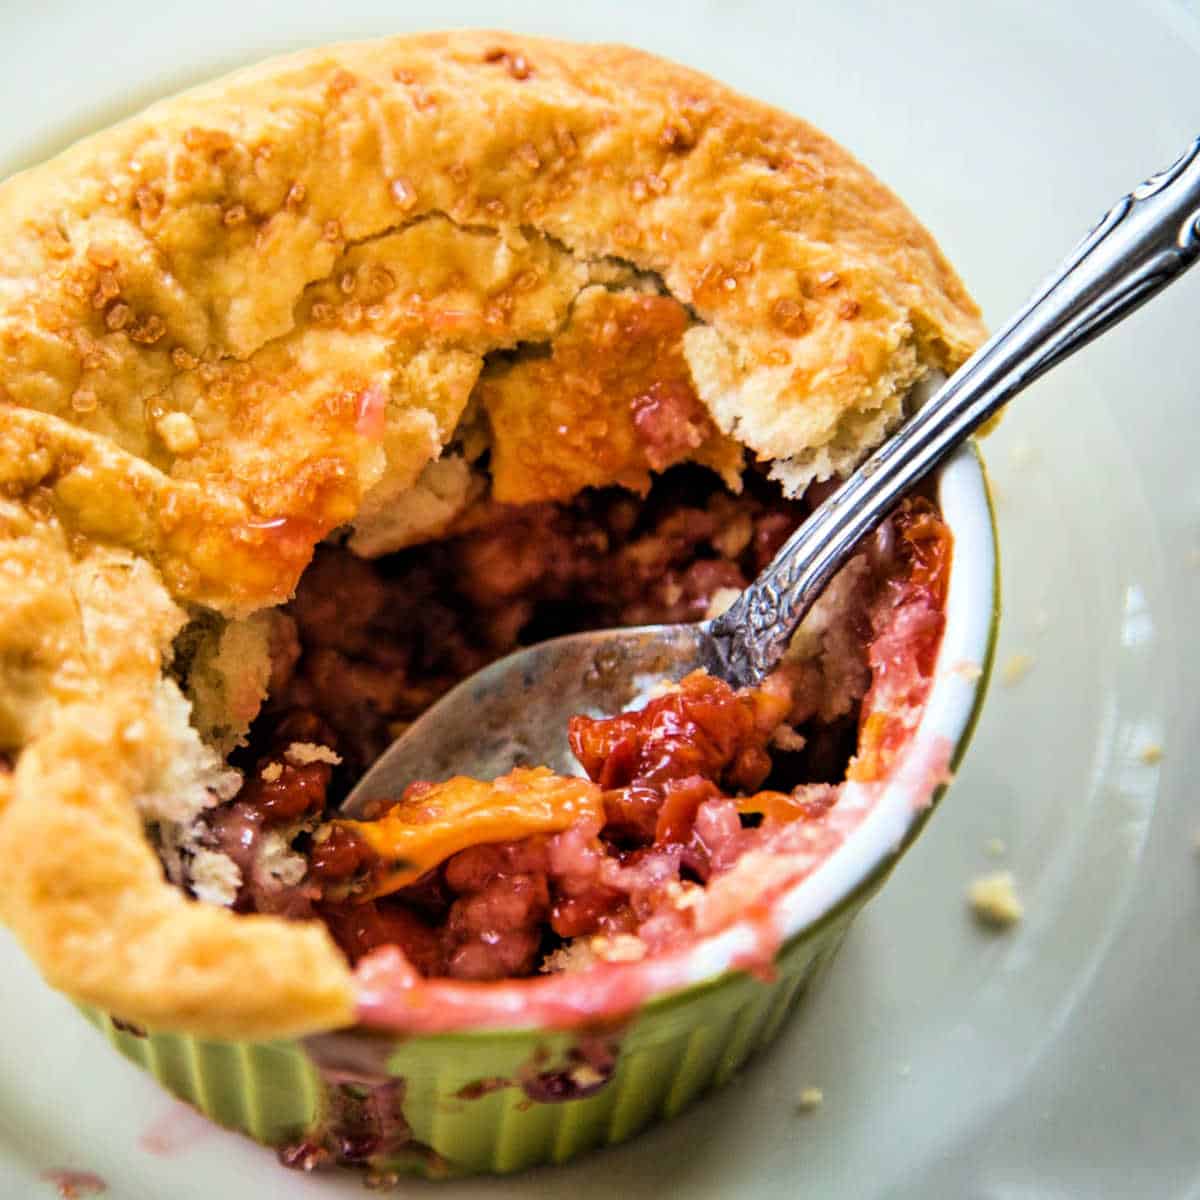
Do you love homemade cherry pie, but don’t want to wait until Summer when fresh cherries are available? Individual Cherry Pot Pies with Flaky Pie Crust are made with canned sour cherries and are absolutely one of the best cherry desserts you can enjoy all year round!
If you’ve never made a cherry pie from scratch, you might like to start with this easy recipe. Seriously, if I can make homemade pie dough, so can you!
Brushing the buttery homemade pie dough with an egg wash and sprinkling with a little sugar creates a nice golden crust. Adding orange zest to the cherry pie filling also enhances the flavor of these little cherry pies.
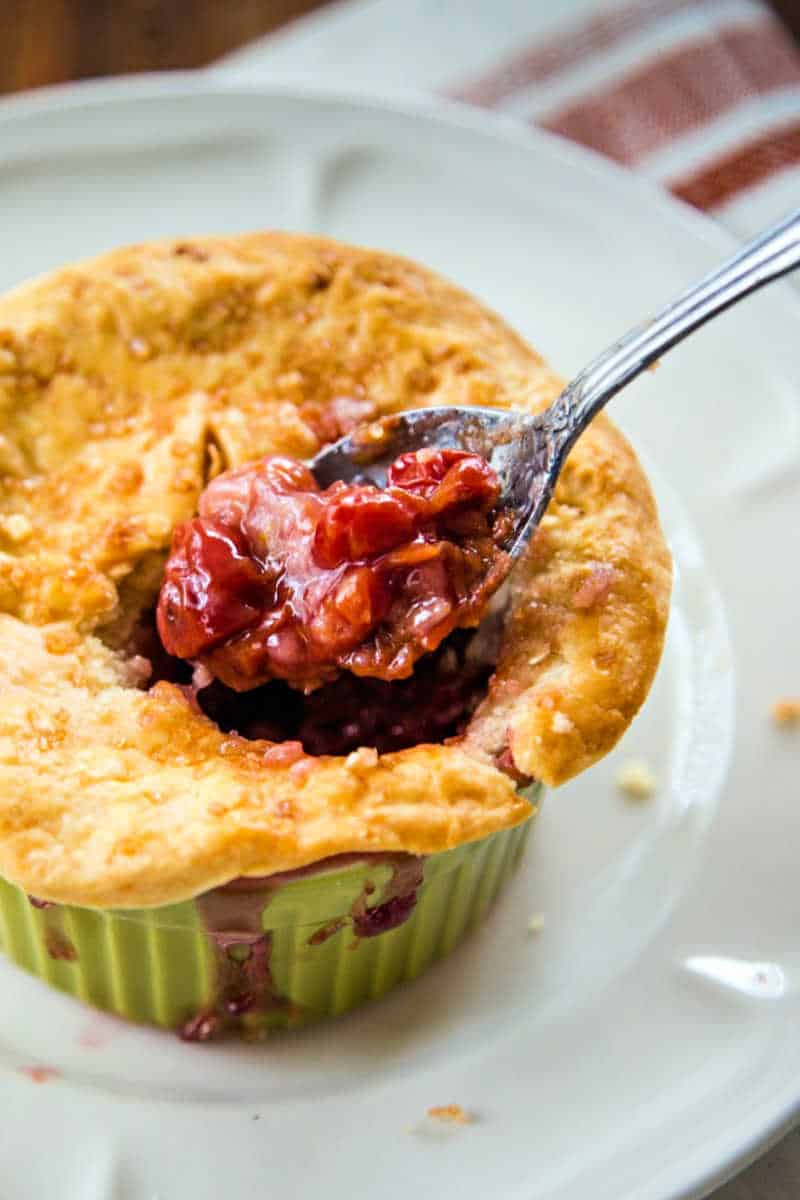
Cherry Pot Pies
A few years ago, I never dreamed I would ever make my own pie dough. IF I made a pie, I used a pre-made refrigerated pie dough or a frozen crust.
Making my own pie dough seemed pretty intimidating until I found this easy recipe on the Williams Sonoma Taste blog.
If you own a food processor, making pie dough is super easy! The secret is using ice water and making sure your butter is really cold when adding to the dough.
See more instructions and details below — I know you’ll be a pie dough pro in no time!
How do you make pie dough from scratch?
You can be a master at making pie dough with your food processor.
Measure the all-purpose flour by spooning it into a measuring cup and leveling it off with a knife. Add the flour to the bowl of the food processor with the sugar and salt and pulse a time or two to combine.
Add cubes of VERY COLD butter to the food processor bowl and pulse again for just a few seconds to break the butter up into the flour. It’s alright if you still see small chunks of butter.
Sprinkle ice water over the dough. Have you noticed that COLD ingredients are important? Process the mixture just until the dough begins to come together.
You don’t need it to become a dough ball, however, because you’ll press the dough together in the next step.
Empty the dough into a large ziplock plastic bag and seal it up. Press the dough together inside the bag until you form a flat disc. Chill the dough for at least 30 minutes.
Lightly sprinkle flour on a clean counter top, pastry board, or pastry mat. Remove the chilled dough from the bag and place it on the board. Use a rolling pin that has been lightly dusted with flour to roll the dough into a circle that’s about 1/8-inch thick.
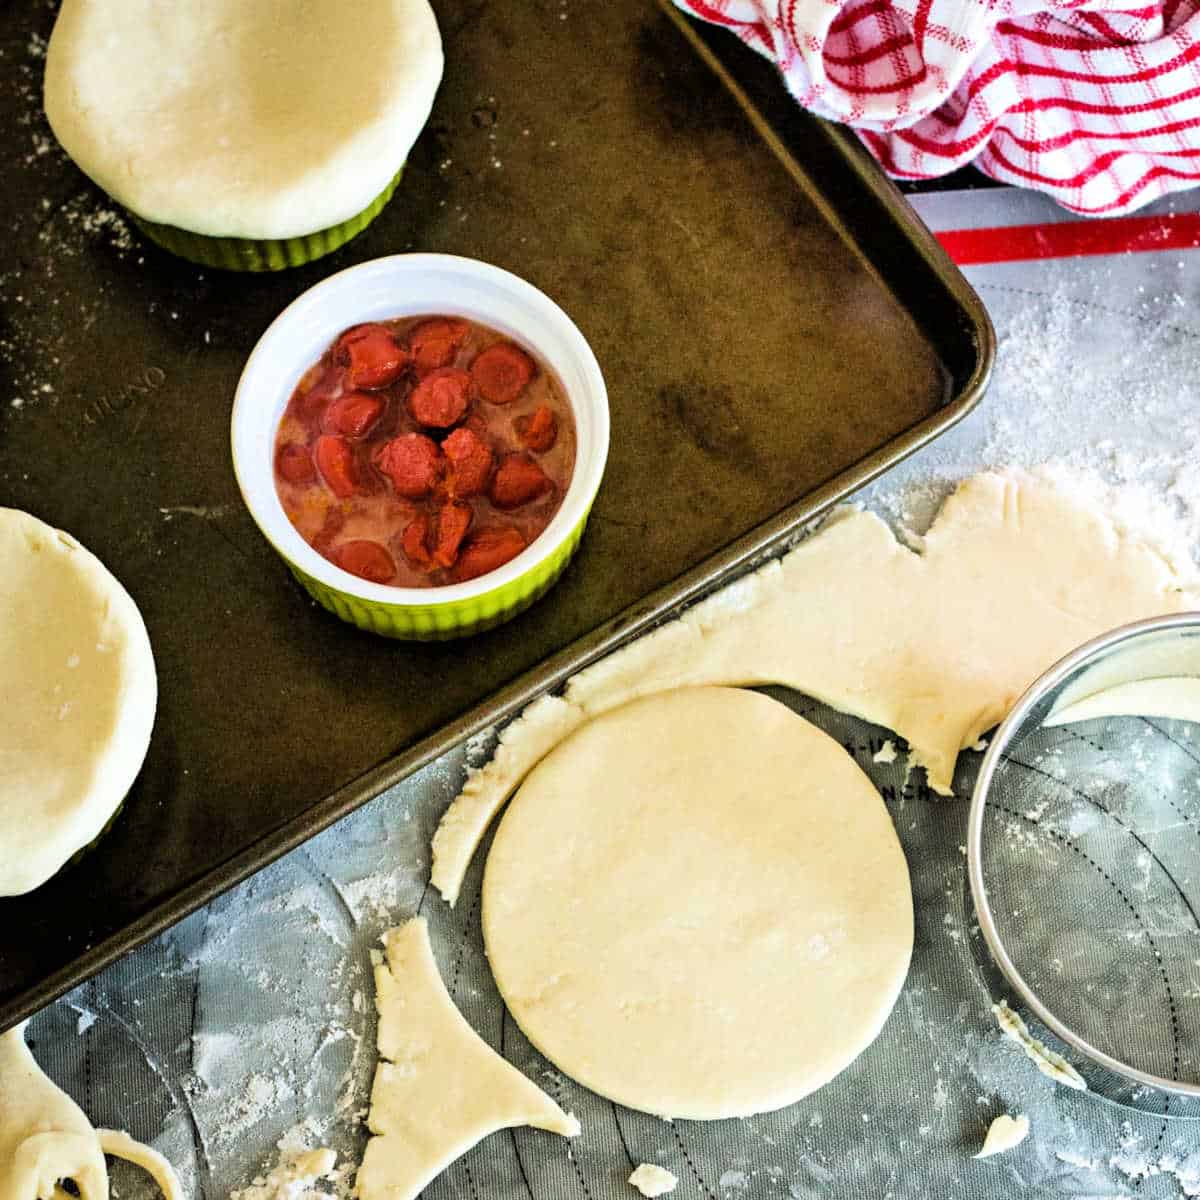
For this recipe, you’ll want to cut the dough to fit the tops of the ramekins with about a 1/2-inch overlap. Use a small paring knife to do this by hand — it’s ok if they are not perfectly round! I actually had a round cutter that I use for cannoli that worked for me.
Does pie filling need to be cooked?
The beauty of this recipe is that the pie filling cooks and thickens as the Cherry Pot Pies bake.
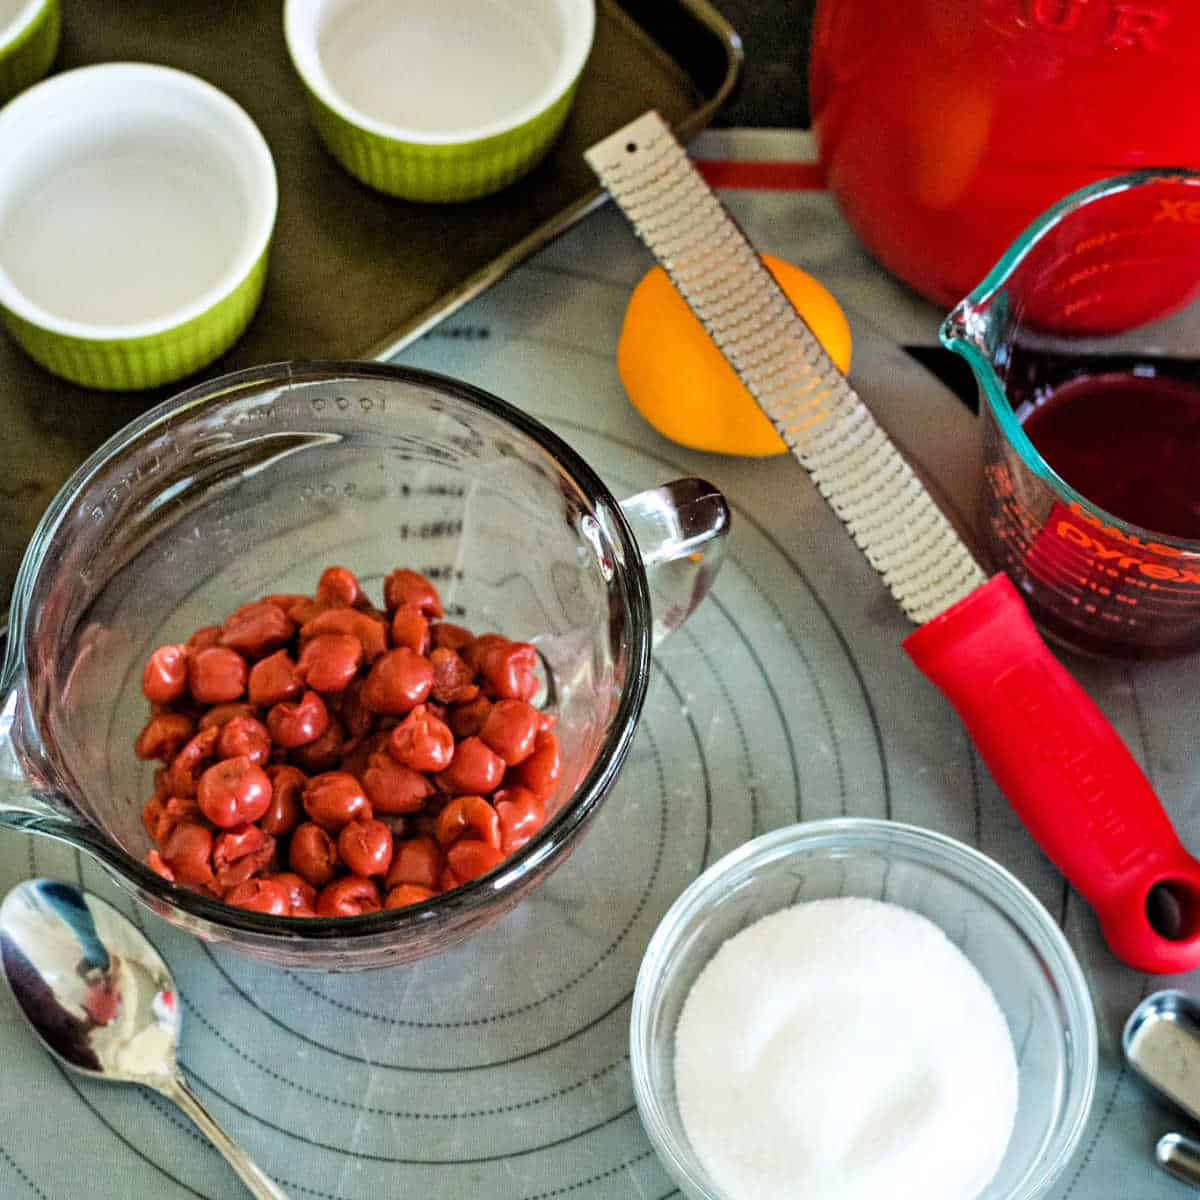
To make this pie filling, I use canned cherries and some of the reserved juice mixed with sugar, flour (for thickening), vanilla extract, and orange zest.
If you don’t have fresh oranges, you may skip the orange zest. However, adding it definitely enhances the overall cherry flavor, plus it smells so good while you’re zesting! That’s just one reason I love adding citrus to a lot of my recipes.
More mini dessert recipes!
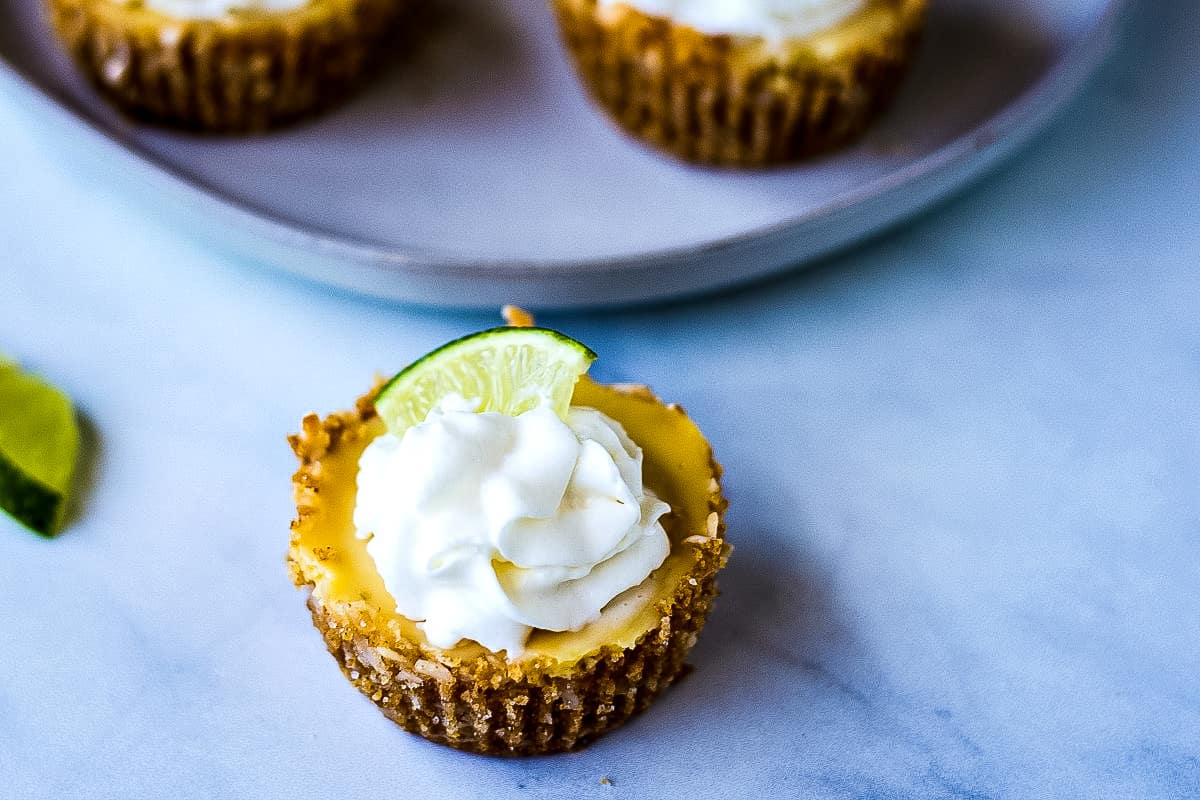
- Mini Coconut Key Lime Pies
- Tiramisu Cheesecake Parfaits
- Cherry Clafoutis
- 20 Mason Jar Desserts
- Mini Blackberry Cobblers
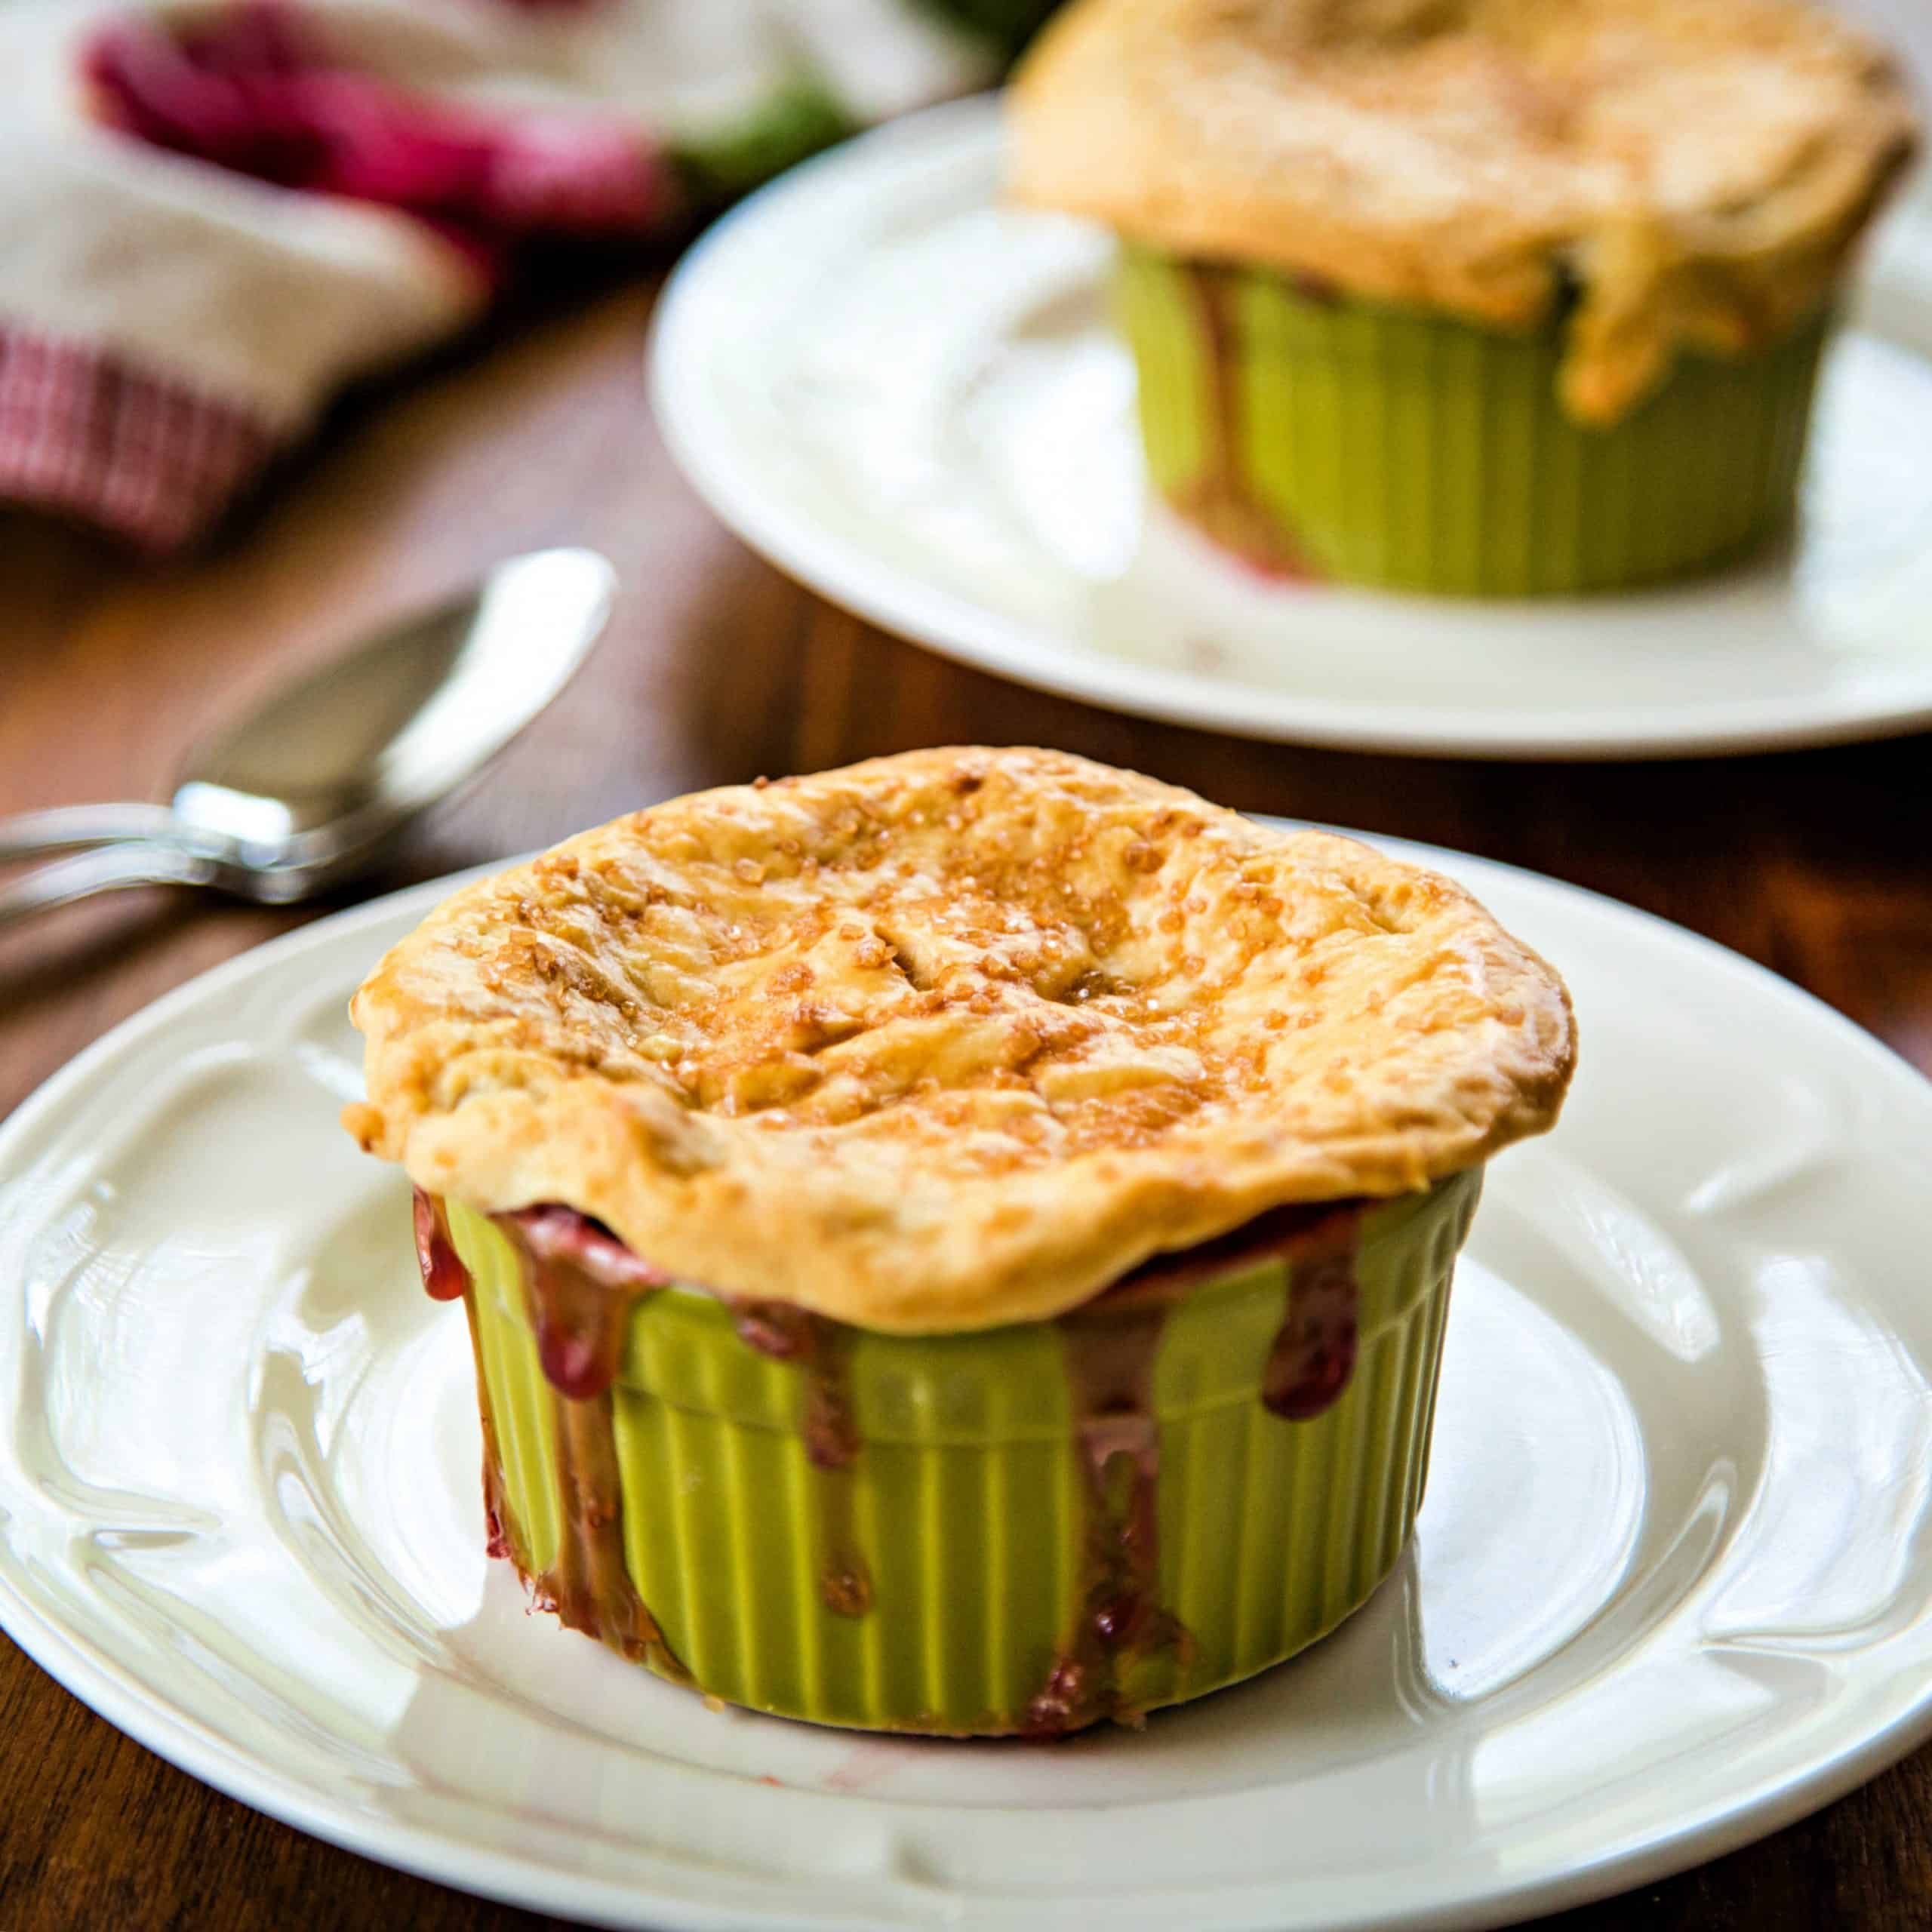
Seriously, this recipe is easy as pie — sorry for the pun! One recipe makes four eight-ounce pot pies, but one was plenty for John and I to share! If you prefer, use smaller ramekins to make more individual servings.
Serve Cherry Pot Pies either warm or at room temperature. When I have vanilla ice cream in my freezer, I also love it served warm with a big scoop on top.
Love this recipe? Bookmark it for the future!
Simply tap the heart symbol located in the lower right corner of your screen, and the recipe will be securely stored in your own recipe box.
Cherry Pot Pies with Flaky Pie Crust
Ingredients
Flaky Pie Crust
- 1 ¼ cups all-purpose flour
- ¼ teaspoon salt
- ½ teaspoon sugar
- 7 tablespoons cold unsalted butter cut into cubes
- 5 tablespoons ice water
Cherry Pie Filling
- 2 14.5 oz. cans tart or sour cherries drain and reserve 1/2 cup juice
- 1 teaspoon vanilla extract
- ⅔ cup sugar
- ¼ cup all-purpose flour
- 1 tablespoon orange zest
- 1 large egg
- 1 teaspoon water
- 2 teaspoons turbinado sugar
Instructions
Pie Dough
- Add the flour, salt, and sugar to the bowl of a food processor. Pulse for just a second to combine.
- Sprinkle the butter over the top and pulse for 2 to 3 seconds to to break up the pieces of butter.
- Sprinkle the ice water on top and process just until the flour is moistened and the dough starts to come together—do not over mix.
- Empty the dough into a large lock-top plastic bag, seal, then press into a flat disk. Chill the dough for at least 30 minutes before using.
Cherry Pie
- Preheat the oven to 375 degrees. Line a rimmed baking sheet with parchment paper.
- In a large bowl, add the drained cherries with the 1/2 cup of reserved juice and vanilla extract.
- In a smaller bowl, stir together the sugar, flour, and orange zest. Sprinkle this mixture over the cherries and stir gently to combine.
- Divide the pie filling evenly among 4 8-oz. ramekins and place on the prepared baking sheet.
- On a lightly floured surface, roll the pie dough to 1/8 inch thickness.
- To make the top crusts, cut 4 round pieces of dough big enough to overlap 1/2 inch wider than the ramekins.
- Place a dough round on top of each ramekin, pressing the edges down over the rim to secure. With a small paring knife, cut 4 to 6 small slits on top.
- Whisk the egg with 1 teaspoon water to make an egg wash. Use a pastry brush to brush over the dough. Sprinkle each pot pie with 1/2 teaspoon turbinado sugar.
- Bake on the middle rack for 35 to 40 minutes, or until the crust is golden and the juices are bubbling. Let cool for 10 minutes before serving.
Notes
Nutrition
Life Love and Good Food does not claim to be a registered dietician or nutritionist. Nutritional information shared on this site is only an estimate. We recommend running the ingredients through an online nutritional calculator if you need to verify any information.




it looks delicious!