Rustic French Apple Tart (Easy Apple Galette)
This post may contain affiliate links. Please read my disclosure policy.
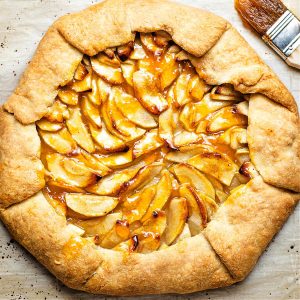
Get ready for an easy, yet incredibly delicious fall treat! We’re making a homemade Rustic Apple Tart using Granny Smith apples and a simple glaze made from apricot preserves. This apple galette is the perfect way to savor the flavor of fall without any fuss!
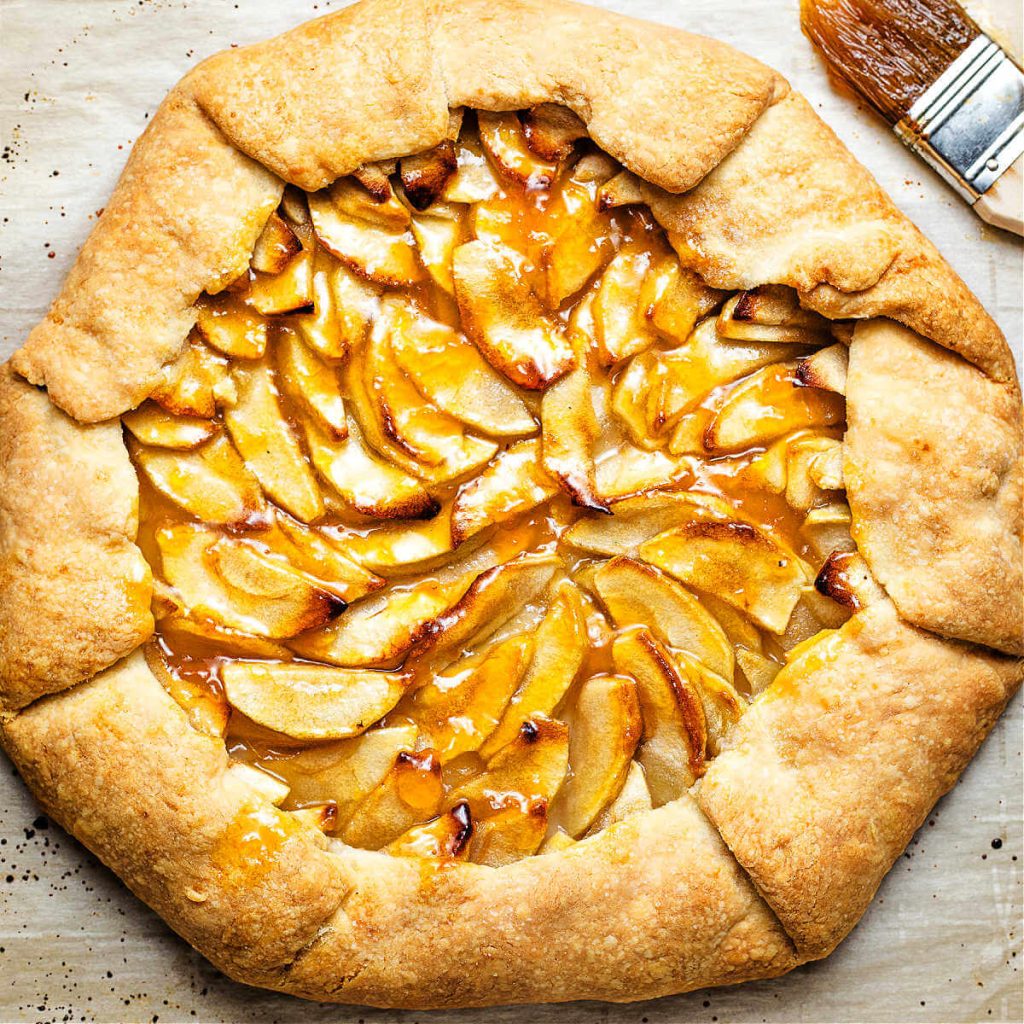
Let me just say, there’s nothing quite like the comfort of a classic homemade apple pie, but when you’re not sure about tackling a double-crust pie, consider trying rustic fruit tarts.
Rustic tarts are basically open-faced pies in a free-form fashion. Simply fold the crust over the apples and brush the fruit with melted butter and a sprinkle of sugar — Easy!
Why you’ll love this easy French apple tart!
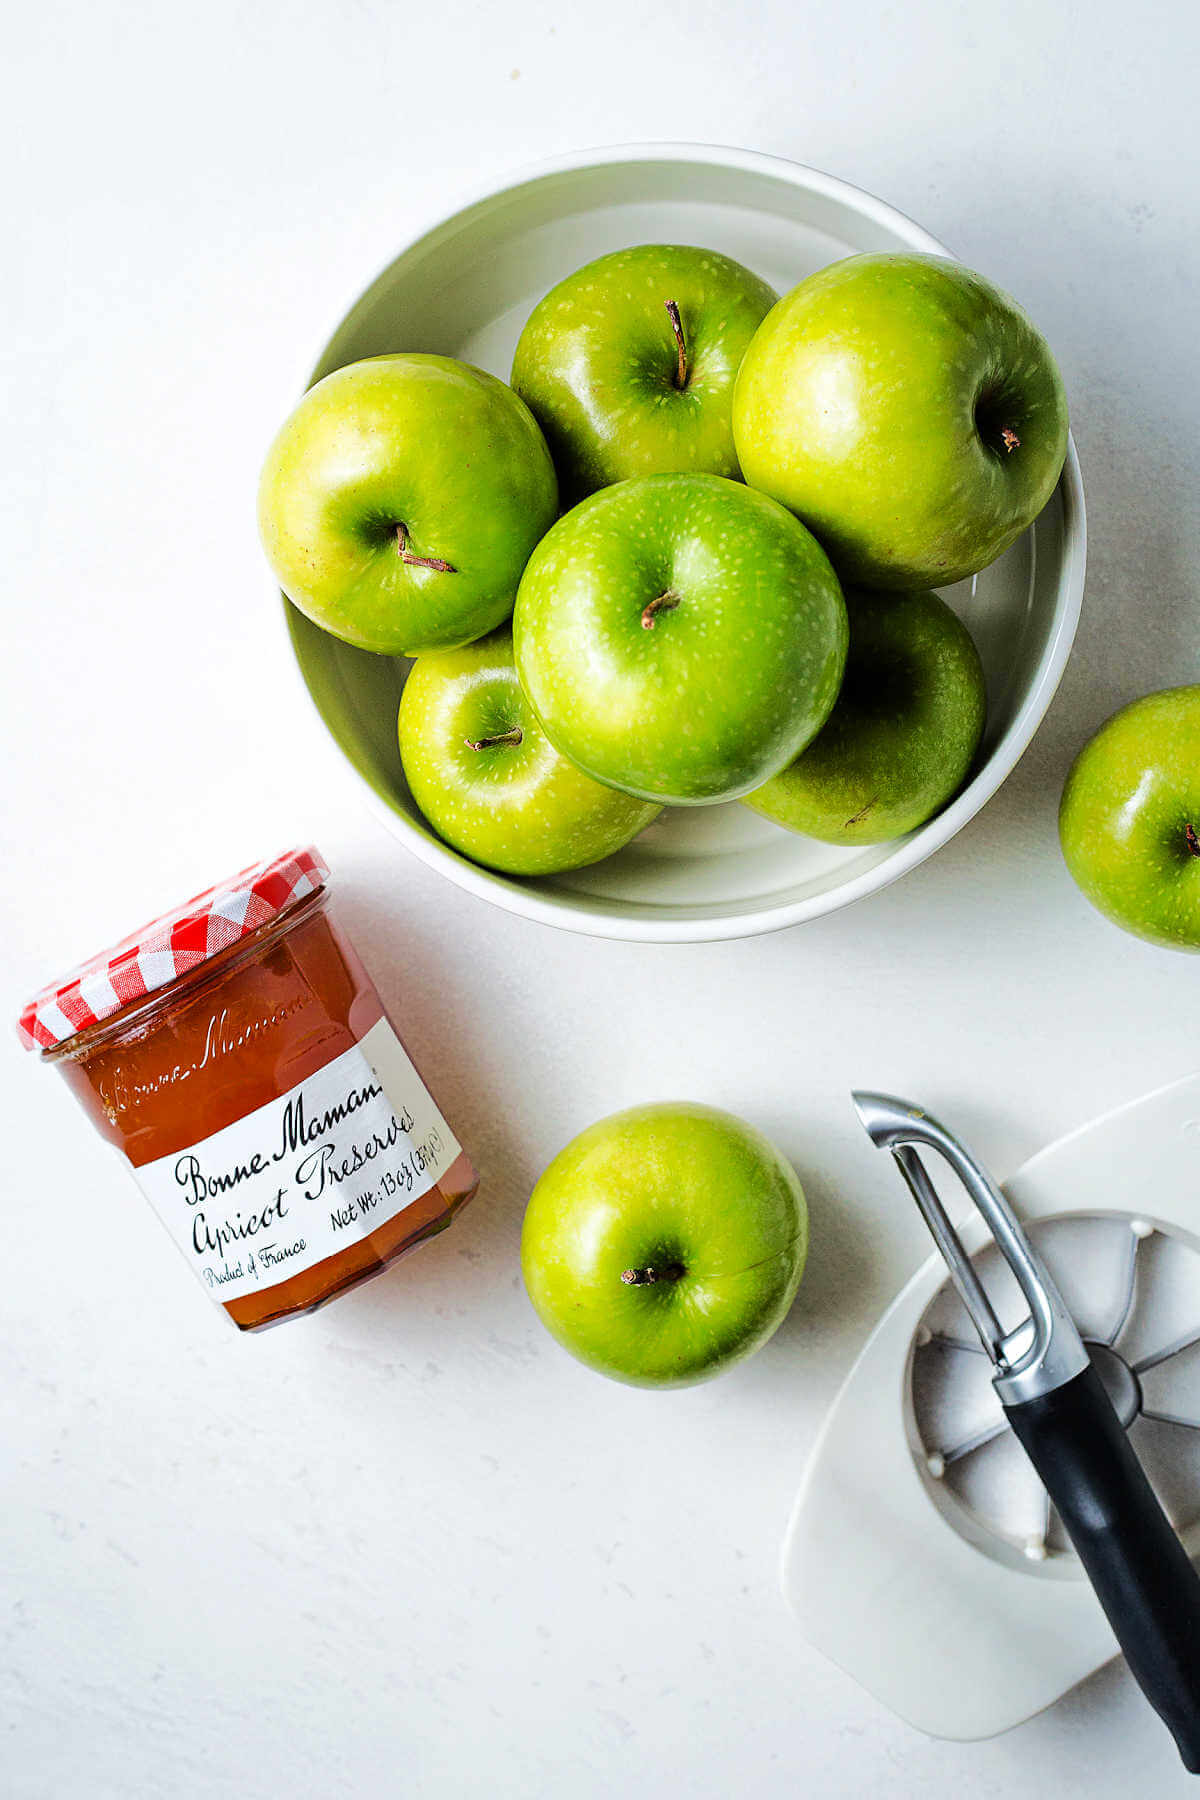
Ingredient notes
Tart Dough
- Flour | Use classic all-purpose flour as the structure of the dough for this tart recipe.
- Salt | A pinch of salt goes a long way in a from-scratch crust recipe.
- Butter | Add cold unsalted butter to combine the ingredients and produce a buttery crust.
- Ice water | Chilly ice water combines all the tart dough ingredients.
Apple Tart
- Sugar | Sprinkle the top of the dessert with sugar and add some to the apple filling.
- Flour | Thicken the tart filling with all-purpose flour.
- Apples | Layer thin slices of apple for tender and evenly-cooked bites.
- Apricot preserves | Brush the treat with sweet apricot preserves or apricot jam.
- Butter | Before baking, coat the pastry with melted unsalted butter for golden results!
How to make an Easy Apple Galette Recipe
Who knew it was so easy to make a homemade apple tart? You may never choose a store-bought crust for your fall dessert ever again!
Tart Dough
STEP 1 | Combine ingredients
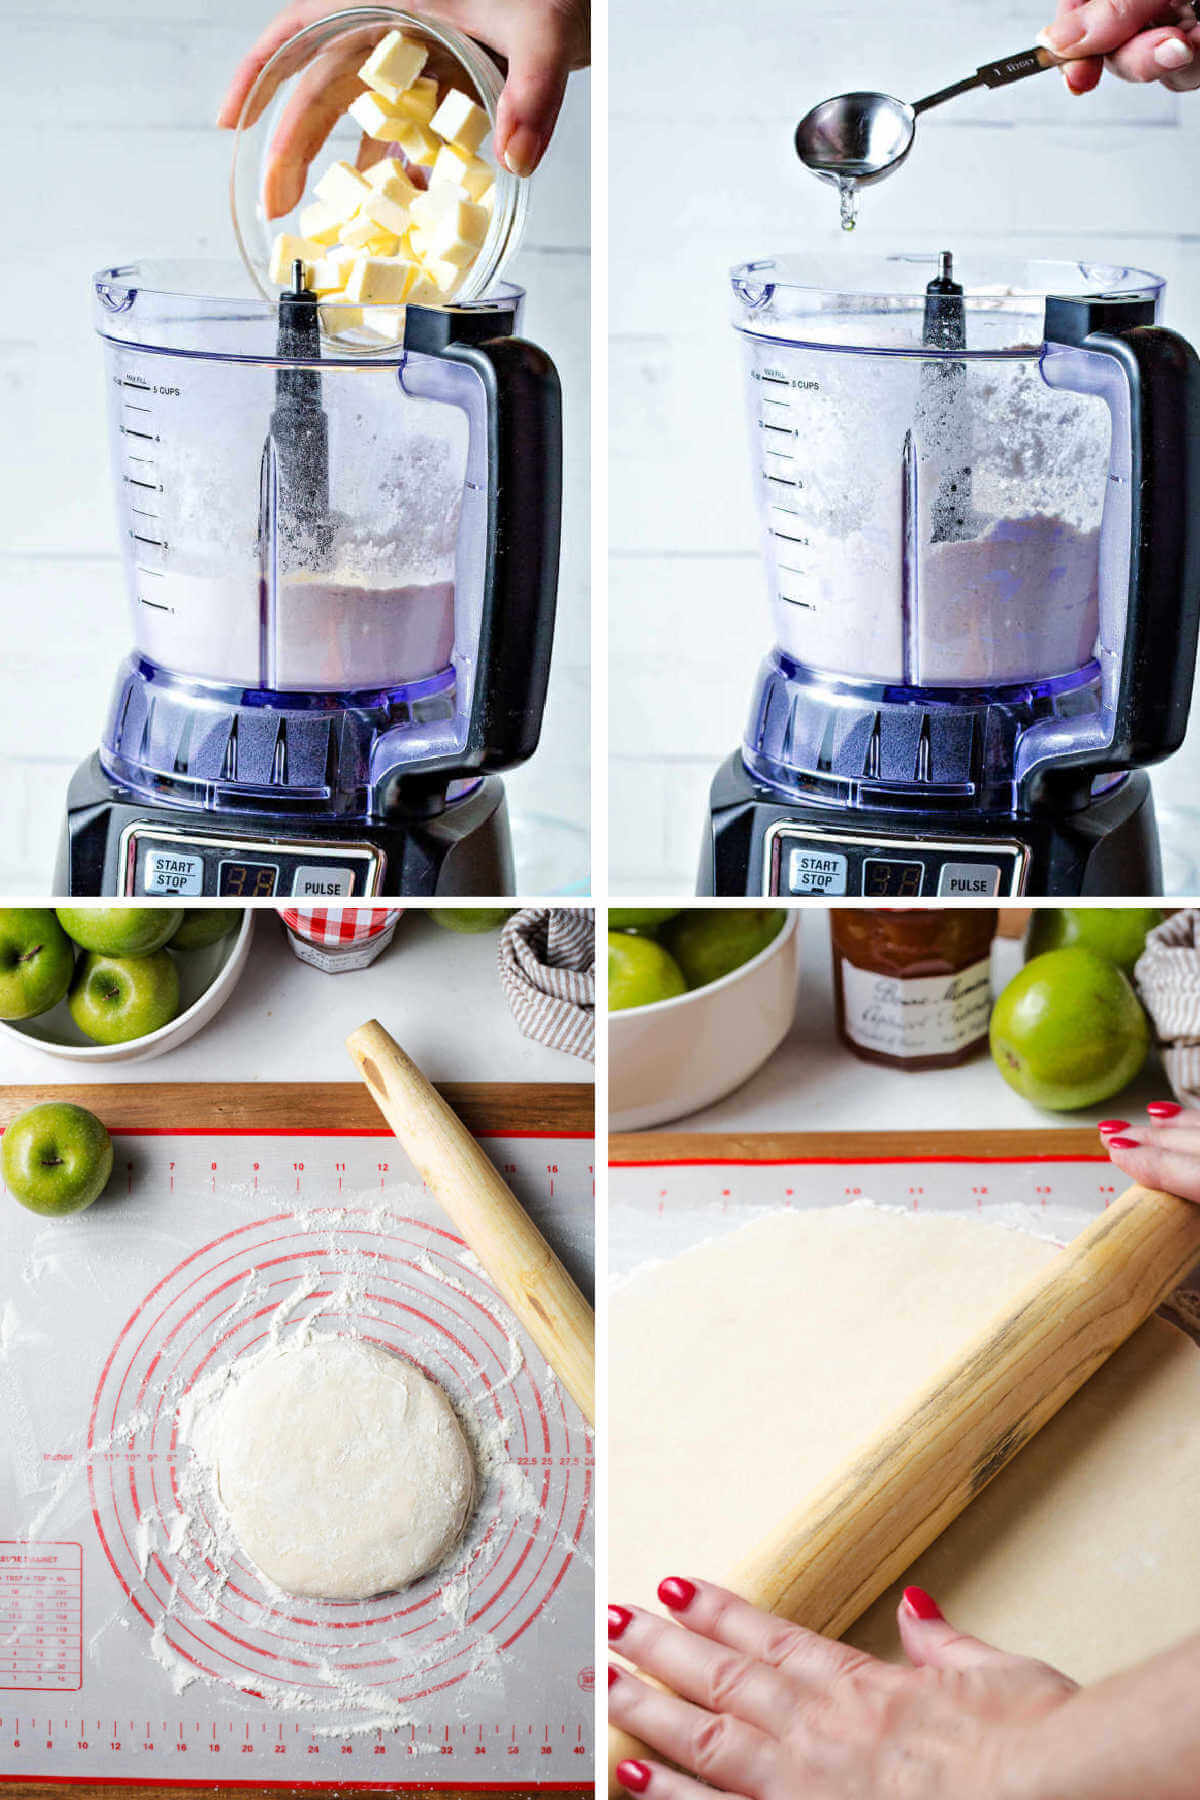
First, combine the measured flour and salt in a food processor and pulse. Next, toss in cold butter, cut into cubes, and process for about 5 seconds until the butter is the size of peas.
Sprinkle the ice water over the mixture and process for another 5 seconds until moistened.
STEP 2 | Knead and roll dough
On a lightly floured surface, knead the dough until it comes together and pat it into a disk, as shown above.
Then, add a little more flour to the surface and roll out the dough into a 16- to 17-inch circle.
STEP 3 | Transfer dough to a baking sheet
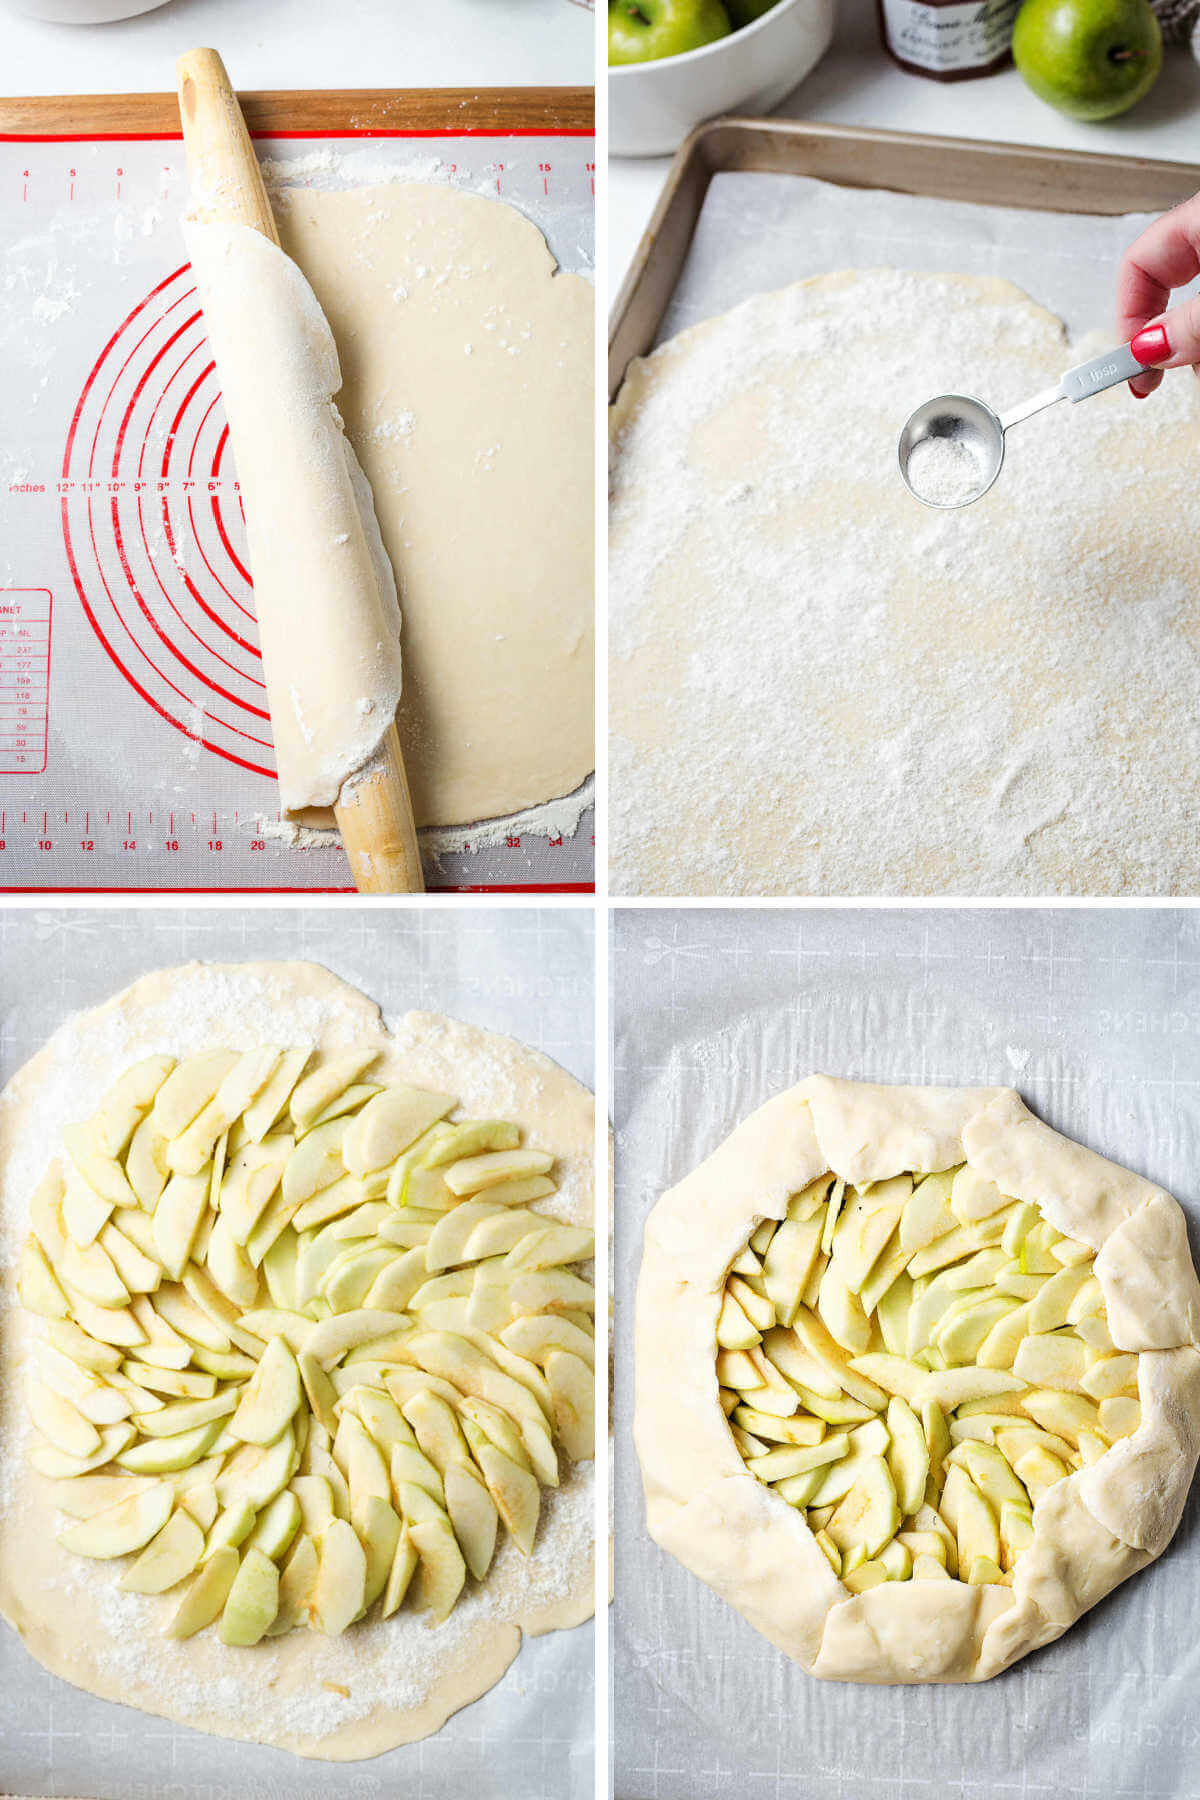
Next, line a large baking sheet with parchment paper, roll the dough around the rolling pin, and unroll it onto the prepared baking sheet.
This is the hardest part! So, be patient and take it slow to prevent ruining the smooth and perfectly flattened pie crust.
tips
- The chilled ingredients are vital to the recipe, so have cold butter and ice water on hand.
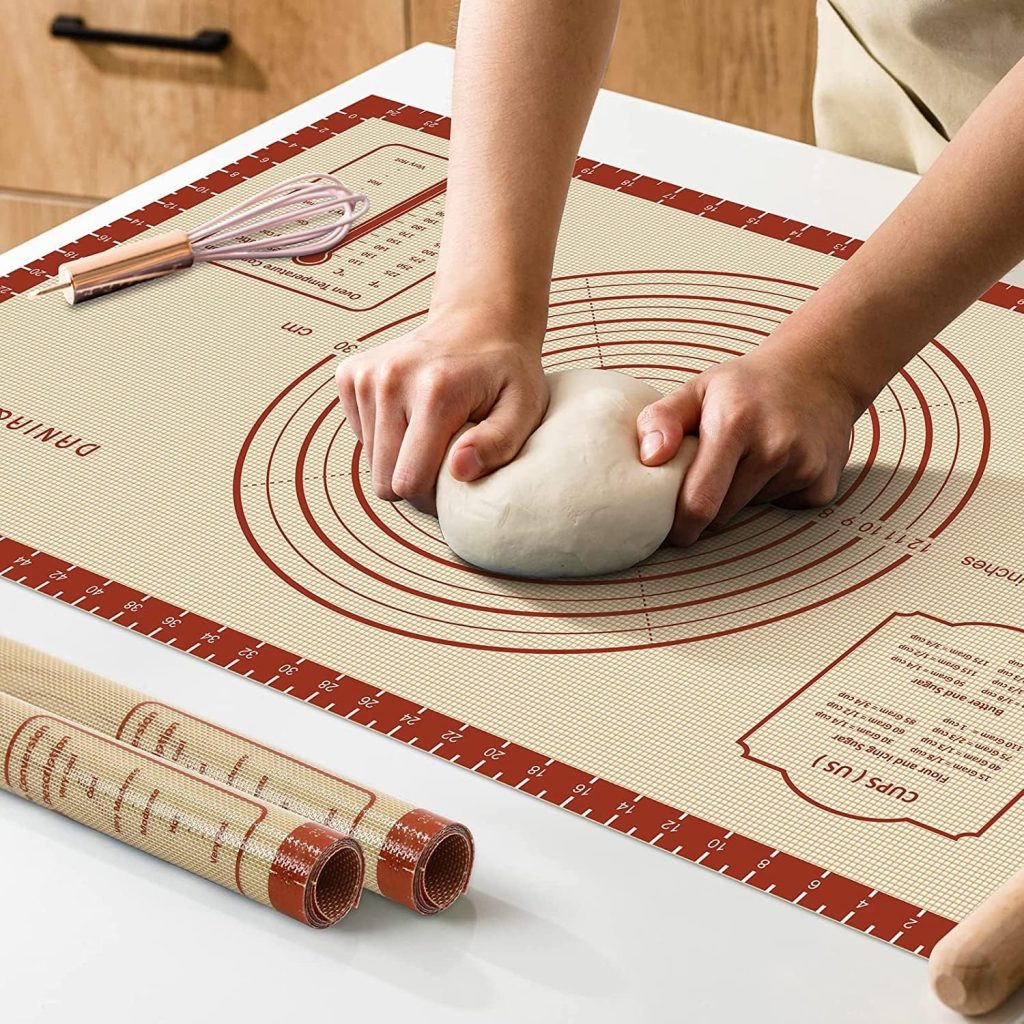
- I recommend using a pie mat to roll out your dough to the perfect size every time!
- Flour your rolling pin before rolling the dough over it so the dough releases easily and slides right off.
- If slicing the apples before you make the dough, sprinkle a little lemon juice over the cut apples to prevent them from browning.
Must-Have Silicone Pastry Mat
- 26″ x 16″ Large Non-Stick Mat
- Measurement Guides
- Extra Thick and Durable
Apple Tart
STEP 1 | Preheat oven
Start by preheating the oven to 400 degrees.
Once that’s started, peel, core, and slice four medium apples of your choice — Golden Delicious, Granny Smith, or Gala.
STEP 2 | Add apple filling and slices
Next, mix two tablespoons of sugar with the flour and sprinkle evenly over the dough.
Arrange the apple slices on top in overlapping circles starting at the center of the dough, leaving three inches of the edge.
STEP 3 | Fold dough, brush with butter, and sprinkle sugar
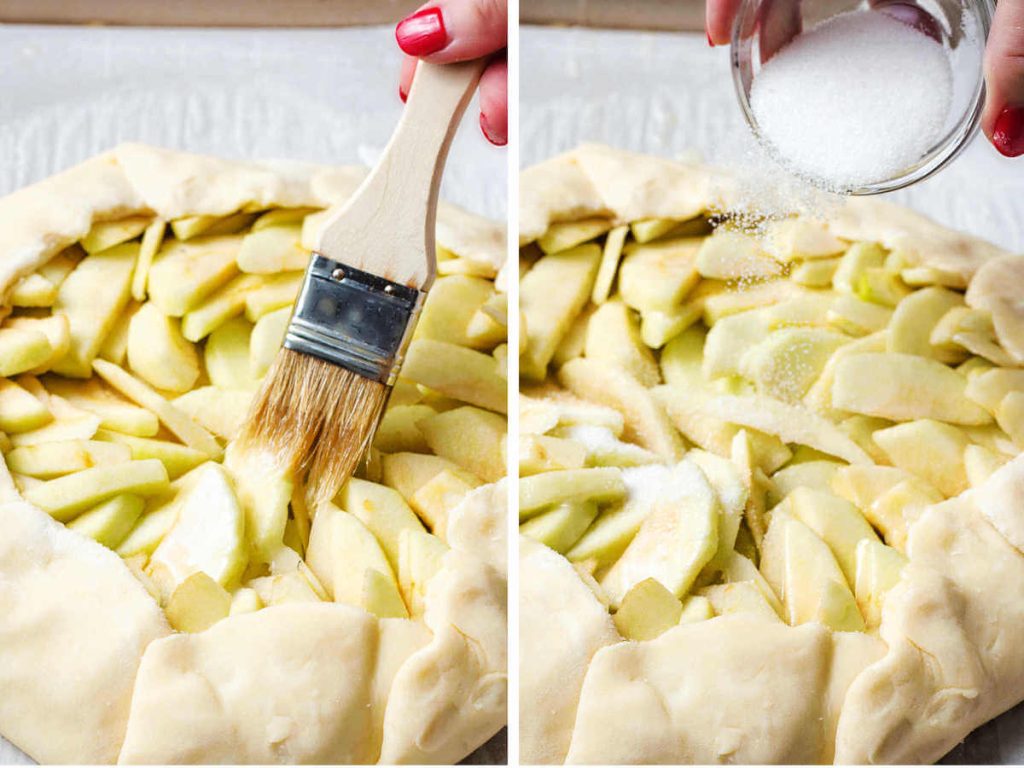
Then, fold the pie dough over the apples, use a pastry brush to coat the apples with melted butter, and sprinkle the remaining 1-1/2 tablespoons of sugar on top.
STEP 4 | Chill assembled tart
Now, refrigerate the unbaked tart for about 10 minutes until it’s slightly chilled.
STEP 5 | Bake and brush with preserves
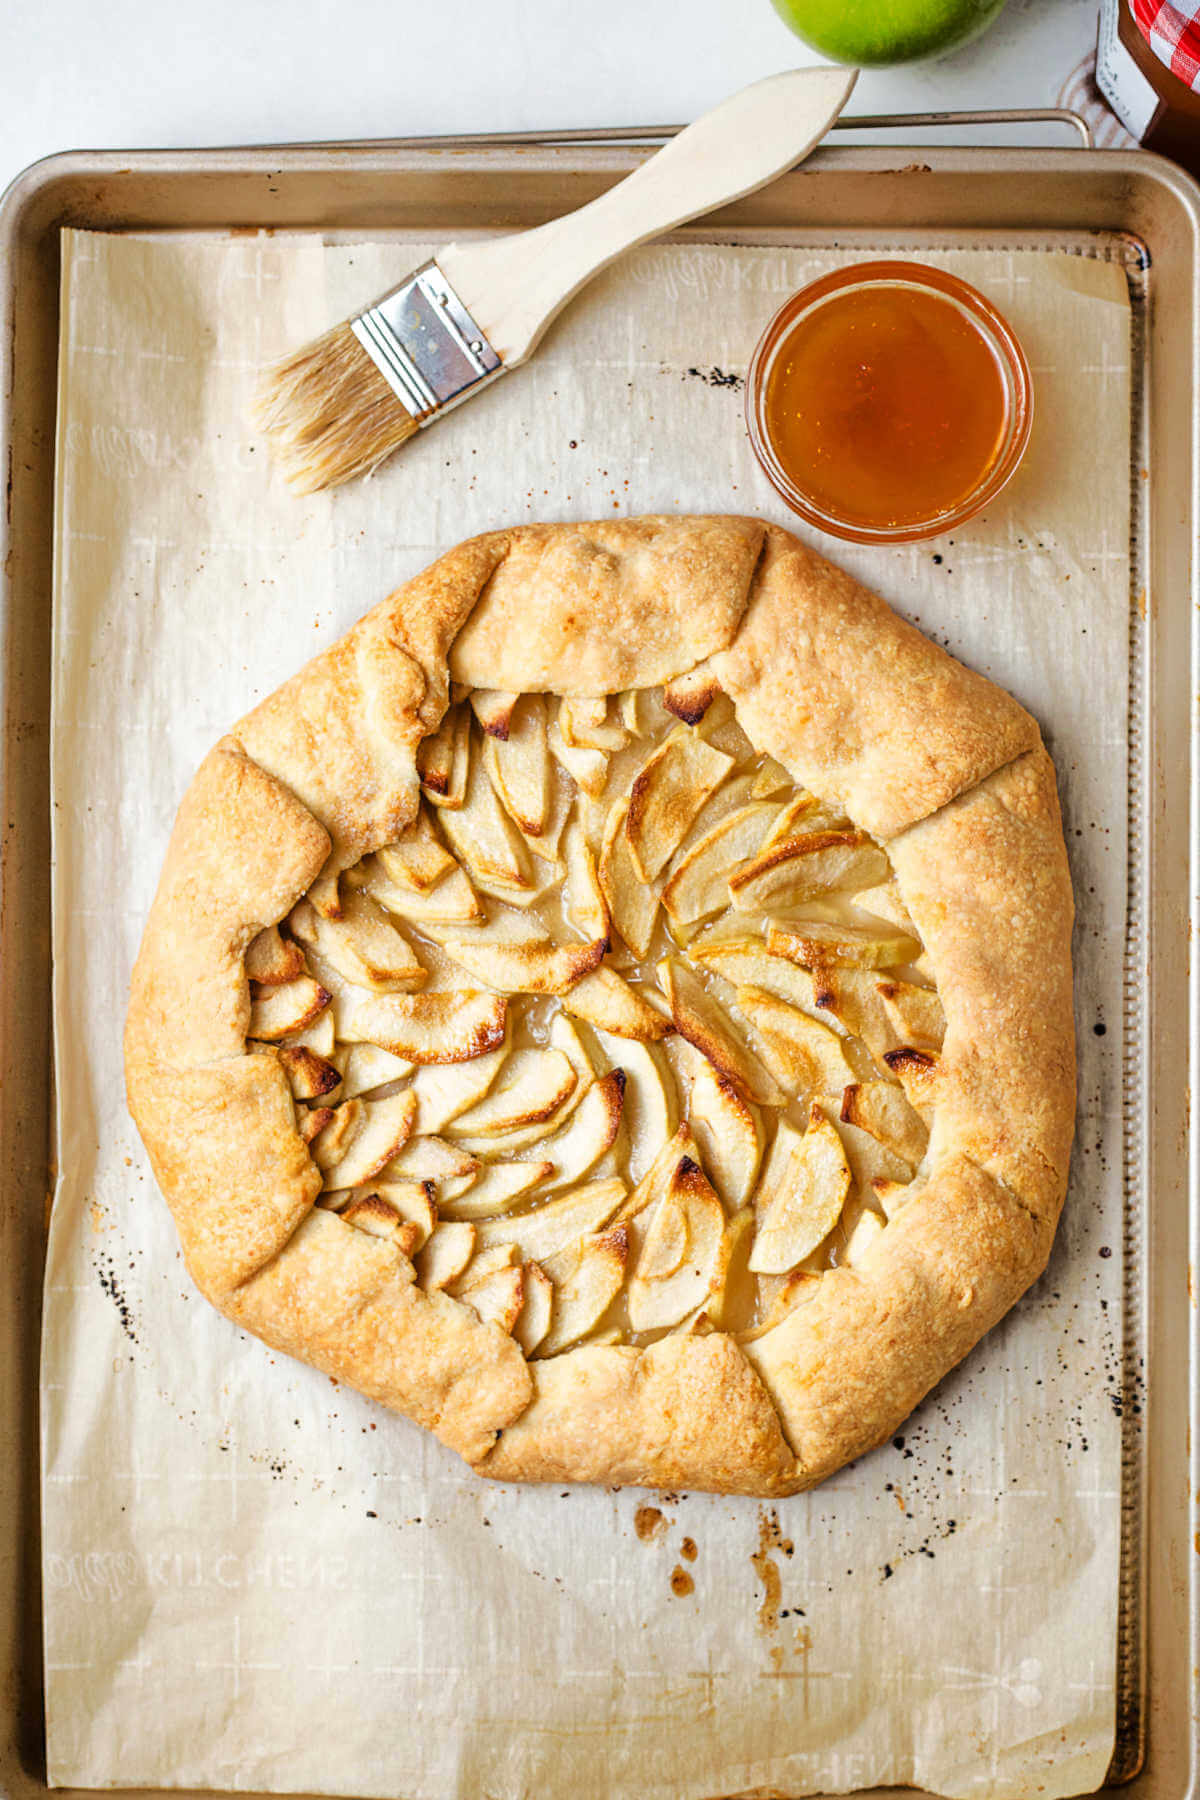
Bake for 1 hour, or until the apples are tender and golden brown and the edges of the dough are lightly browned.
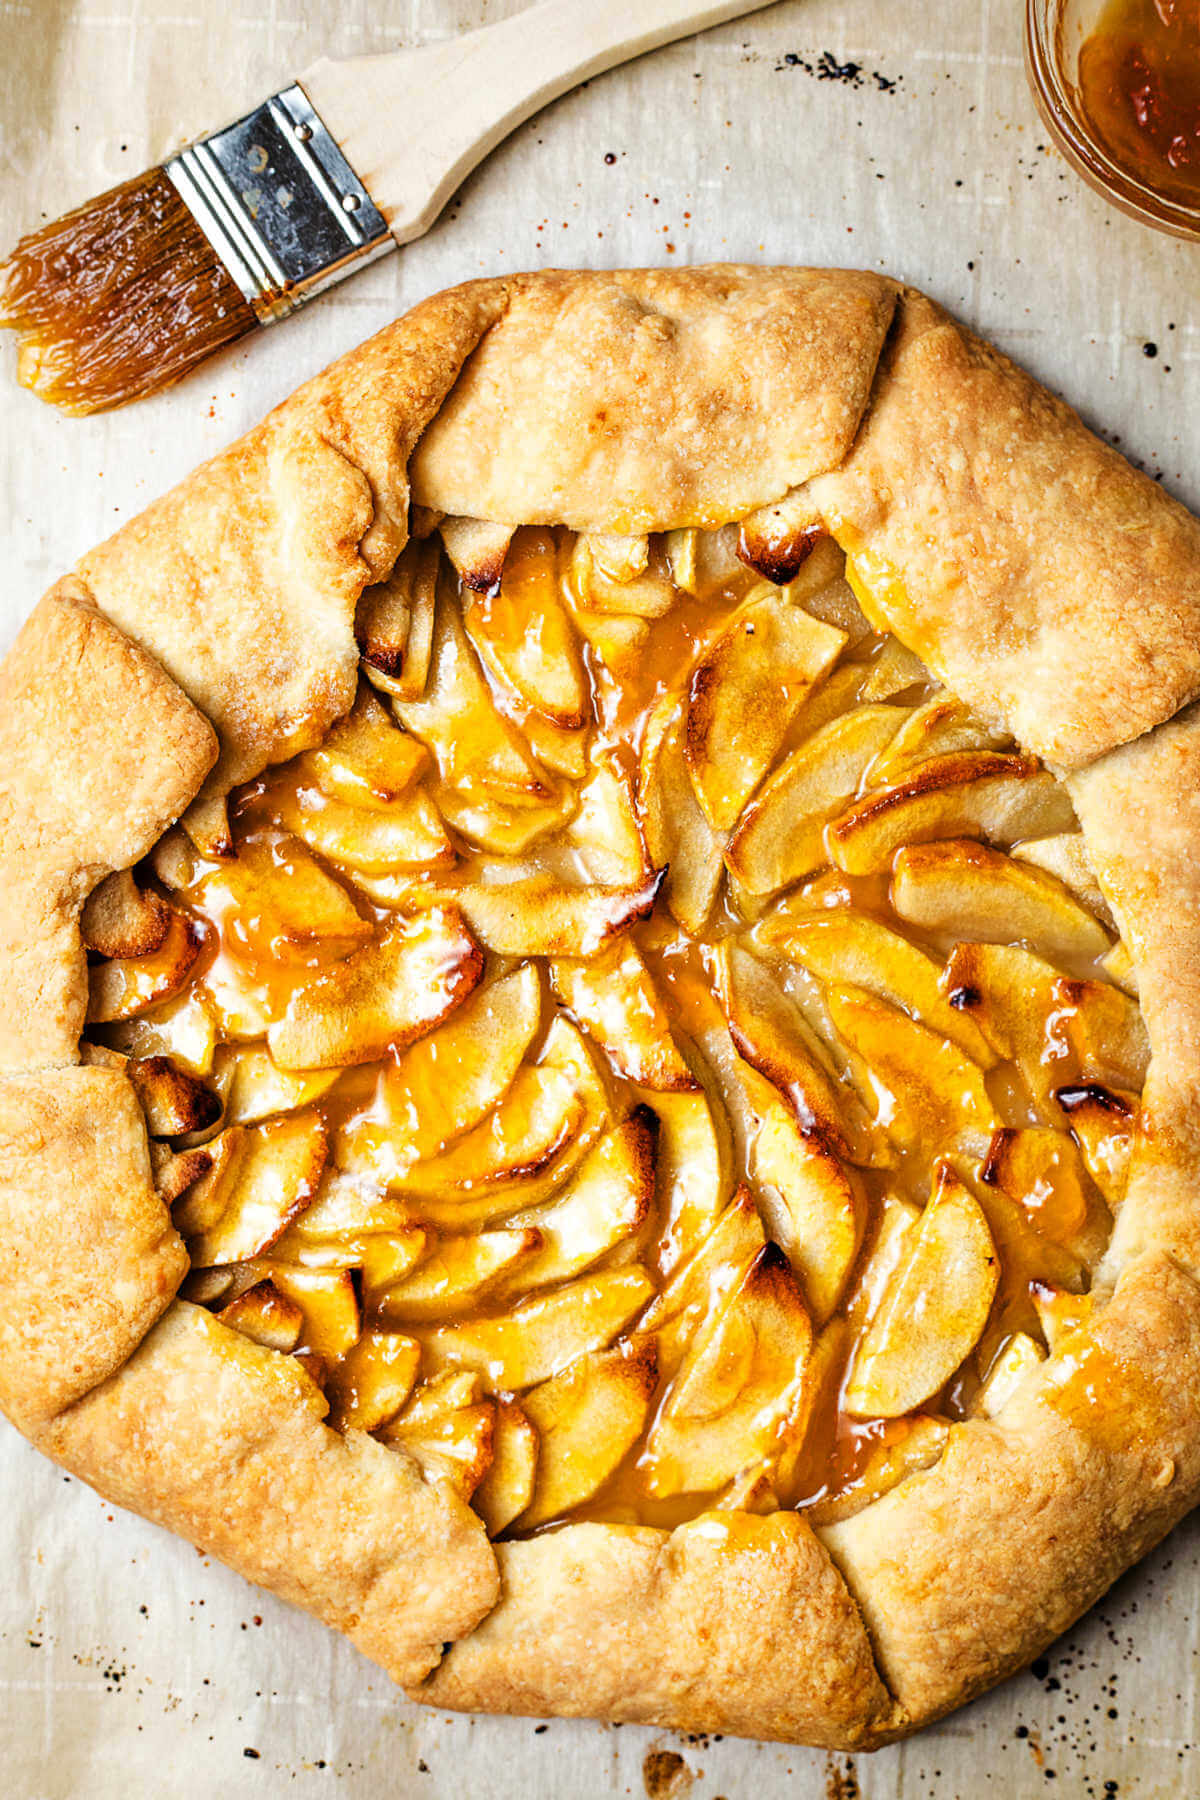
When the tart comes out of the oven, brush the top liberally with melted apricot preserves to give it a little shine and extra sweetness.
STEP 6 | Cool and serve!
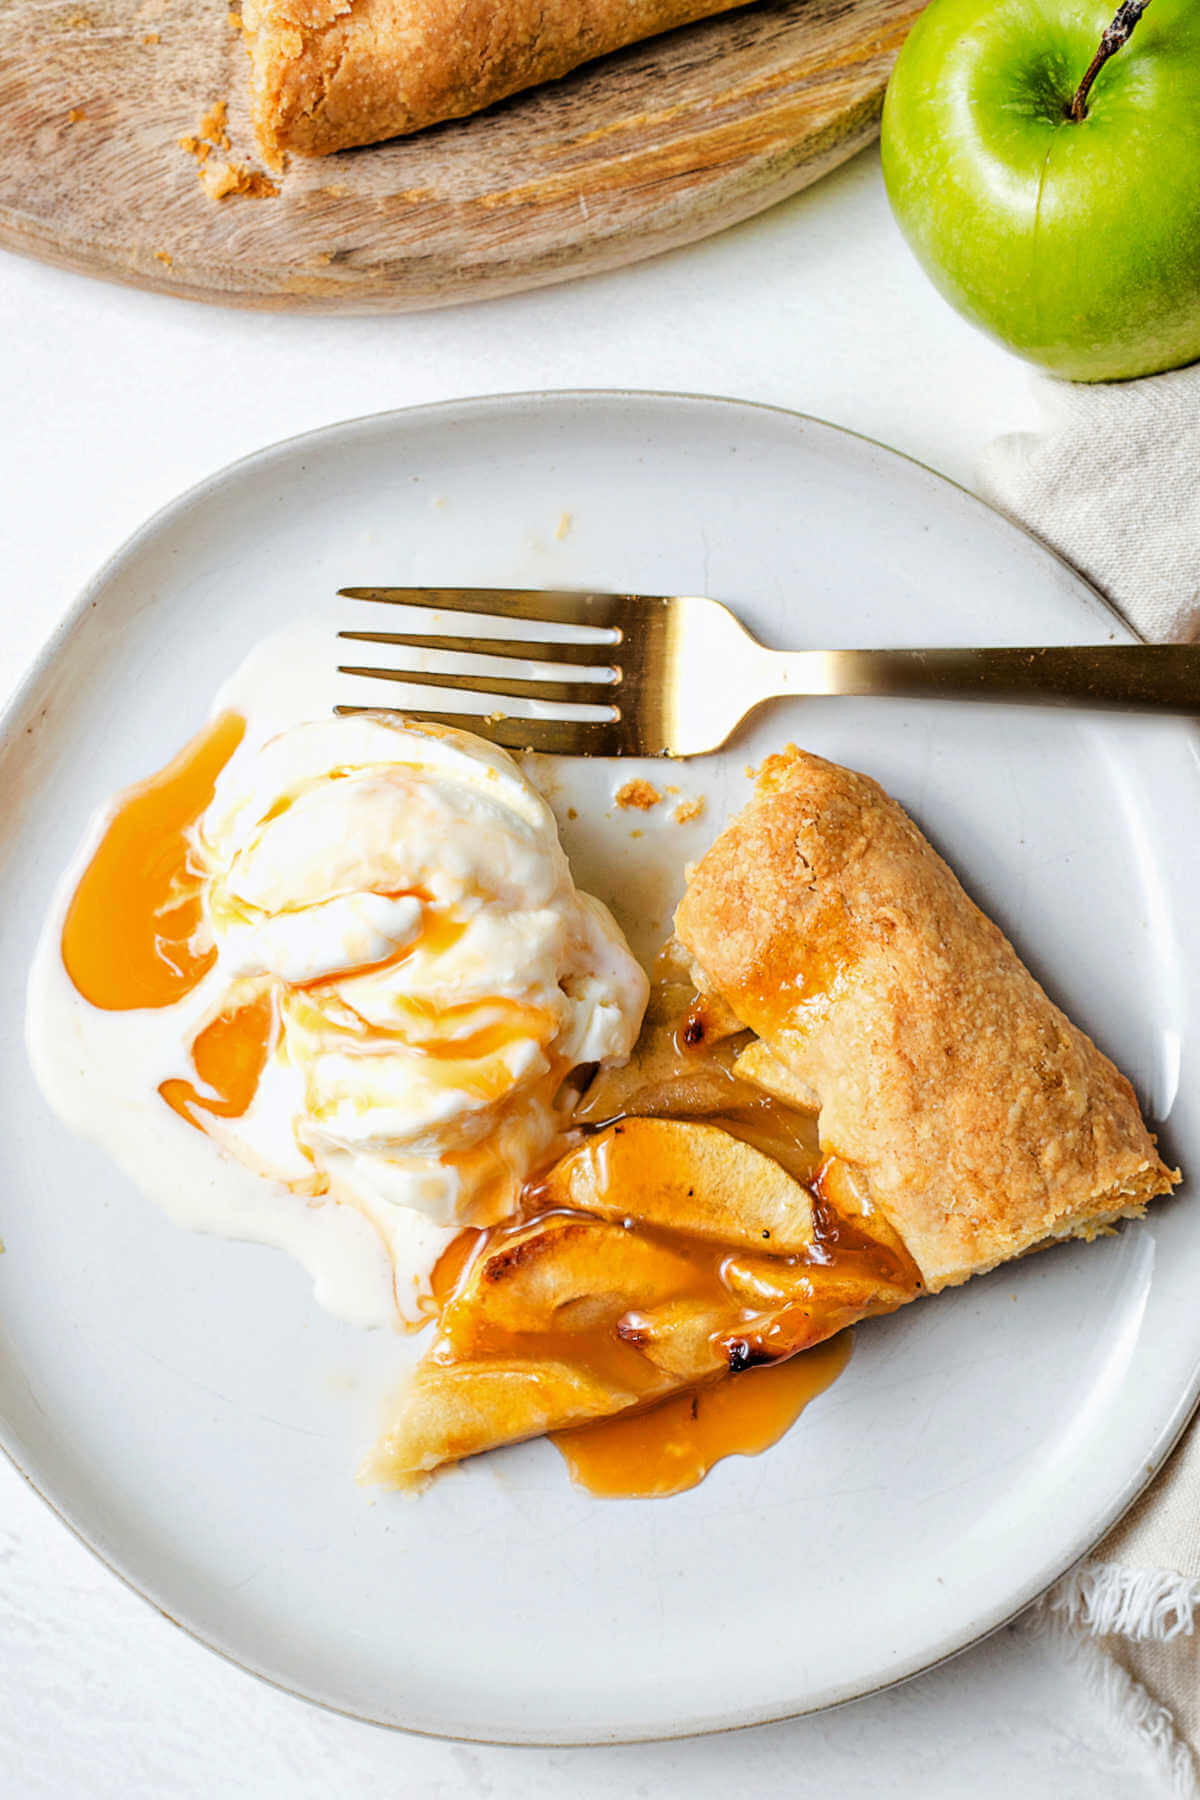
Finally, slide the parchment onto a wire rack and let the tart cool slightly before serving. I served my tart with a scoop of vanilla ice cream and a drizzle of caramel syrup while it was still warm — delicious!
Check out more of my apple recipes perfect for the holiday season, like this Apple Crisp with a crispy oat pecan topping, a cozy cup of Hot Apple Cider, and the go-to classic favorite, homemade Apple Pie!
Variations and substitutions
- Additional Flavor. Soak the apple slices in lemon juice for a subtly tart bite.
- Types of Apples. Just about any apple variety works for this recipe. Try Honey Crisp or Granny Smith for the best results!
- Other Fruit. Make this French tart recipe with other fresh fruit, like pears or peaches!
- Bonne Maman. If you have never tried the plum variety or one of the other flavors, you are welcome to get creative here! Use your favorite preserve and brush away!
Storage and reheating tips
Store leftover apple tart in the refrigerator for up to three days in an airtight container or wrapped with plastic wrap.
For long-term storage, freeze the tart on a baking sheet, then remove and tightly wrap it to keep it in the freezer for up to three months.
Then, bake the pie as directed, adding a few more minutes if baking from frozen.
Frequently asked questions
In general, tarts only have a bottom crust, while pies are often topped with an additional layer of dough, covering the filling. Furthermore, the crust for a tart is usually thicker to make up for the lack of crust on top and give the fruity dessert structure.
A tried and true trick for preventing a soggy crust is to brush the inside with egg white, sealing the dough from excess moisture seeping through.
Sure! You can make this recipe two days in advance. However, serving it fresh is best. Remember that the longer the pie sits in the fridge, the more likely the crust will become soggy. If preferred, you can store it in an airtight container overnight on the countertop to avoid excess moisture. Then, reheat the tart before serving the following day.
Tarts and pies are made with various apples and sometimes combinations of sweet and tart ones. For delicious results, it’s best to choose an apple variety that won’t turn to mush in the oven.
Serving suggestions
Serve your homemade apple galette with a scoop of creamy vanilla ice cream, or try my delicious Homemade Peach Ice Cream —No churning necessary!
And it’s never too early to enjoy your fall treats with seasonal beverages, like this rich Dark Chocolate Peppermint Mocha, refreshing Cranberry White Grape Christmas Punch, and homemade Instant Chai Latte Tea Mix — Just add water!
Looking for more Fall Favorites?
Make this autumn extra special with delicious recipes, like this Pumpkin Delight Dessert with crunchy Heath bites and creamy cool whip, and my simple Pumpkin Dip recipe for dipping gingersnaps and apples. For dinner, serve Cider Roasted Turkey with Sausage Apple Stuffing.
Behind the recipe: Easy Apple Tart Recipe
It’s apple season, which means these sweet and crisp fruits are plentiful!
This time of year always makes me crave a trip to Apple Barn for fritters and fresh cider! But to fill my time until I get the chance, I like to create recipes like this apple tart!

Love this recipe? Bookmark it for the future!
Simply tap the heart symbol located in the lower right corner of your screen, and the recipe will be securely stored in your own recipe box.
Rustic Apple Tart
Ingredients
Tart Dough
- 1 ½ cups all-purpose flour plus 1 tablespoon
- pinch salt
- 12 tablespoons unsalted butter (cold) cut into 1/2-inch pieces, plus 2 tablespoons melted
- ⅓ cup ice water
Apple Tart
- 3 ½ tablespoons sugar divided
- 1 tablespoon all-purpose flour
- 4 large apples peeled, cored and cut into 1/4-inch-thick slices
- 2 tablespoons apricot preserves melted
- 1 ½ tablespoons unsalted butter melted
Instructions
Tart Dough
- Add 1-1/2 cups flour and salt to a food processor and pulse to combine. Add the cold butter and process about 5 seconds, just until the butter is the size of peas. Sprinkle the ice water over the mixture and process just until moistened, another 5 seconds.
- On a lightly floured surface, knead the dough until it comes together and pat into a disk. Add a little more flour to the surface and roll out the dough into a 16- to 17-inch circle.
- Line a large baking sheet (unrimmed) with parchment paper. Roll the dough around the rolling pin and unroll it onto the prepared baking sheet (this is the hardest part – be patient!)
Apple Tart
- Preheat the oven to 400 degrees.
- Mix together 2 tablespoons of the sugar with the flour and sprinkle evenly over the dough. Arrange the apple slices on top in overlapping circles, leaving an edge of 3 inches.
- Fold the dough over the apples then brush the apples with melted butter and sprinkle with the remaining 1-1/2 tablespoons sugar.
- Refrigerate the unbaked tart 10 minutes until slightly chilled.
- Bake for 1 hour, or until the apples are tender and golden and the crust is lightly browned. Brush the apples with the melted preserves.
- Slide the parchment onto a wire rack and let the tart cool slightly before serving.
Notes
- The chilled ingredients are vital to the recipe, so have cold butter and ice water on hand.
- I recommend using a pie mat to roll out your dough to the perfect size every time!
- Flour your rolling pin before rolling the dough over it so the dough releases easily and slides right off.
- If slicing the apples before you make the dough, sprinkle a little lemon juice over the cut apples to prevent them from browning.
Nutrition
Life Love and Good Food does not claim to be a registered dietician or nutritionist. Nutritional information shared on this site is only an estimate. We recommend running the ingredients through an online nutritional calculator if you need to verify any information.


This looks wonderful! I need another pie plate, have used my 2 already for a pecan and pumpkin pie, and so, will make this as my 3rd for our Thanksgiving dinner. Thanks for sharing!
This recipe screams fall. What a great way to use up all those orchard apples we will be picking in the next few weeks.